Garden Friends, ages 5 to 7
How to draw Little Ladybug
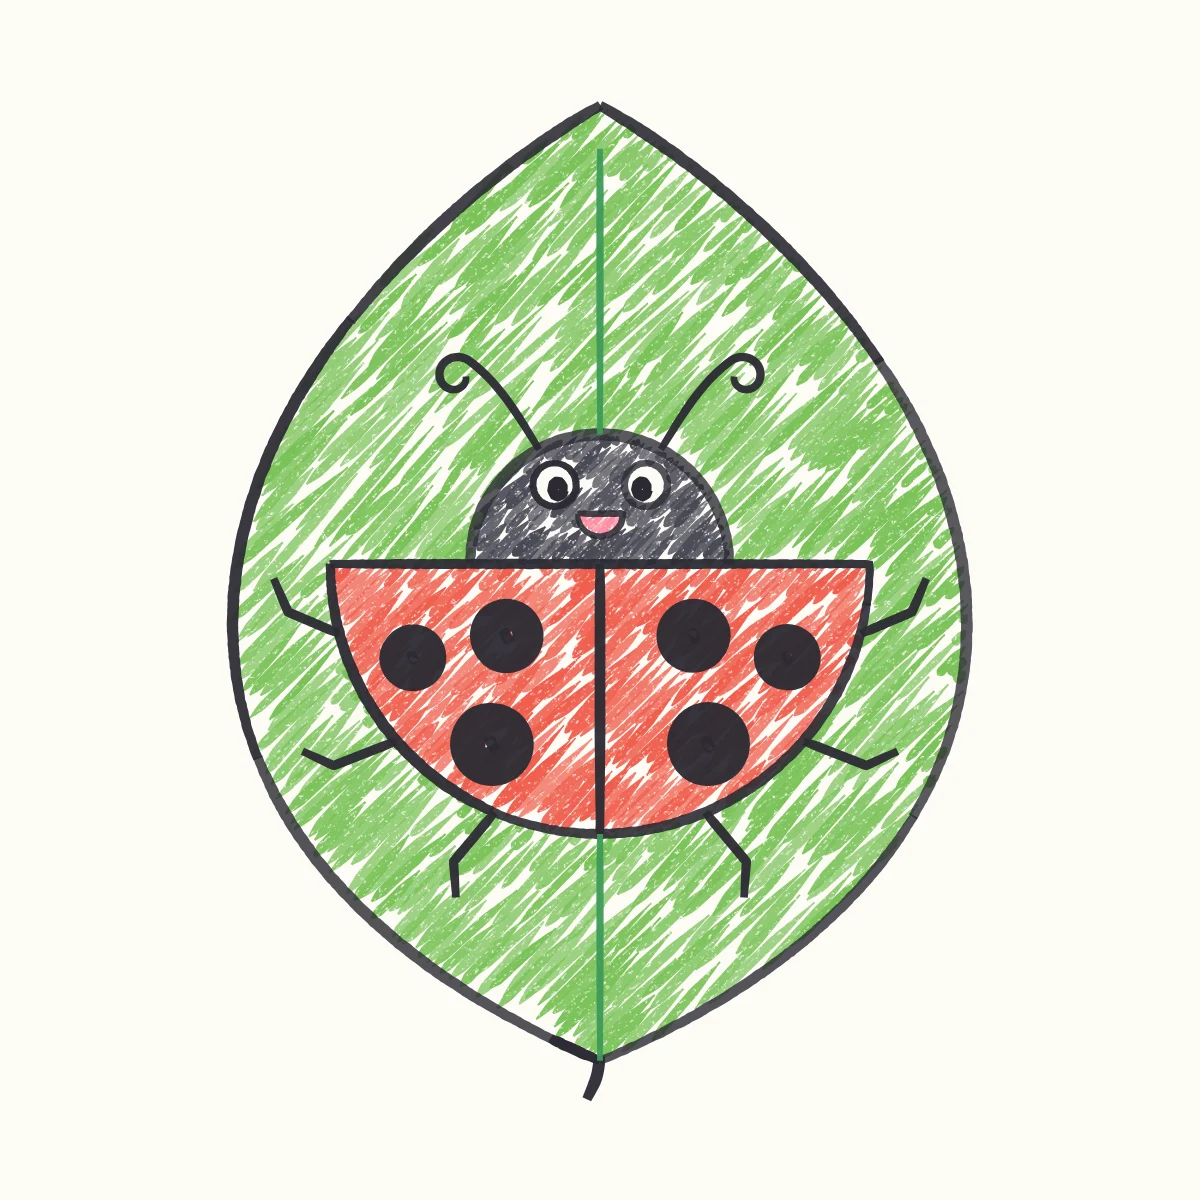
A ladybug made from two half circles: a big one for the shell and a small one for the head. You will learn to draw a half circle and to make both sides match, spot for spot and leg for leg.
No account needed to try it.
- Level
- First steps
- Time
- 12 minutes
- Steps
- 7
- Ages
- 5 to 7
How to draw Little Ladybug
What you need
- Paper Plain printer paper is perfect.
- Felt-tip markers Washable ones, with a black for outlines.
- Crayons Wax crayons or oil pastels.
Step by step
-
 01
01Big shapes
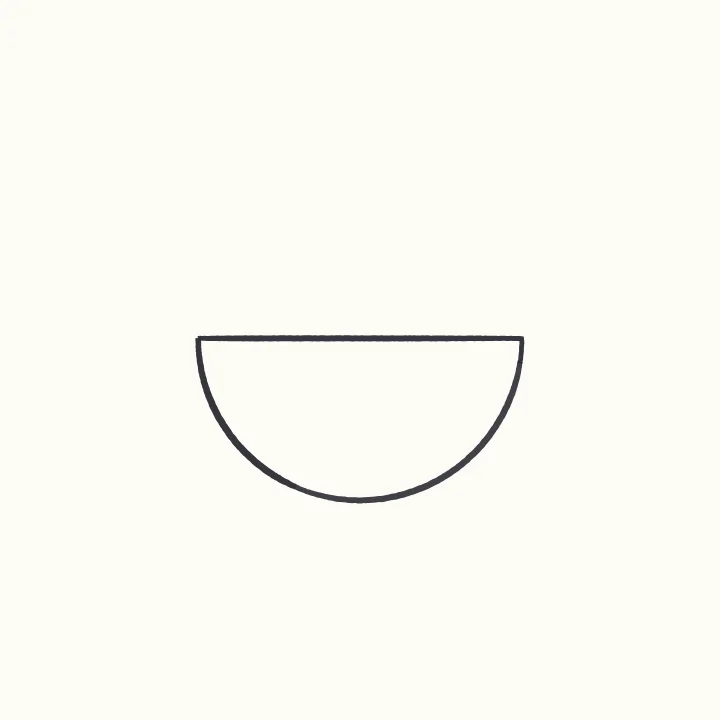
A half-circle shell
Draw a big half circle, round side down, like a bowl. This is the shell.
-
 02
02Big shapes
A half-circle head
Now a smaller half circle on top, right in the middle. That is the head.
-
 03
03Big shapes
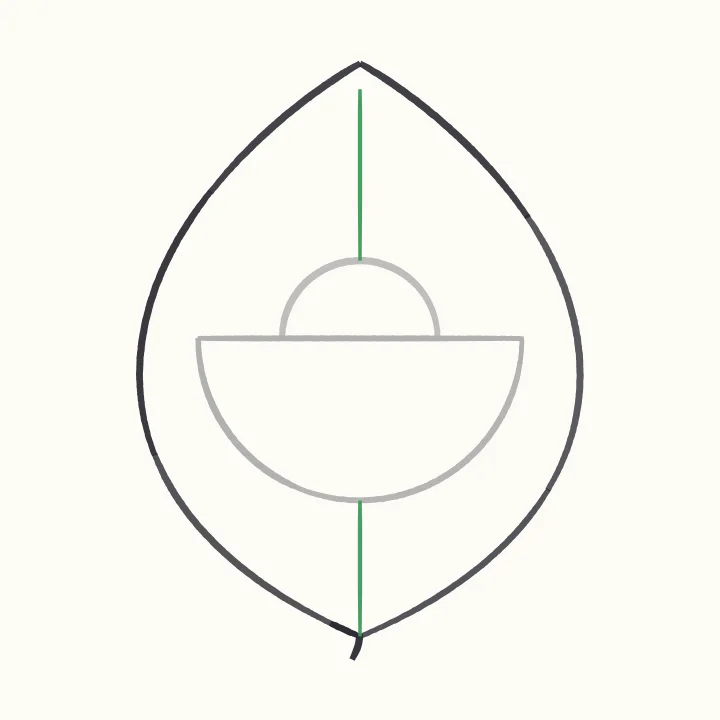
A leaf to sit on
Draw a big leaf all around your ladybug, with a green line down the middle.
-
 04
04Details
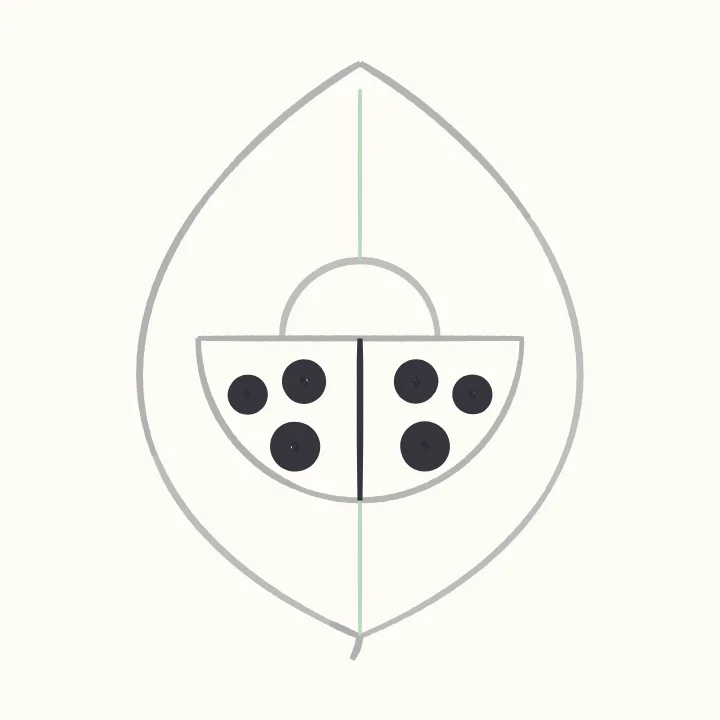
Matching spots
Draw a line down the shell. Then give both wings the same round spots.
-
 05
05Details
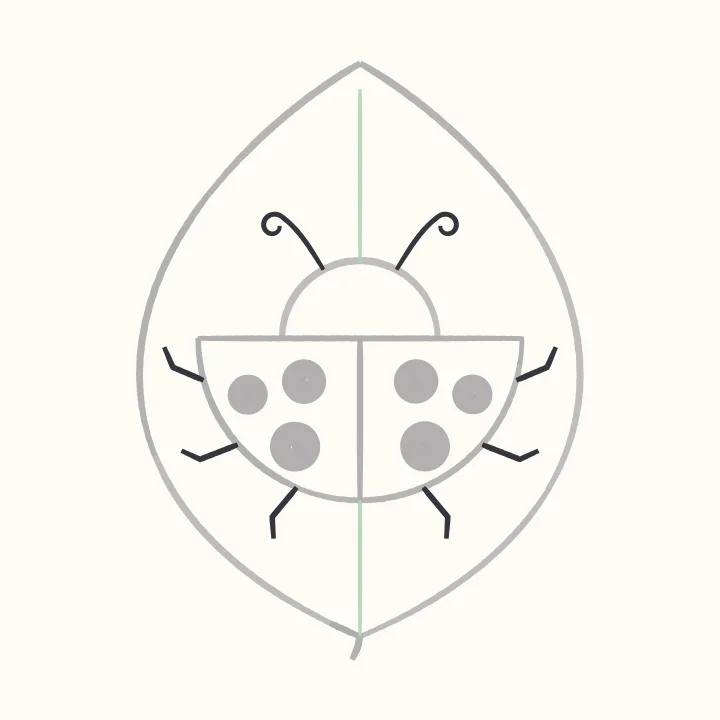
Legs and antennae
Three little legs on each side, and two curly antennae on top of the head.
-
 06
06Details
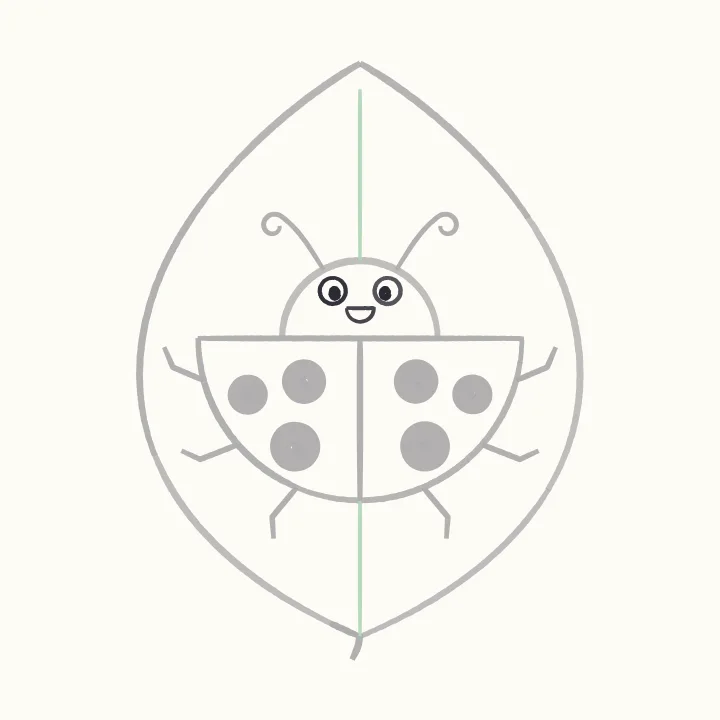
A happy face
Two round eyes with dots, and a half circle smile. Hello, little ladybug!
-
 07
07Colour
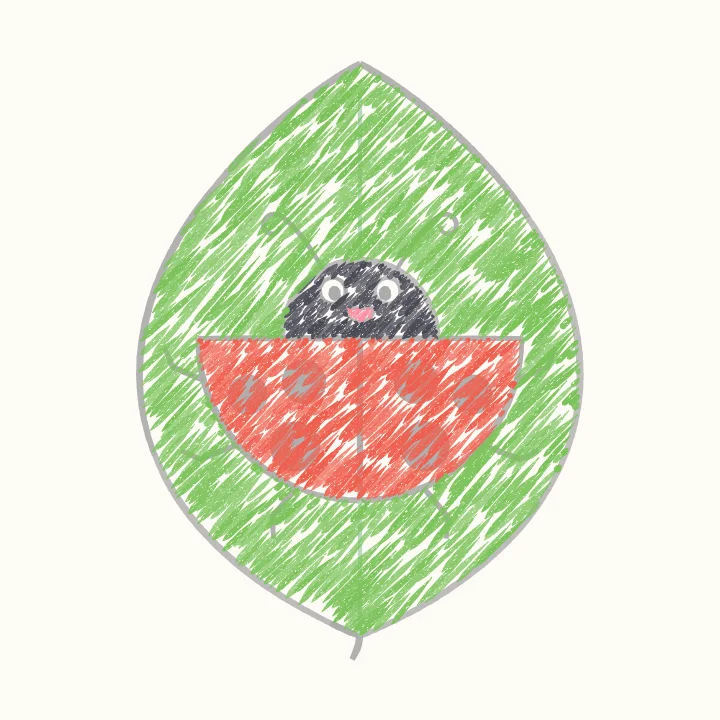
Colour it in
Colour the shell red, the head black and the leaf green. Leave the eyes white.
Ages 5 to 7