Sweet Treats, ages 8 to 12
How to draw Ice Cream Cone
Strawberry on mint choc chip in a waffle cone. Turn two circles into melting scoops with bumpy edges and drips, cross-hatch the waffle, then colour it with a white shine on each scoop and shadow on the side away from the light.
No account needed to try it.

- Level
- Easy
- Time
- 20 minutes
- Steps
- 7
- Ages
- 8 to 12
How to draw Ice Cream Cone
What you need
- Paper Plain printer paper is perfect.
- Pencil (HB) For light first shapes you can erase.
- Black fineliner 0.5 mm, or any black pen.
- Eraser A soft white eraser.
- Coloured pencils Any set; sharpen them first.
Step by step
-
 01
01Big shapes
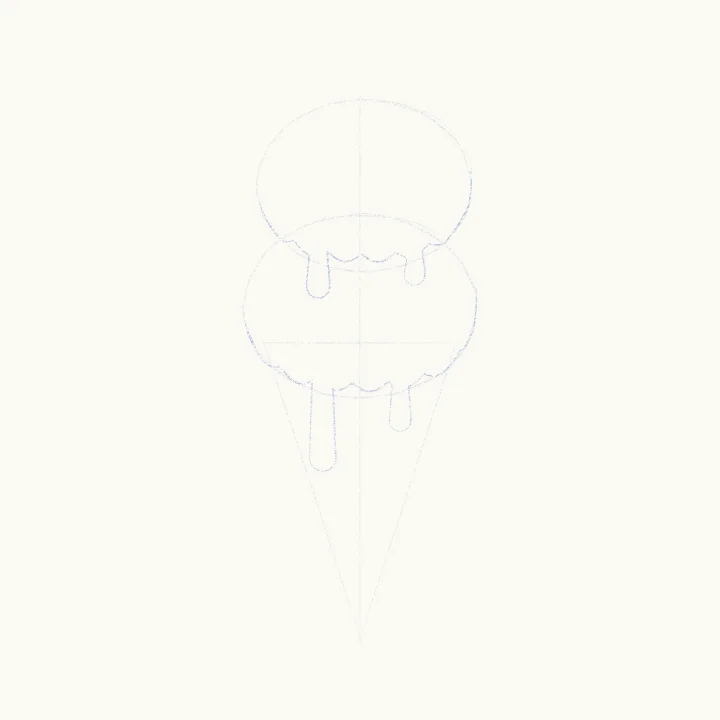
A triangle and two circles
Lightly draw a long triangle, point down, for the cone. Stack two circles on top for the scoops, a little wider than the cone.
-
 02
02Construction
Melting edges
Give each scoop a bumpy bottom edge where it melts, and add a few drips, like fingers, running down.
-
 03
03Details
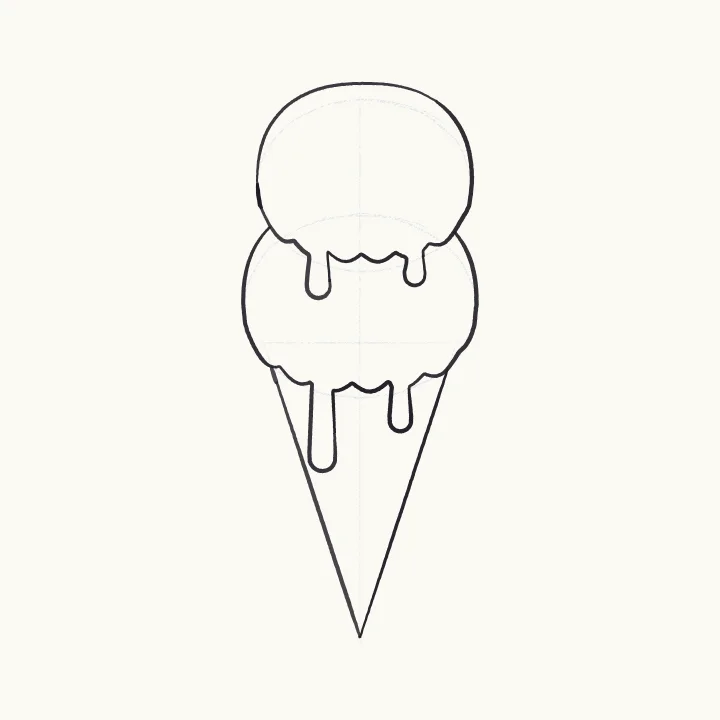
Ink front to back
Ink the top scoop first, then the bottom scoop, then the cone. Stop each line where it meets a shape in front.
-
 04
04Details
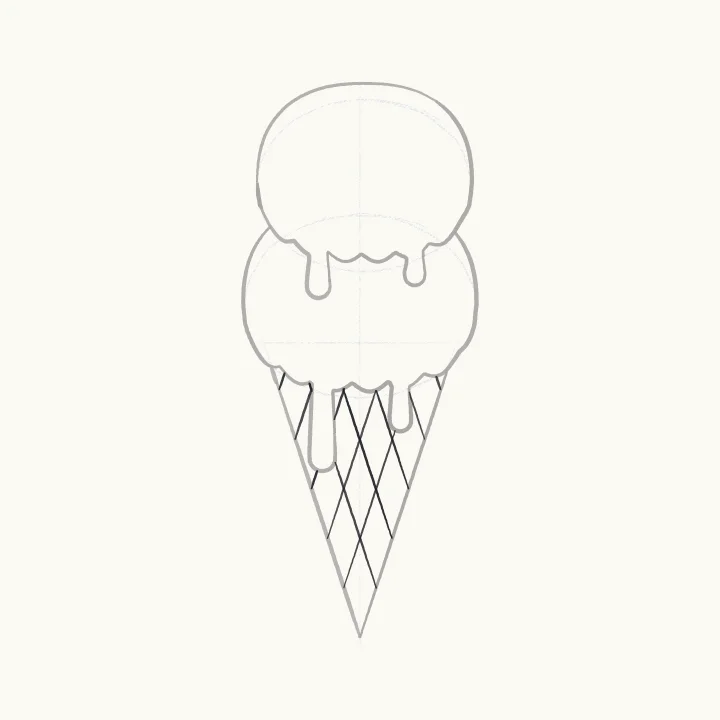
Waffle lines
Draw the waffle: lines that follow one side of the cone, then lines that follow the other side, crossing into diamonds.
-
 05
05Details
Erase the pencil
Let the ink dry for a minute, then gently erase every pencil line.
-
 06
06Colour
Colour, but keep the shine
Colour the scoops pink and mint green, and the cone golden. Leave a white shine on the upper left of each scoop.
-
 07
07Finishing touches
Shadows, chips and bits
Add darker colour on each scoop’s lower right and under the top scoop. Dot in chocolate chips and strawberry bits.
Ages 8 to 12