Sweet Treats, ages 8 to 12
How to draw Sprinkle Donut
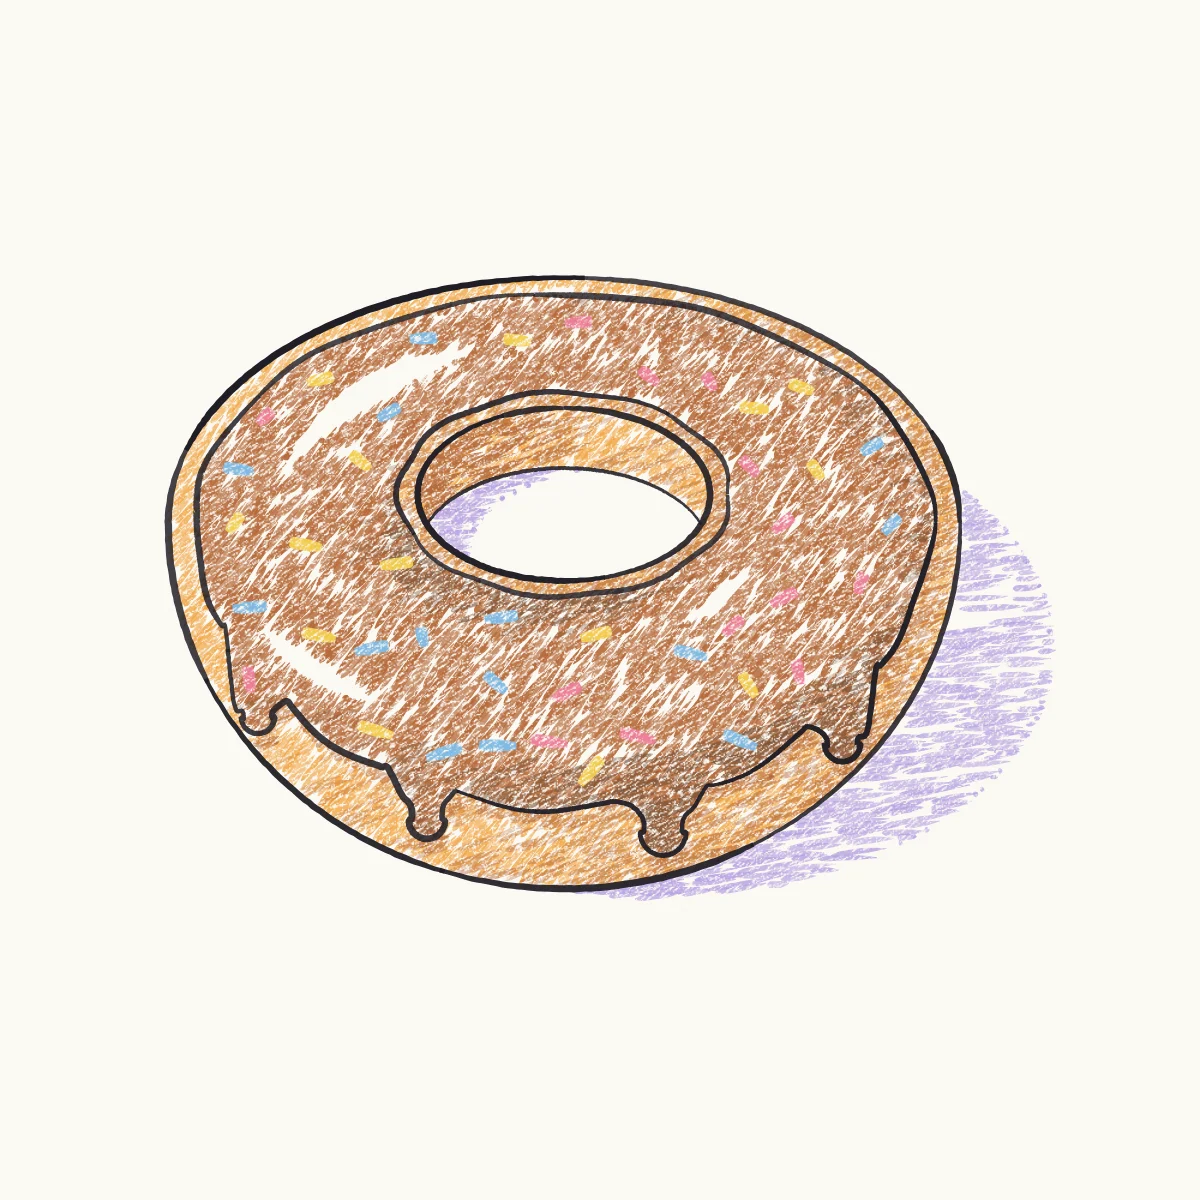
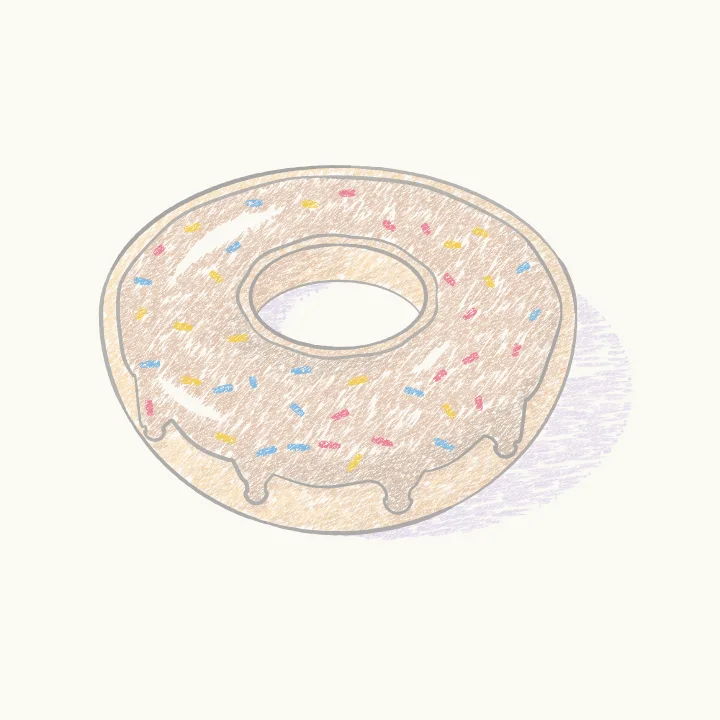
A chocolate donut with sprinkles, seen from above at an angle. Draw it as two ellipses with the hole a little above the middle, give it thickness, ink a dripping wavy icing, then shade it: outside the shadow is on the right, but inside the hole it flips to the left.
- Level
- Intermediate
- Time
- 30 minutes
- Steps
- 8
- Ages
- 8 to 12
How to draw Sprinkle Donut
What you need
- Paper Plain printer paper is perfect.
- Pencil (HB) For light first shapes you can erase.
- Black fineliner 0.5 mm, or any black pen.
- Eraser A soft white eraser.
- Coloured pencils Any set; sharpen them first.
Step by step
-
 01
01Placement
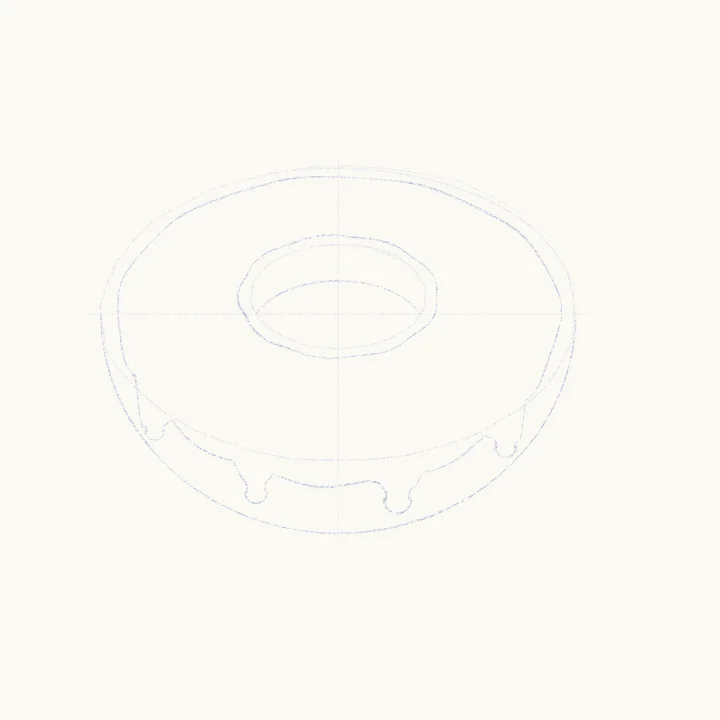
Two ellipses
Lightly draw a wide, flat ellipse for the donut, then a small one for the hole, a little above the middle.
-
 02
02Construction
Thickness and icing
Draw the donut’s thick side as a curve under the front. Add a curve inside the hole, then a wavy line for the icing.
-
 03
03Details
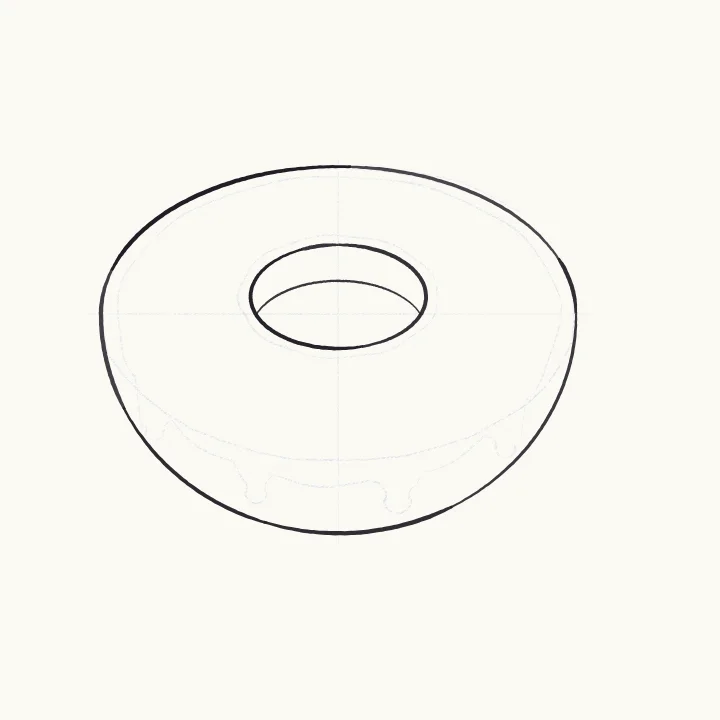
Ink the donut
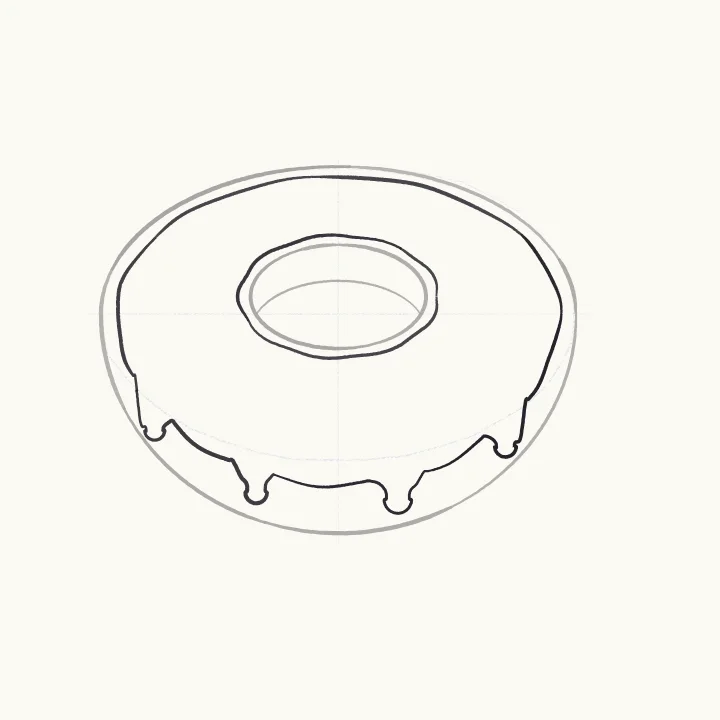
Ink the outside edge, the hole and the curve inside it. Keep every ellipse smooth and round at its ends.
-
 04
04Details
Ink the icing
Ink the icing’s wavy edge. Let it hang over the front with a few drips, and make a wavy ring round the hole.
-
 05
05Details
Erase the pencil
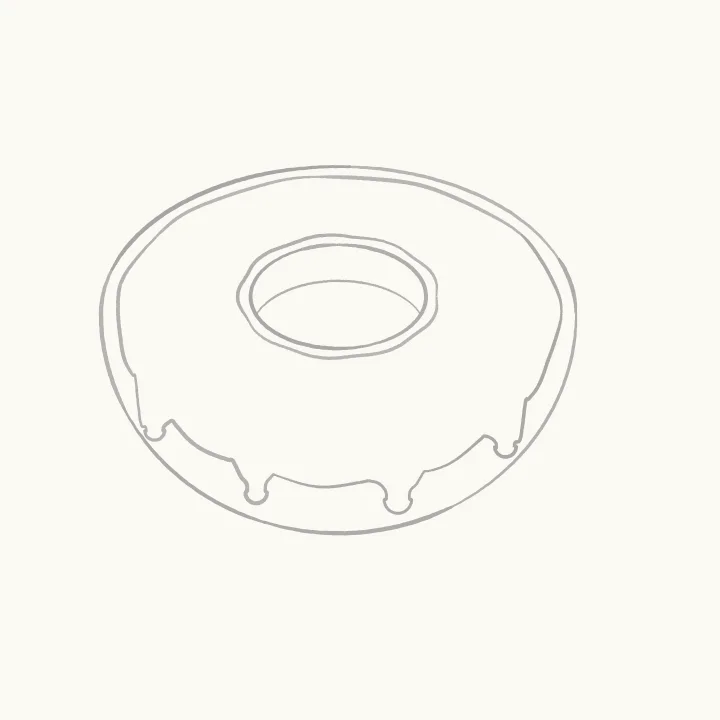
Let the ink dry for a minute, then gently erase every pencil line.
-
 06
06Colour
Golden dough, glossy icing
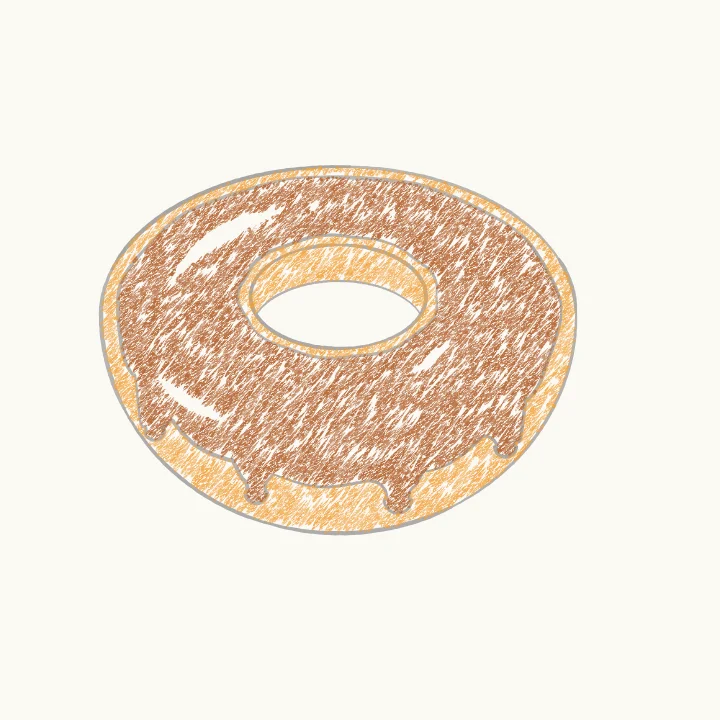
Colour the dough golden and the icing chocolate brown. Leave curved white shines on the icing where it faces the light.
-
 07
07Finishing touches
Shadows, outside and in
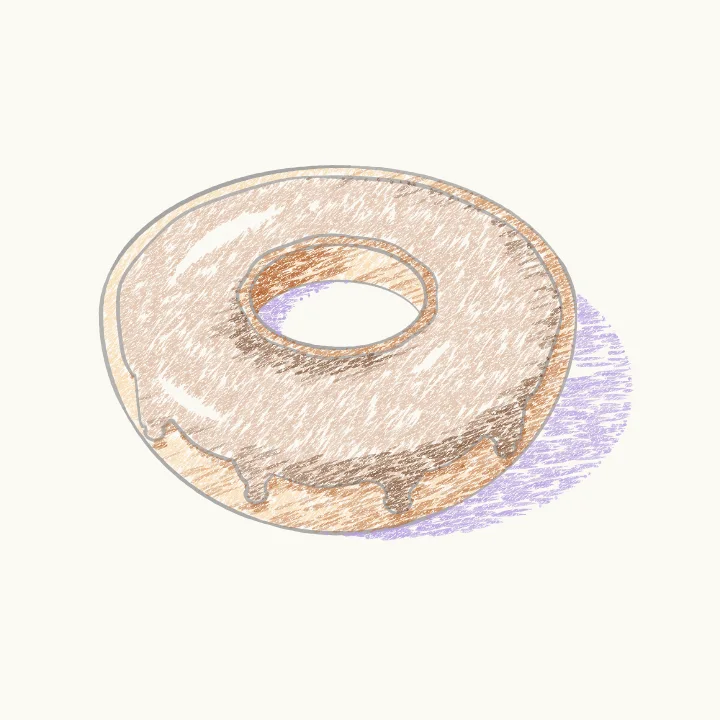
Shade the right of the dough and icing. In the hole it flips: shade the left wall. Then add the table shadow.
-
 08
08Finishing touches
Sprinkles in perspective
Add sprinkles all round the ring. Ones pointing across stay long; ones pointing away from you look short.
Ages 8 to 12