Line & Shape, teens and adults
How to draw True Ellipses
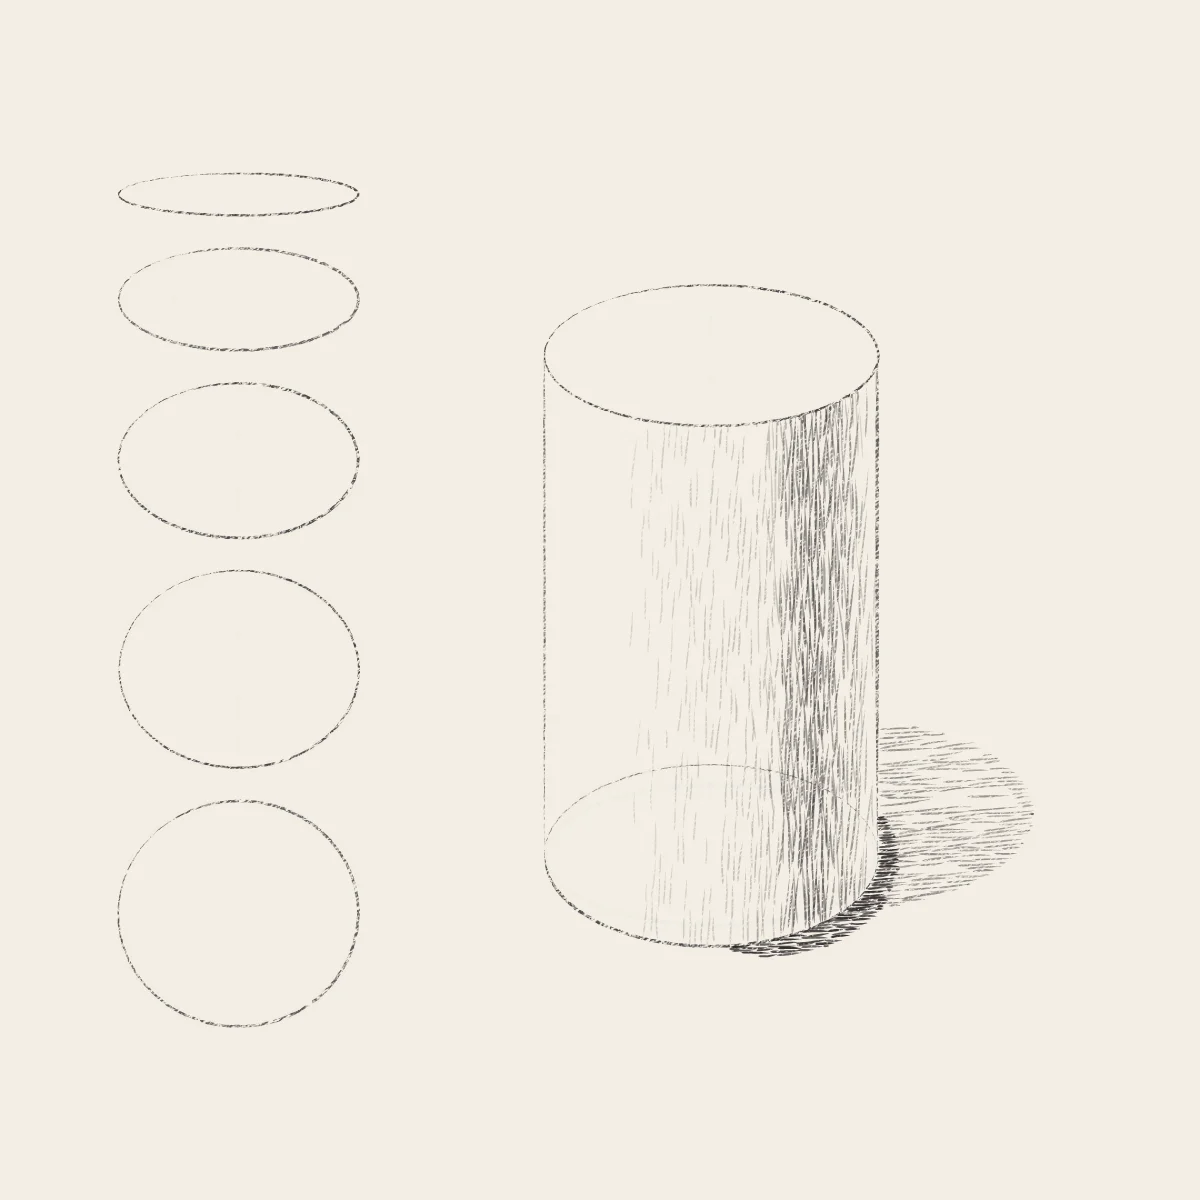
Stack five ellipses on one minor axis, from nearly a line to nearly a circle, drawing each one through in loops before committing it. Then build a cylinder whose base is rounder than its top, catch the classic mistake by measuring, and finish with light hatching on its shadow side.
No account needed to try it.
- Level
- Easy
- Time
- 25 minutes
- Steps
- 7
- Ages
- 13 and up
How to draw True Ellipses
What you need
- Drawing paper Cartridge or sketch paper with a little tooth.
- Blue pencil A light blue col-erase pencil, or a very light HB.
- Graphite pencils HB and 2B; a 4B or 6B for the darkest darks.
- Kneaded eraser Press and lift; pinch it to a point for highlights.
- Sharpener A sharp point makes cleaner hatching.
Step by step
-
 01
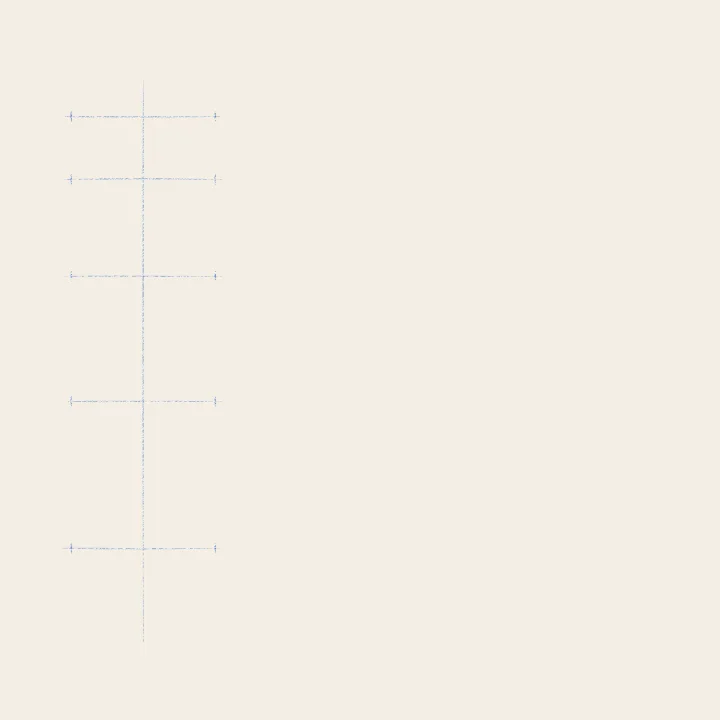
01Placement
Minor axis first
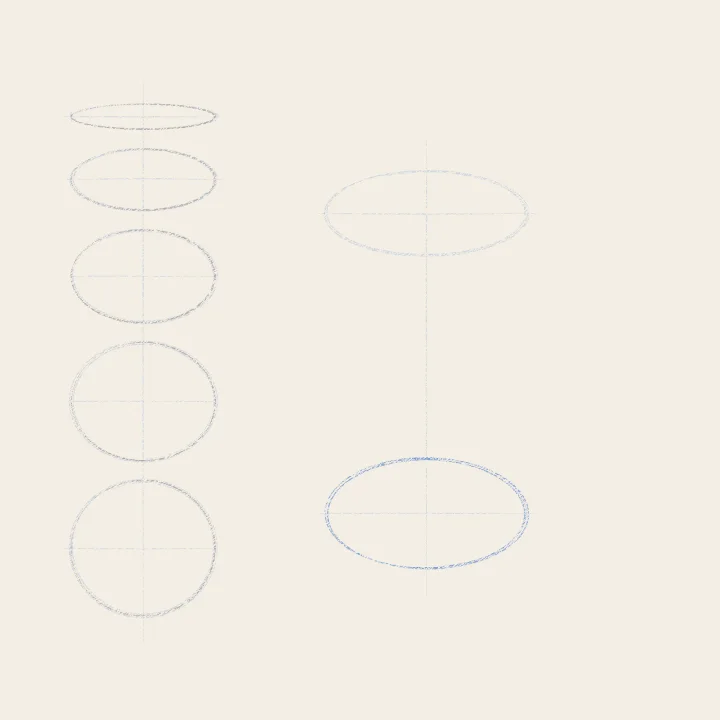
Draw a vertical minor axis, then five level major axes across it, all the same width. Each crossing is the centre of an ellipse.
-
 02
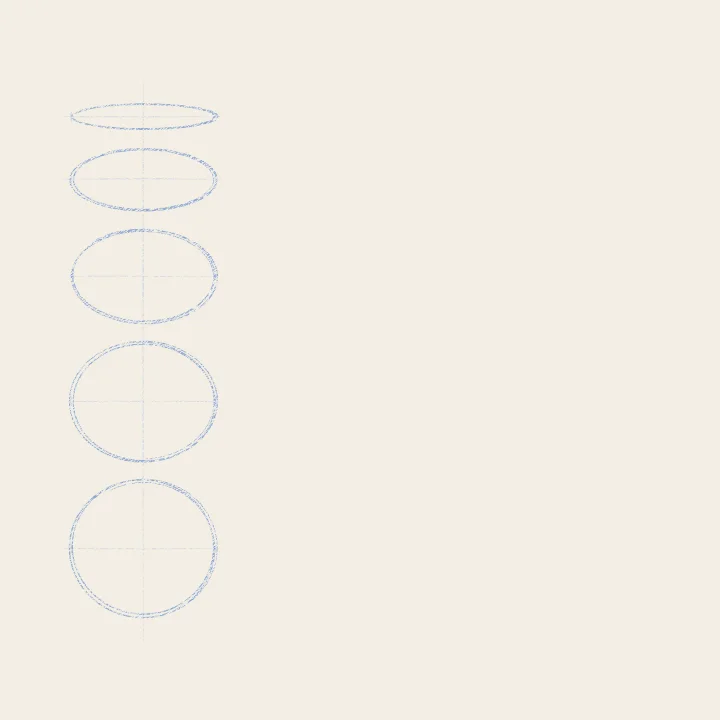
02Construction
Draw through, thin to round
Ghost each ellipse, then draw it through: two or three loops without lifting, just touching the ends of its major axis.
-
 03
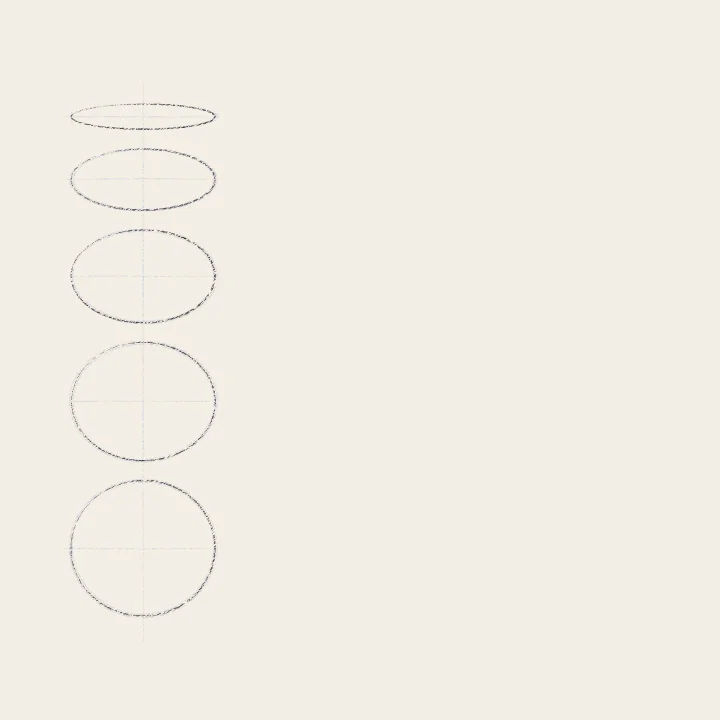
03Construction
Commit each ellipse
Now one confident graphite lap over each blue ellipse, in the same orbit. The ends stay round, never pointed.
-
 04
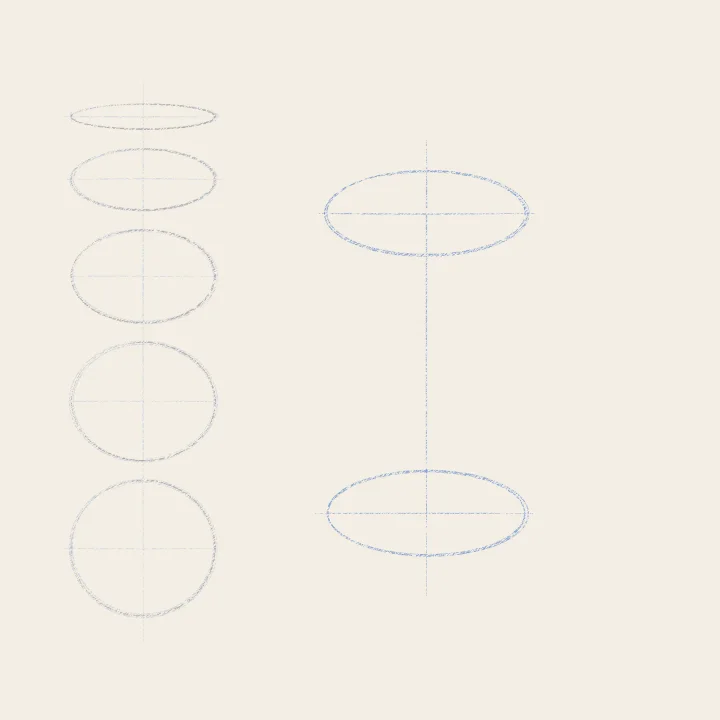
04Construction
A cylinder: axis and ends
A cylinder: draw a vertical axis, then an ellipse for the top and one for the base, centred on it and equally wide.
-
 05
05Construction
Check the degrees
Measure before committing: the base is no rounder than the top. It sits further below your eye, so it must open up. Redraw it.
-
 06
06Construction
Sides, then commit
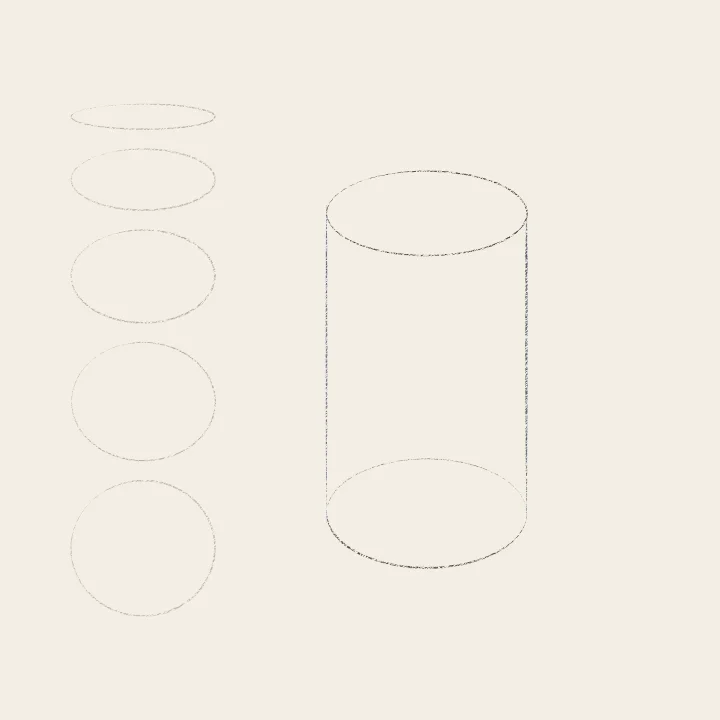
Join the ellipses with straight sides touching the ends of both major axes. Commit in graphite, the hidden back light. Lift the blue.
-
 07
07Light and shadow
Light on the cylinder
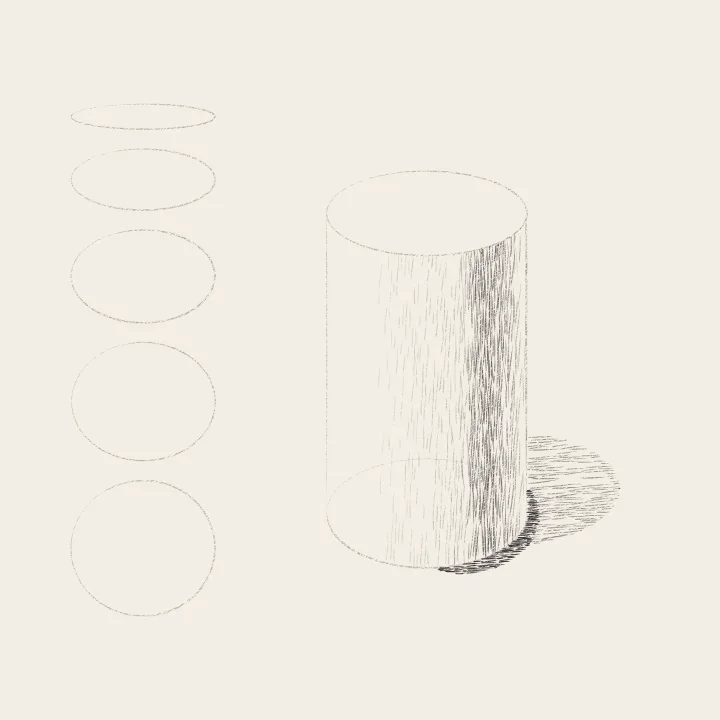
Light from upper left. Hatch the shadow side along the axis, darkest just past the shadow edge, then the cast shadow on the table.
Teens and adults