Line & Shape, teens and adults
How to draw A Box in Two-Point Perspective
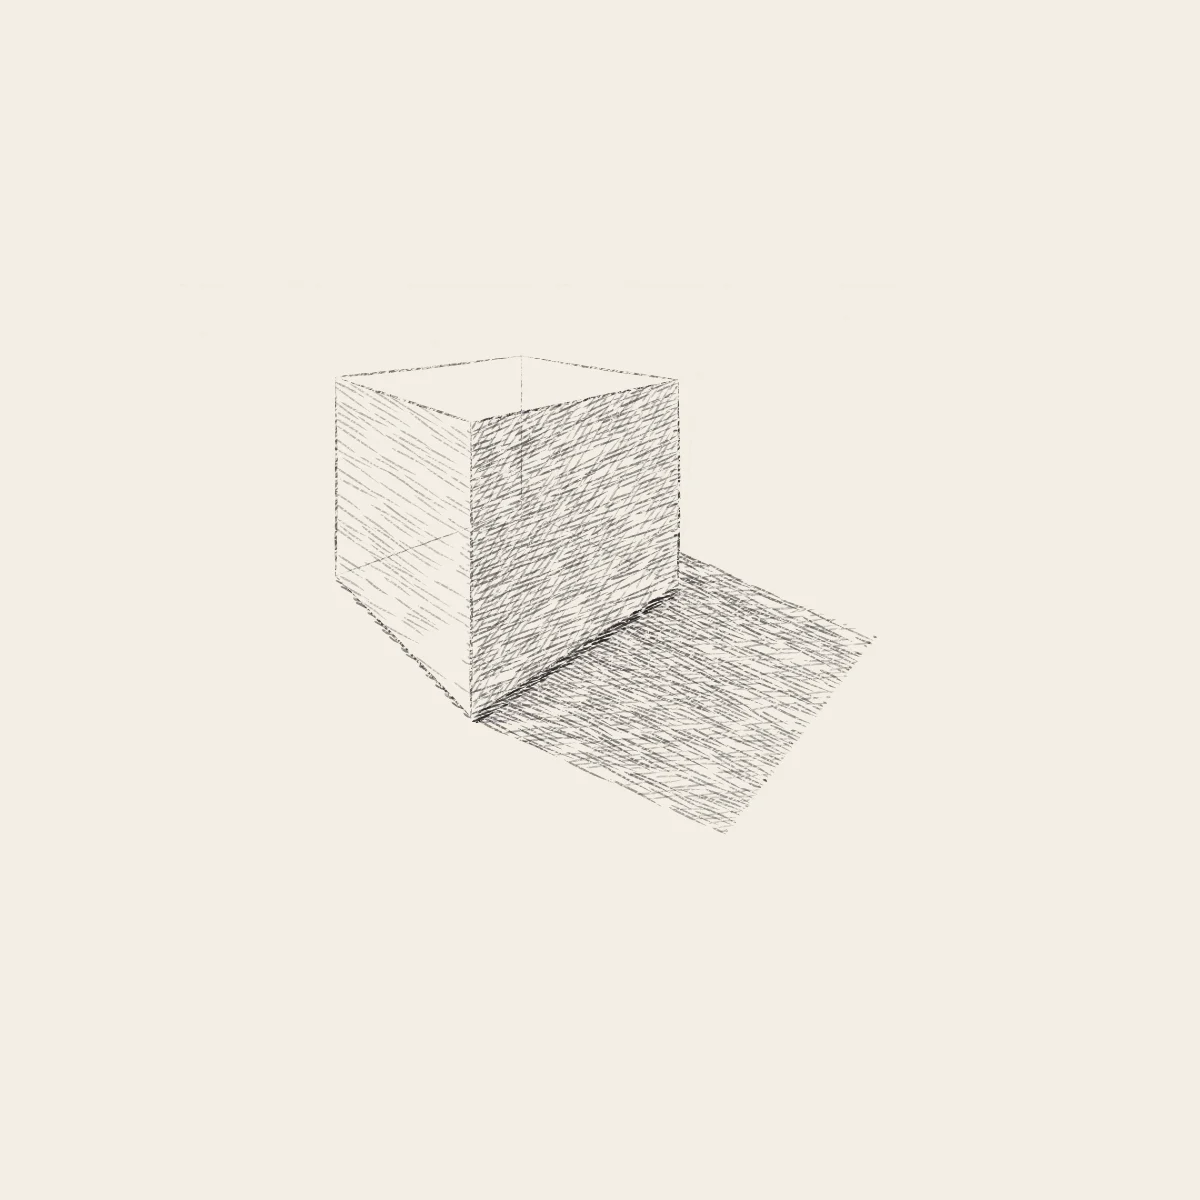
Set up an eye level and two vanishing points, build a box from its nearest edge, catch a leaning vertical by measuring, and draw through to the hidden corner that checks your work. Then give it a light top, a middle-grey face, a dark face and a cast shadow that obeys the same vanishing points.
No account needed to try it.
- Level
- Intermediate
- Time
- 35 minutes
- Steps
- 9
- Ages
- 13 and up
How to draw A Box in Two-Point Perspective
What you need
- Drawing paper Cartridge or sketch paper with a little tooth.
- Blue pencil A light blue col-erase pencil, or a very light HB.
- Graphite pencils HB and 2B; a 4B or 6B for the darkest darks.
- Kneaded eraser Press and lift; pinch it to a point for highlights.
- Sharpener A sharp point makes cleaner hatching.
Step by step
-
 01
01Placement
Horizon and vanishing points
Draw the horizon, your eye level, across the page, and mark a vanishing point near each edge. Every level edge aims at one.
-
 02
02Big shapes
The nearest edge
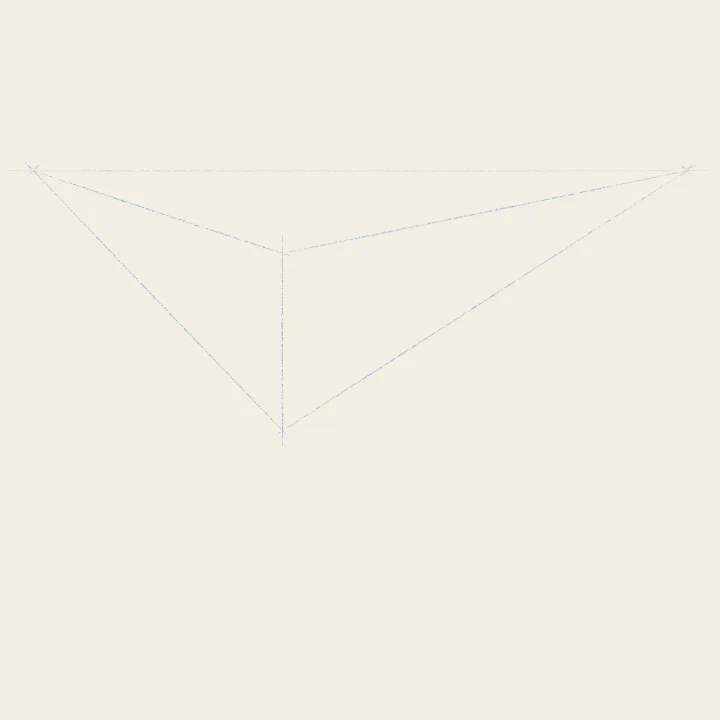
Draw the corner nearest you as one vertical line. Then run lines from its top and bottom back to each vanishing point.
-
 03
03Construction
The far verticals
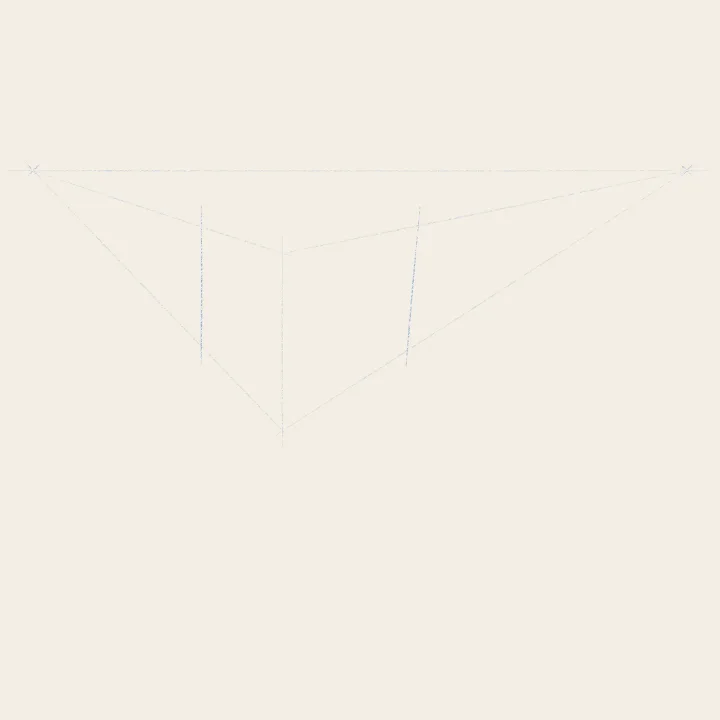
Decide how deep each side goes and draw a vertical there, from the bottom line up through the top line.
-
 04
04Construction
Check, then correct
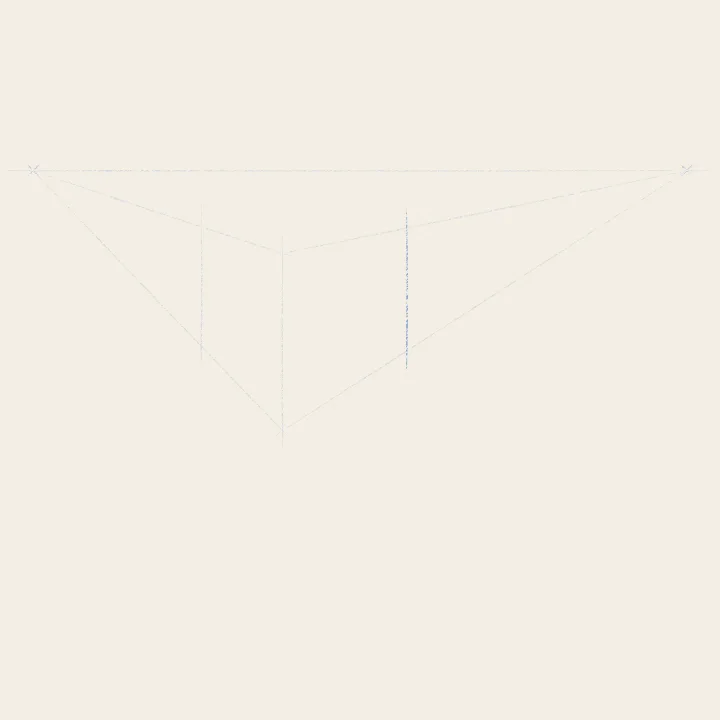
Check each vertical against the side of the page. The right one leans outward: lift it and draw it again, plumb.
-
 05
05Construction
Close the top
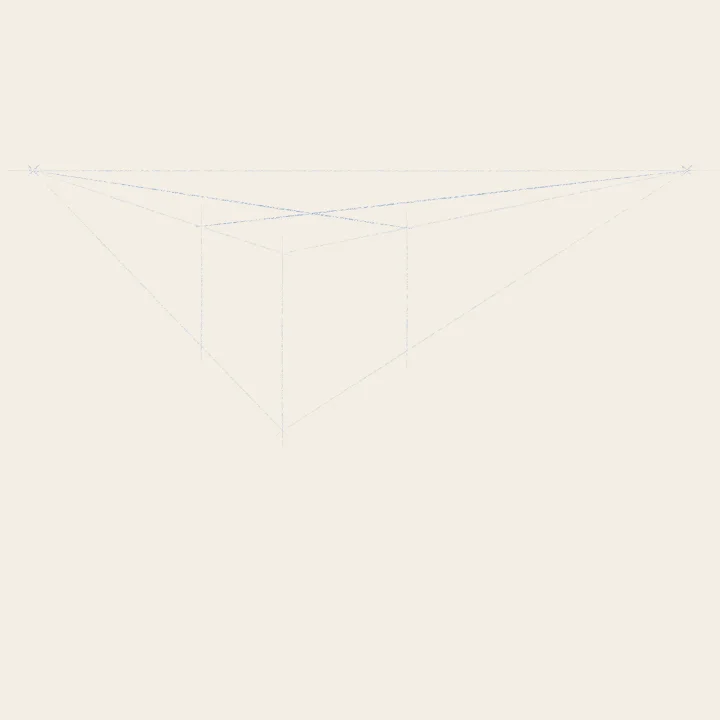
From the top of each far vertical, run a line to the opposite vanishing point. Where the two cross is the far top corner.
-
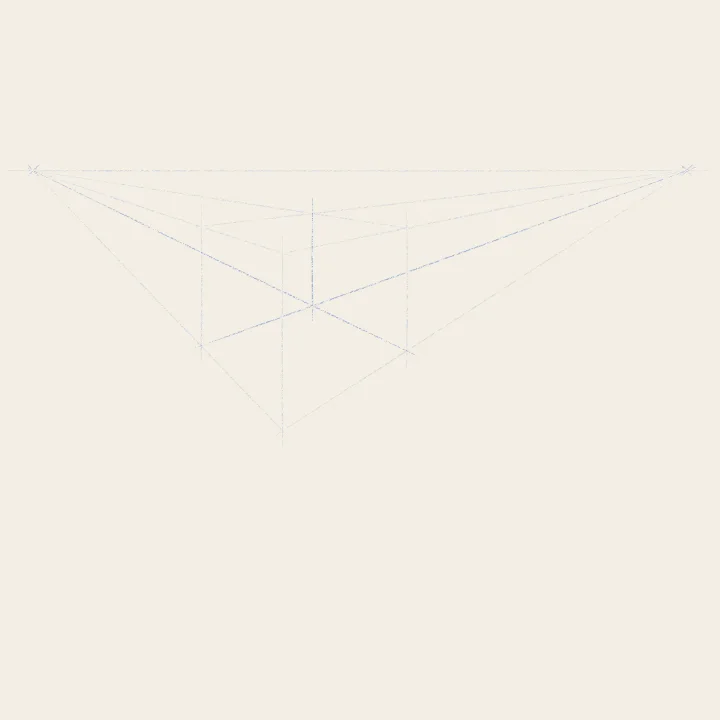 06
06Construction
Draw through the box
Run the bottom edges back the same way to find the hidden corner, then join it to the far top corner with a vertical.
-
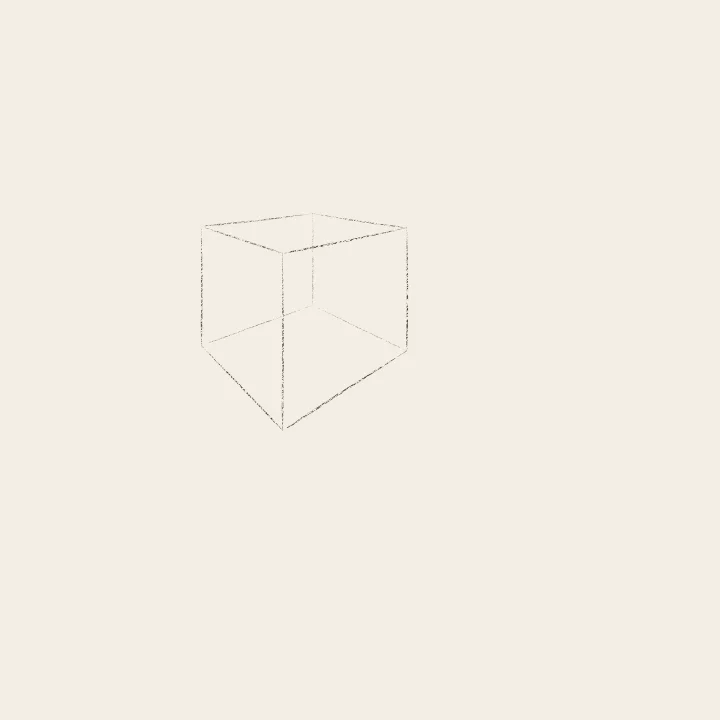 07
07Construction
Commit the edges
Now graphite, corner to corner: firm on the near edge and the shadow side, lighter going back, hidden edges faint. Then lift the blue.
-
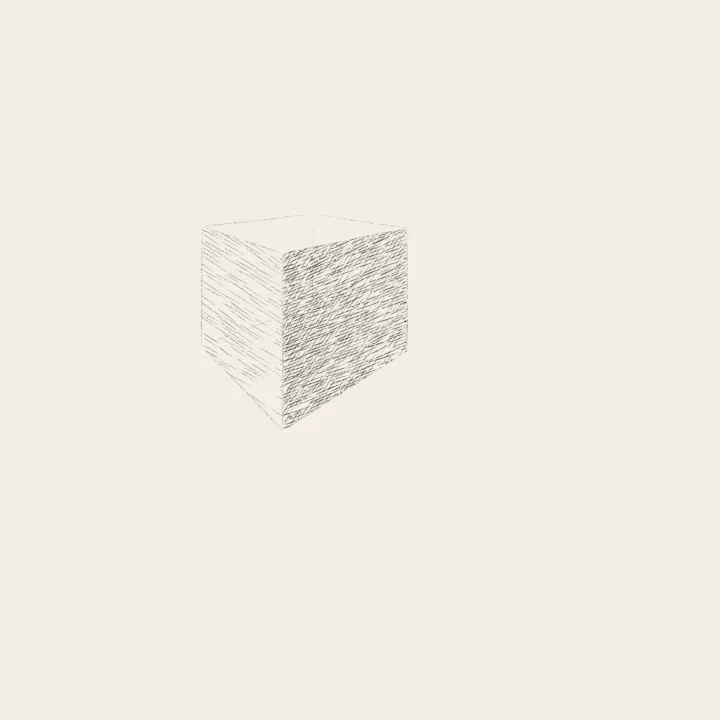 08
08Light and shadow
Three values
Light from the upper left: the top stays lightest, the left face a middle grey, the right face darkest.
-
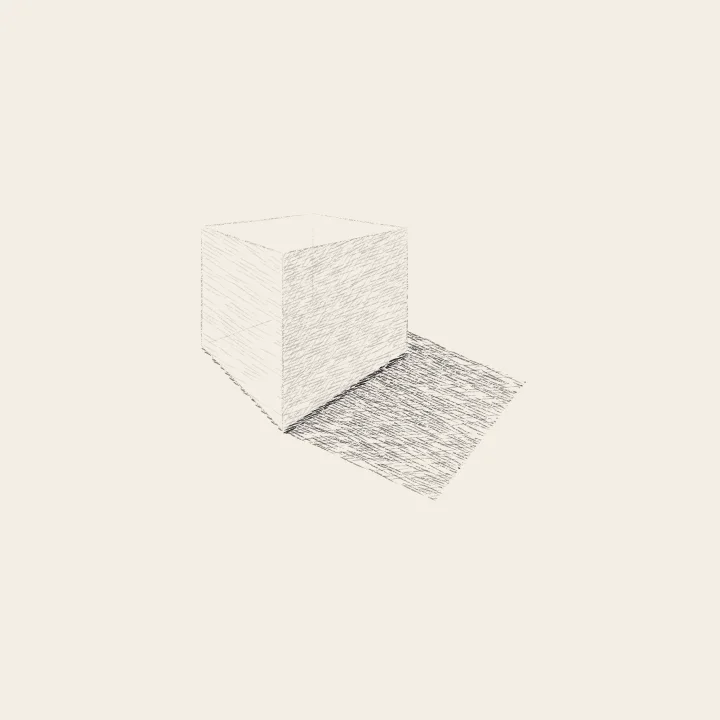 09
09Light and shadow
The cast shadow
The shadow falls down and to the right. Its far edge runs to the right vanishing point; darkest where it meets the box.
Teens and adults