Line & Shape, teens and adults
How to draw Confident Lines
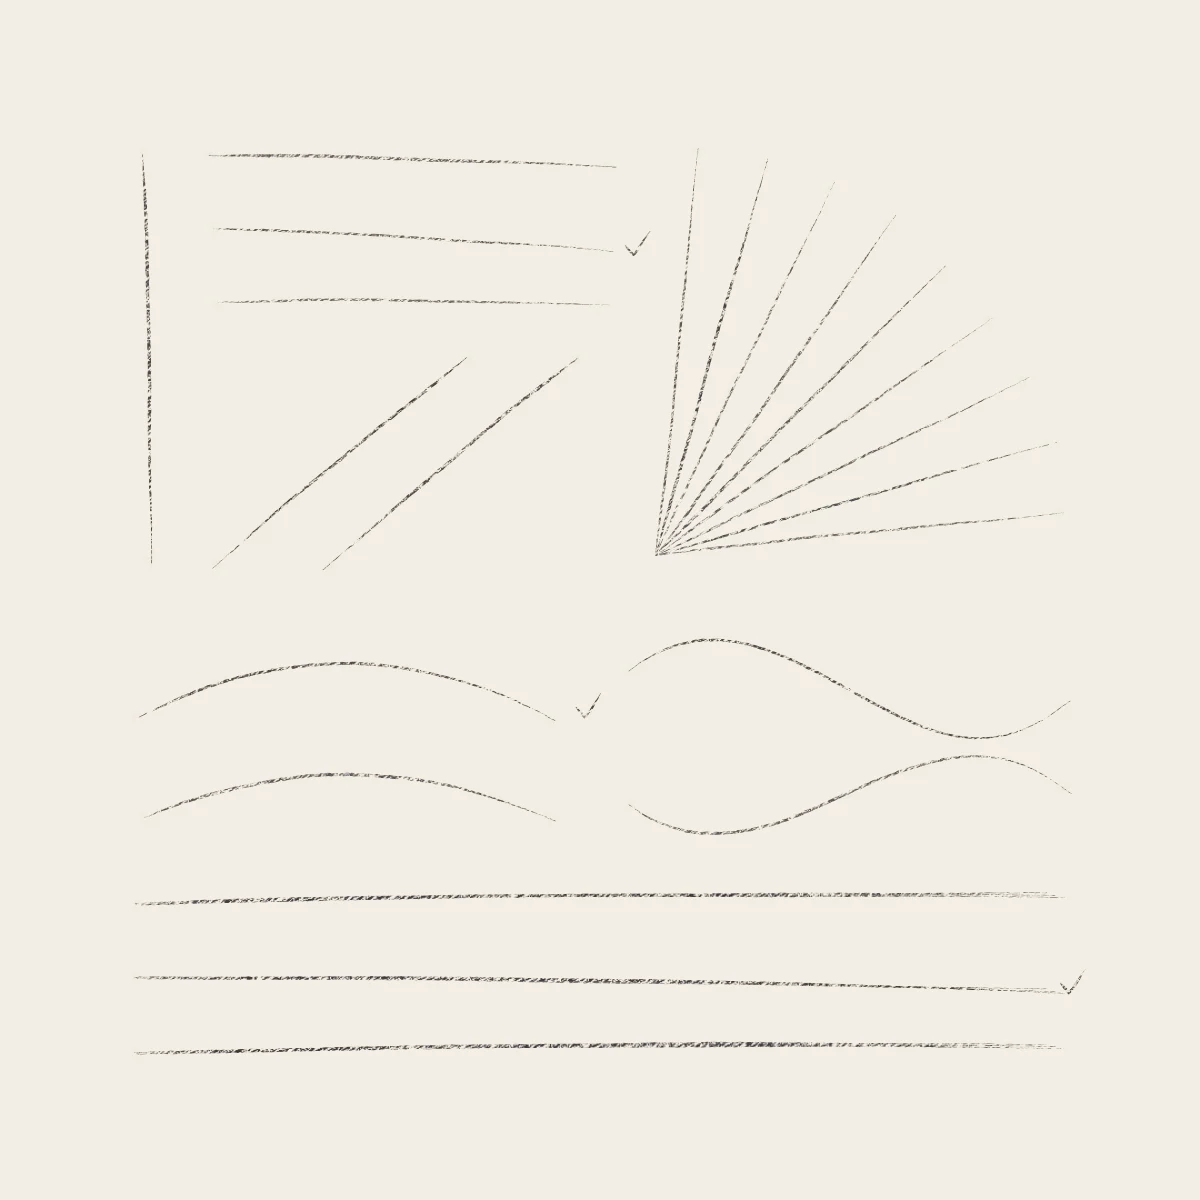
Place two dots, rehearse the stroke above the paper, then draw it from the shoulder in one pass. Straight lines at every angle, C- and S-curves through three dots, a fan from one point and lines laid three times over: a practice page you can repeat as a ten-minute warm-up.
No account needed to try it.
- Level
- First steps
- Time
- 20 minutes
- Steps
- 7
- Ages
- 13 and up
How to draw Confident Lines
What you need
- Drawing paper Cartridge or sketch paper with a little tooth.
- Blue pencil A light blue col-erase pencil, or a very light HB.
- Graphite pencils HB and 2B; a 4B or 6B for the darkest darks.
- Kneaded eraser Press and lift; pinch it to a point for highlights.
- Sharpener A sharp point makes cleaner hatching.
Step by step
-
 01
01Placement
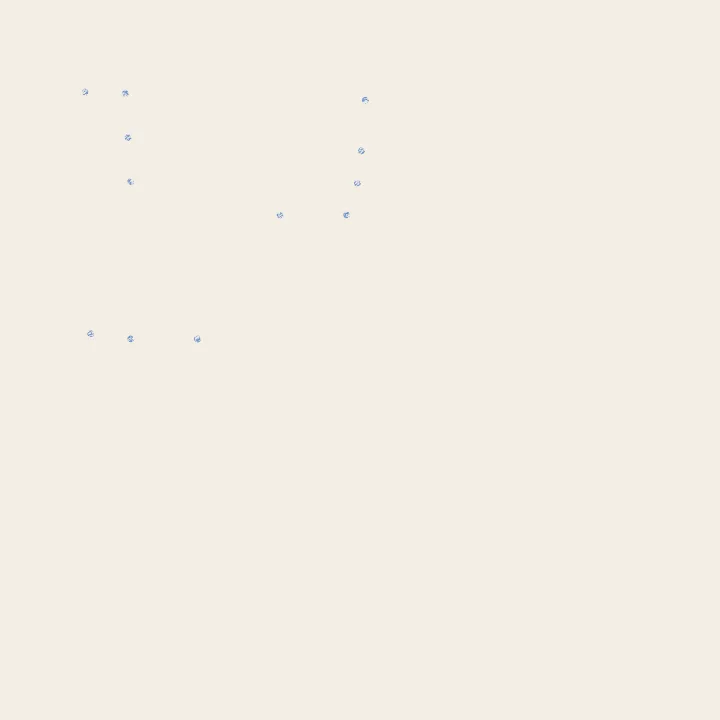
Plan with dots
Plan each line with two blue dots, a start and a target, about a third of the page apart and at several angles.
-
 02
02Construction
Ghost, then draw
Hover over the first dot and rehearse the stroke three times, eyes on the target. Then lower the pencil and draw it once.
-
 03
03Construction
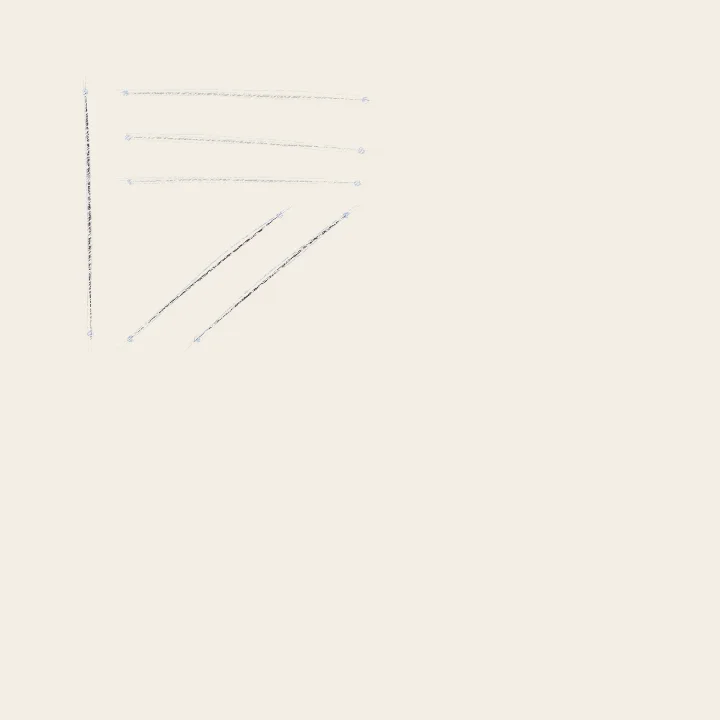
Every angle
Now two diagonals and a near-vertical. Turn the paper until each line runs in your strongest direction, then ghost it and draw.
-
 04
04Construction
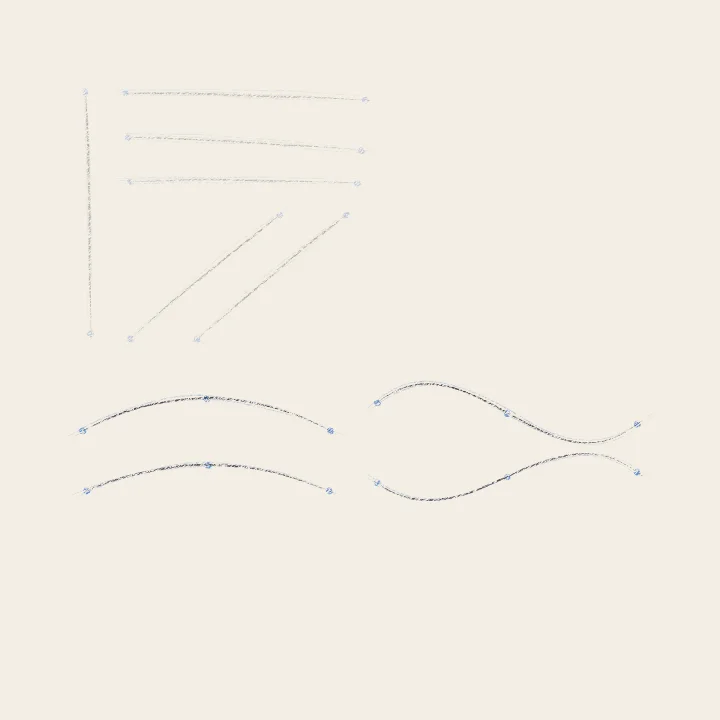
Curves through three dots
Three dots for each curve. Ghost one smooth sweep through all three, then draw it. The S changes direction at its middle dot.
-
 05
05Construction
A fan from one point
One dot for the hub, nine on an arc around it. Start every line exactly on the hub and draw outward.
-
 06
06Details
The same line, three times
Draw one long line, then lay it twice more exactly on top, at the same speed. Three passes should read as one line.
-
 07
07Finishing touches
Lift the blue, judge the page
Press the blue away with the kneaded eraser. Then tick the best line in each set: on target, straight, one clean stroke.
Teens and adults