Form & Light, teens and adults
How to draw A Pear
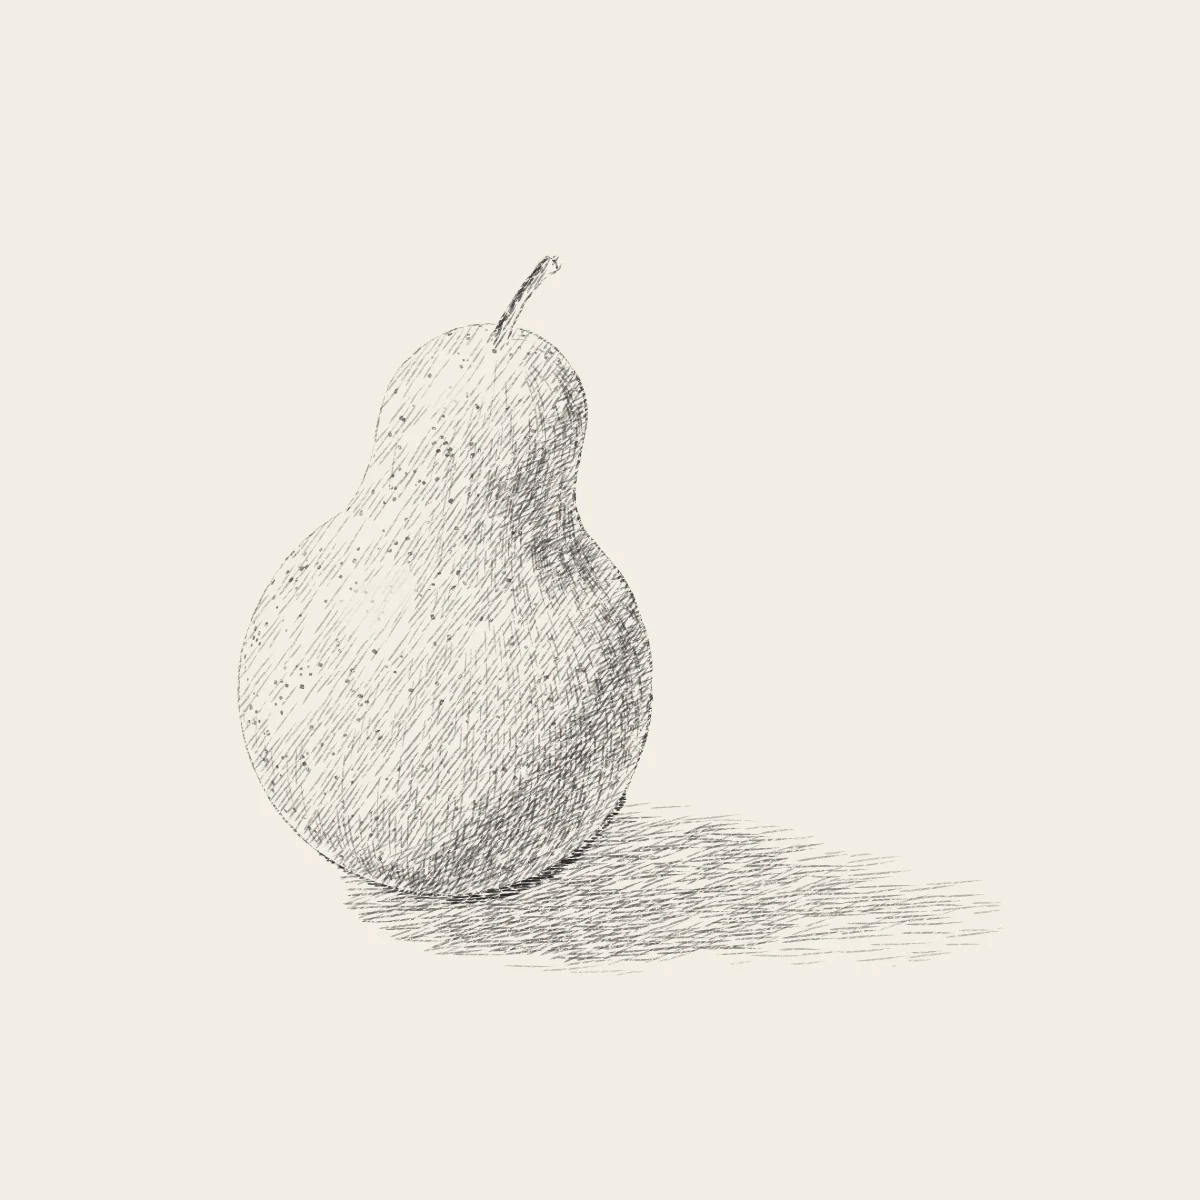
Build a pear from a small sphere over a large one, joined by smooth curves that pinch in at the neck. Give each sphere its own light, halftone and core shadow, let the neck carry the turn between them, and scatter speckles that shrink and crowd toward every turning edge.
- Level
- Intermediate
- Time
- 40 minutes
- Steps
- 7
- Ages
- 13 and up
How to draw A Pear
What you need
- Drawing paper Cartridge or sketch paper with a little tooth.
- Blue pencil A light blue col-erase pencil, or a very light HB.
- Graphite pencils HB and 2B; a 4B or 6B for the darkest darks.
- Kneaded eraser Press and lift; pinch it to a point for highlights.
- Sharpener A sharp point makes cleaner hatching.
Step by step
-
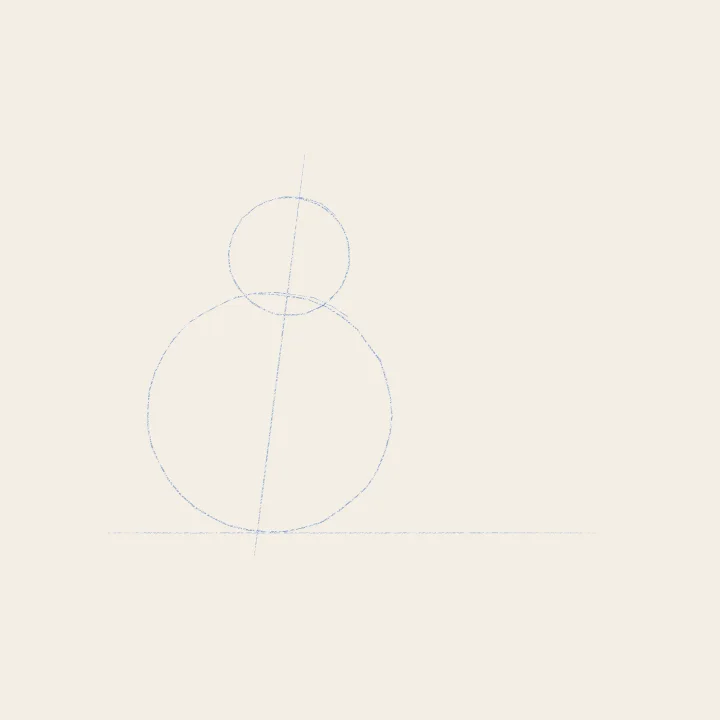 01
01Placement
An axis and two spheres
Draw a leaning axis, then two circles on it: a small one near the top, a big one at the bottom, overlapping a little.
-
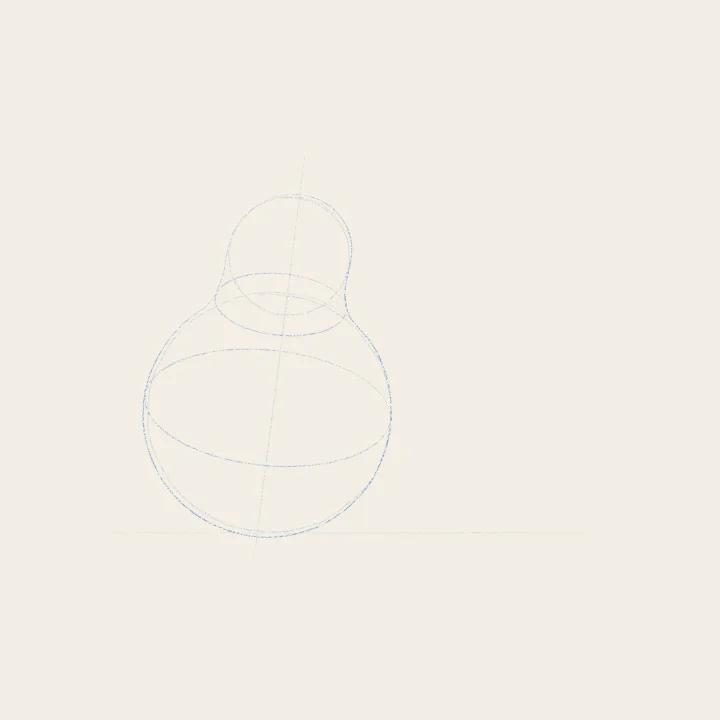 02
02Construction
Tangent curves at the neck
Join the two circles with smooth curves that touch each one and pinch in between: the neck. Flatten the base a little.
-
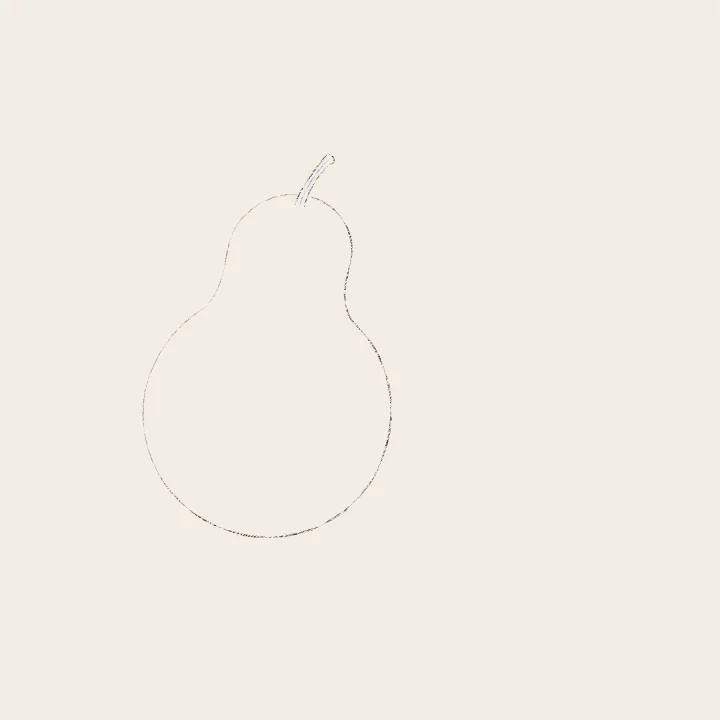 03
03Construction
Stem, contour, lift the blue
Add the curved stem from a small dimple at the top. Commit the contour, light where it faces the window. Lift the blue.
-
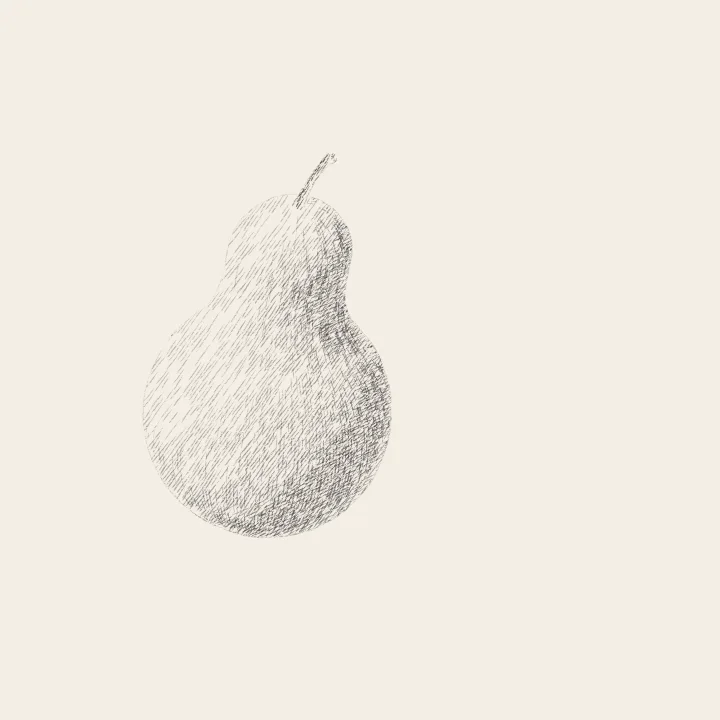 04
04Light and shadow
Value on two spheres
Shade each sphere as a sphere, with its own light, halftone and core. Then hatch down the neck, following the form.
-
 05
05Light and shadow
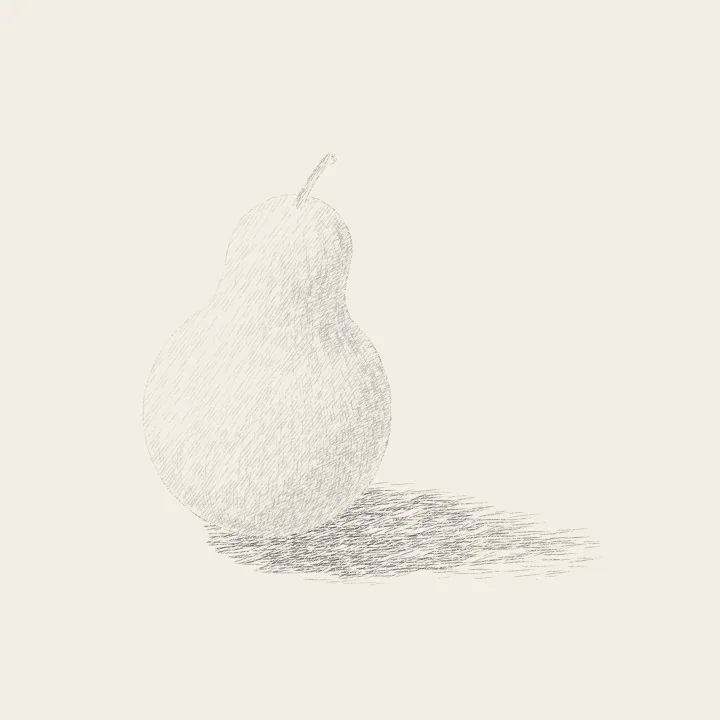
The cast shadow
Hatch the cast shadow to the right: the pear’s own shape laid on the table, wide under the belly, narrowing toward a rounded tip.
-
 06
06Details
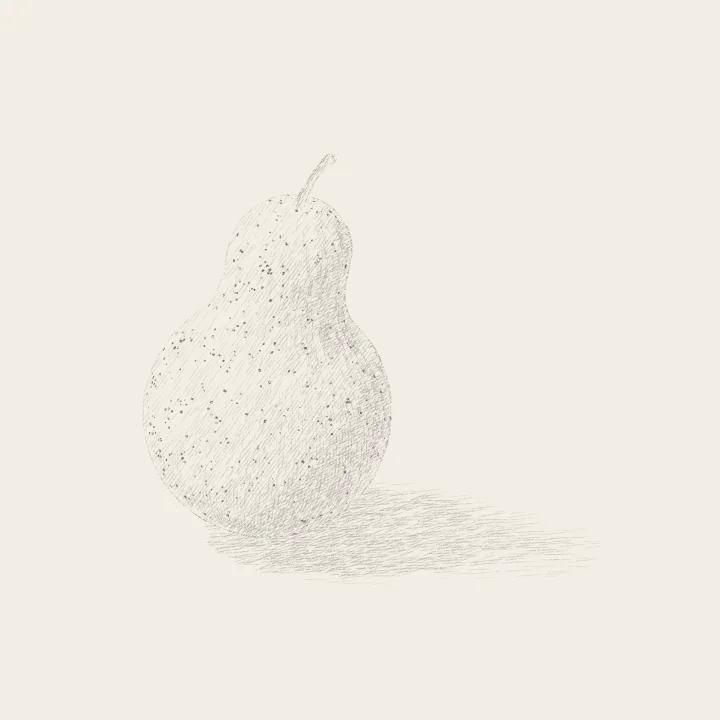
Speckles that follow the form
Dot the skin with small speckles: round where the pear faces you, smaller, flatter and closer together toward every edge.
-
 07
07Finishing touches
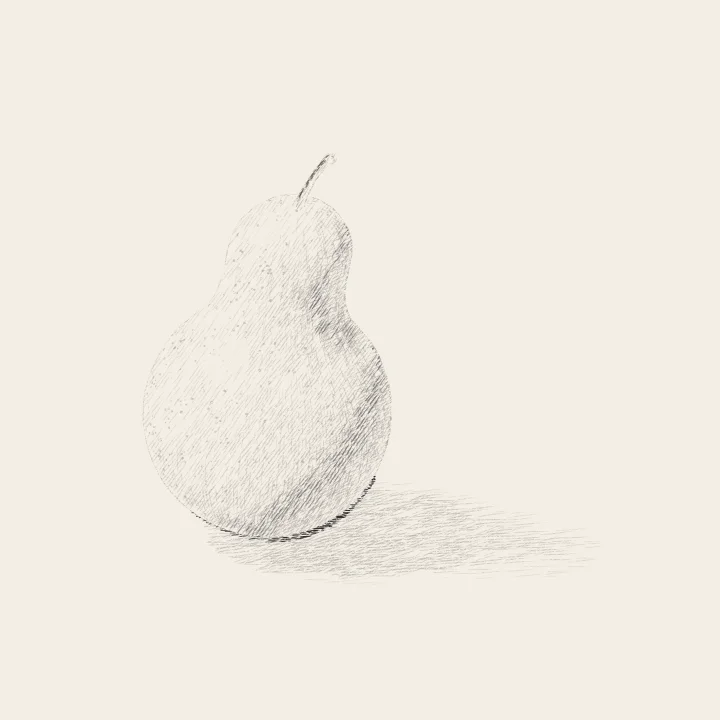
Last darks and soft lifts
Deepen both cores and the occlusion under the pear. Then dab two soft highlights out with the kneaded eraser, one on each sphere.
Teens and adults