Form & Light, teens and adults
How to draw A Coffee Mug
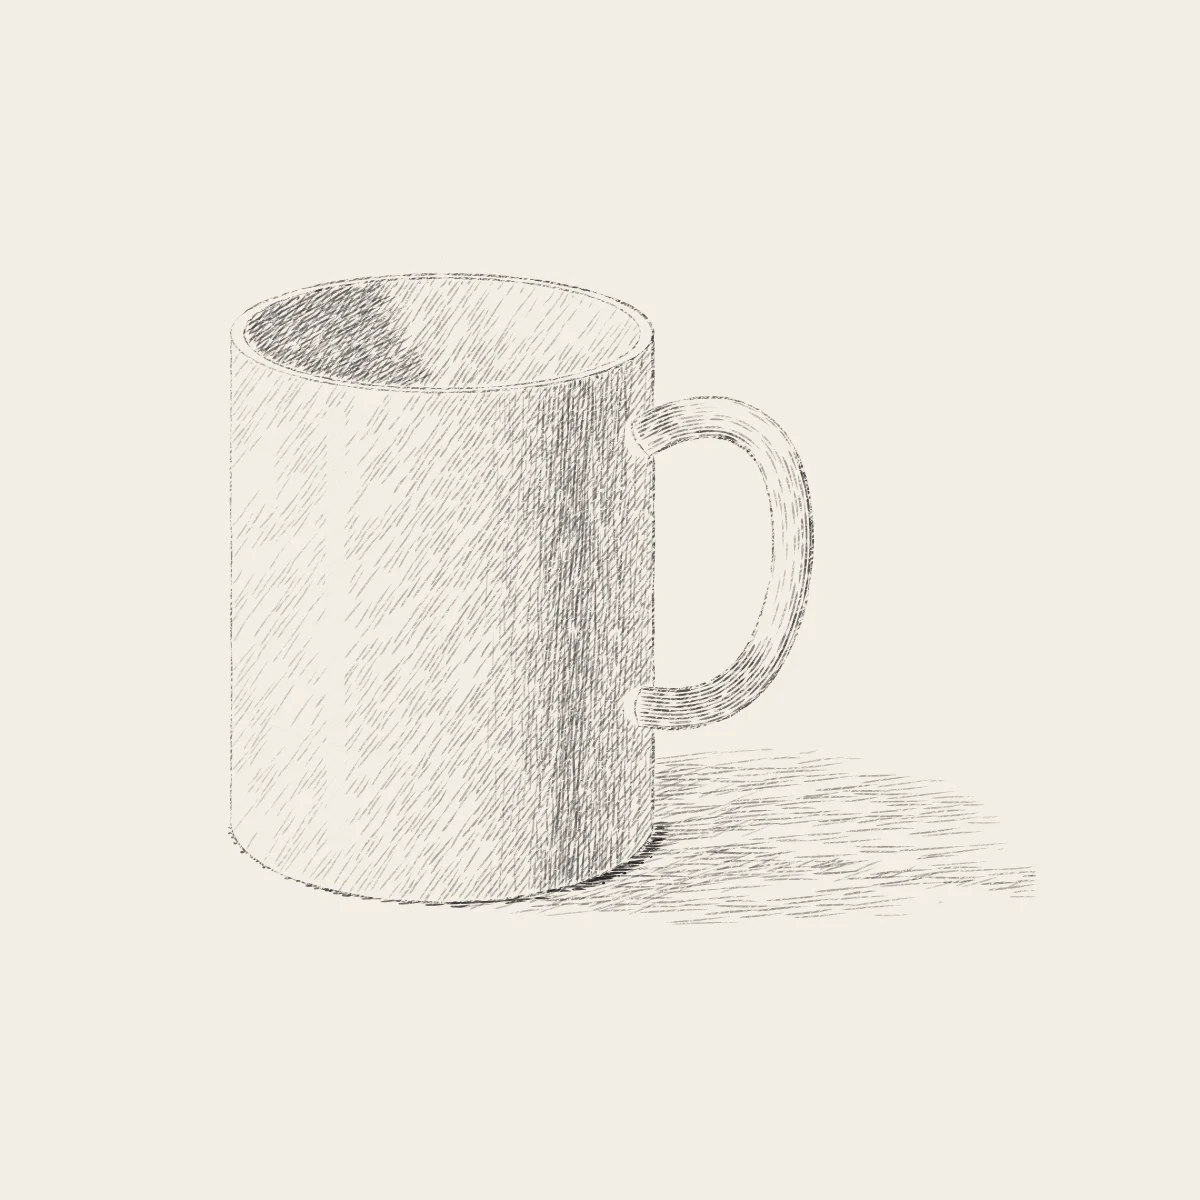
Build a mug on a vertical axis from a flat rim ellipse and a rounder base ellipse, give the lip its thickness and join a handle along the curve of the body. Then shade it the way a cylinder turns, in vertical bands of light, halftone, core shadow and reflected light, and find out why the inside is darkest on the lit side.
- Level
- Intermediate
- Time
- 40 minutes
- Steps
- 8
- Ages
- 13 and up
How to draw A Coffee Mug
What you need
- Drawing paper Cartridge or sketch paper with a little tooth.
- Blue pencil A light blue col-erase pencil, or a very light HB.
- Graphite pencils HB and 2B; a 4B or 6B for the darkest darks.
- Kneaded eraser Press and lift; pinch it to a point for highlights.
- Sharpener A sharp point makes cleaner hatching.
Step by step
-
 01
01Placement
Axis, height and width
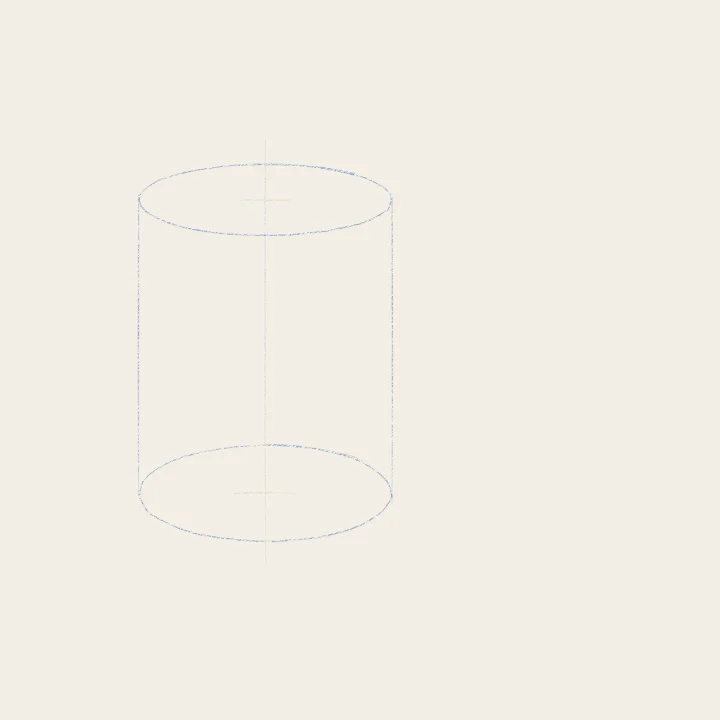
Drop a vertical axis. Tick the rim and the base on it, then the width: this mug is a little taller than wide.
-
 02
02Big shapes
Two ellipses, two sides
The rim is a flat ellipse, the base a rounder one. Join their ends with two vertical sides.
-
 03
03Construction
The lip and the handle
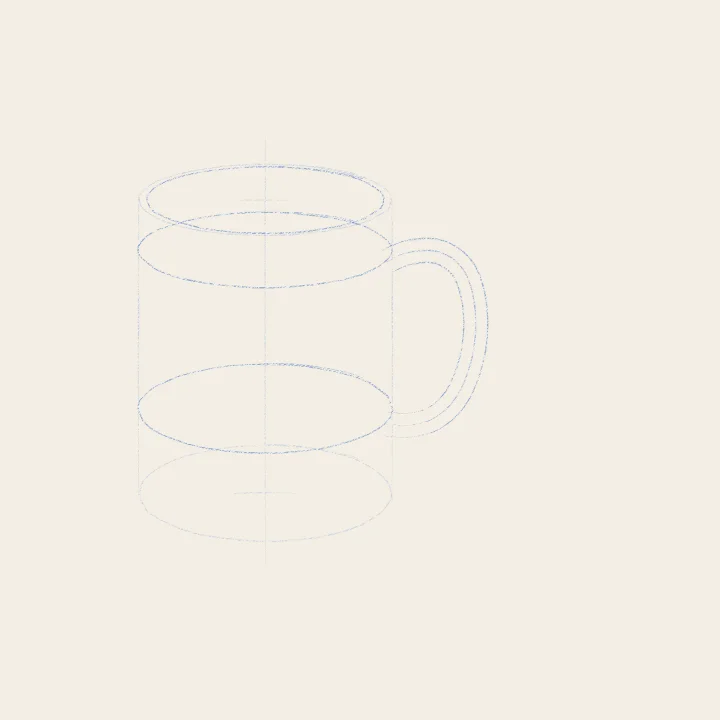
A second ellipse inside the rim gives the lip its thickness. The handle is a curved tube, joined to the body at two points.
-
 04
04Construction
Commit the line, lift the blue
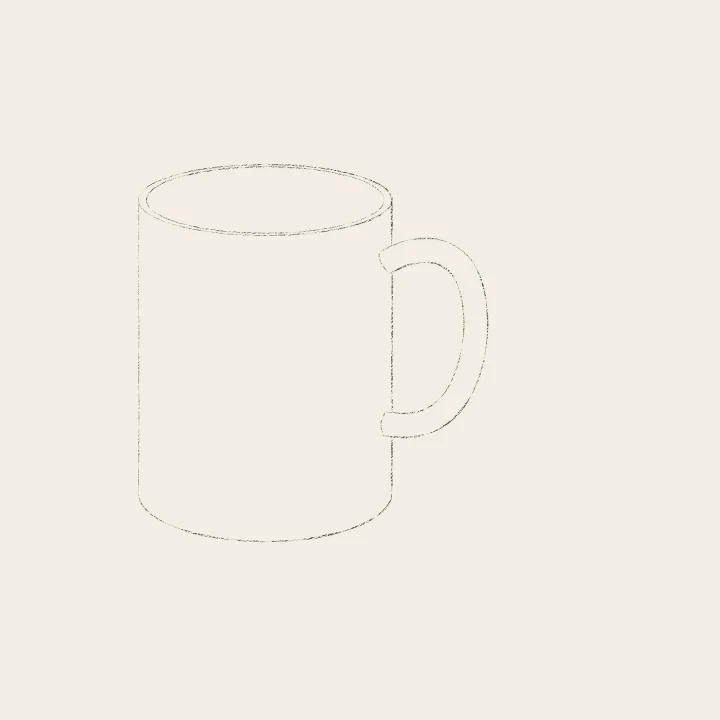
Graphite contour: light on the lit left, firmer on the shadow side. Only the front half of the base shows. Then lift the blue.
-
 05
05Light and shadow
Vertical bands
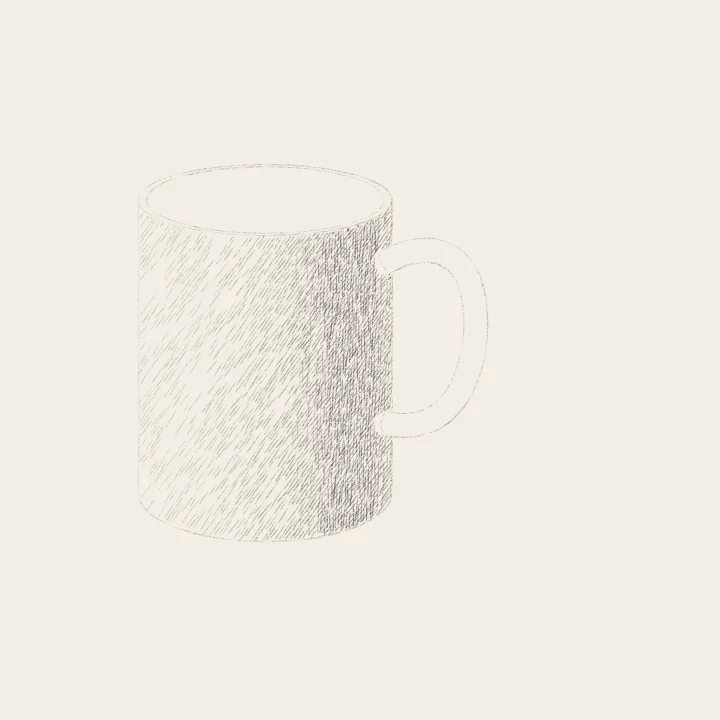
A cylinder turns only one way, so its value changes only across it: light, halftone, core shadow, then reflected light.
-
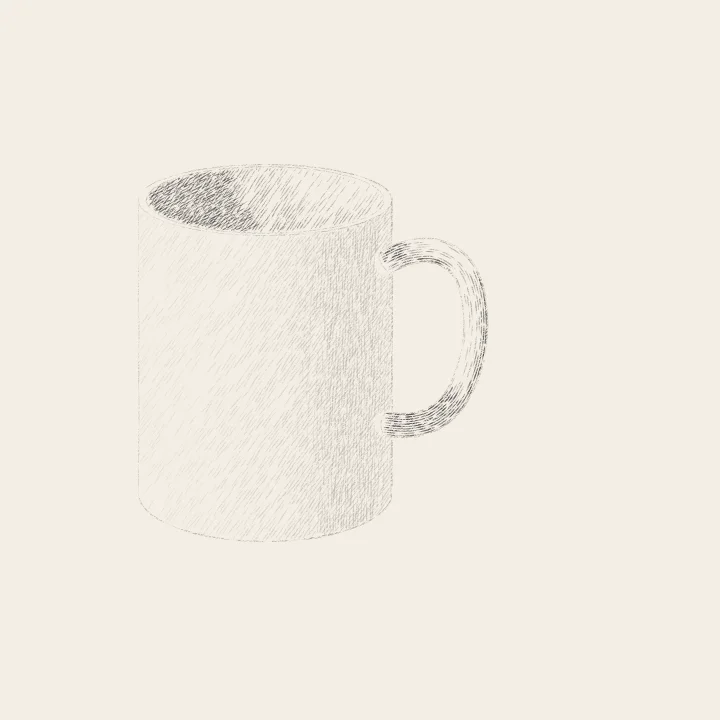 06
06Light and shadow
The inside and the handle
Inside, the light flips: the wall under the lit rim is darkest, shaded by the rim itself. Shade the handle as a tube.
-
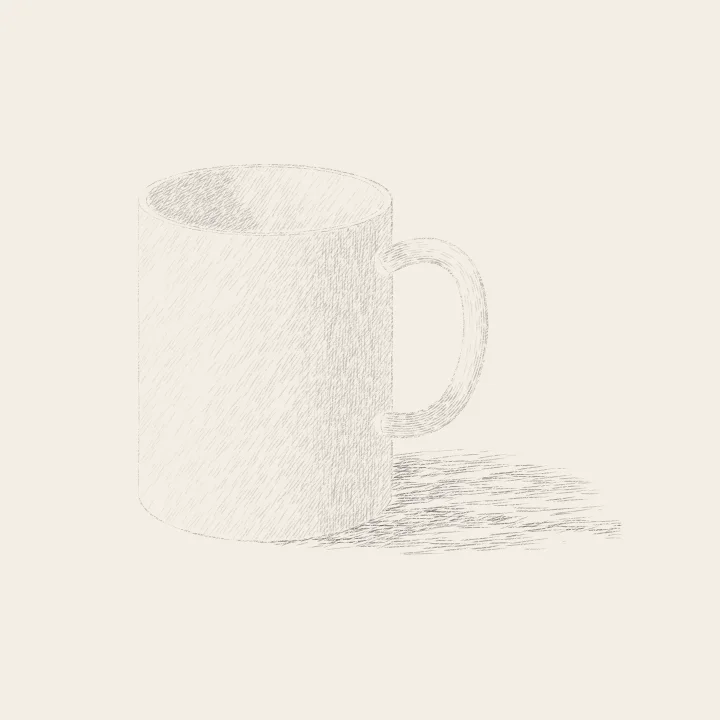 07
07Light and shadow
The cast shadow
The cast shadow runs from the base to the right across the table: darkest against the mug, lighter and softer as it goes.
-
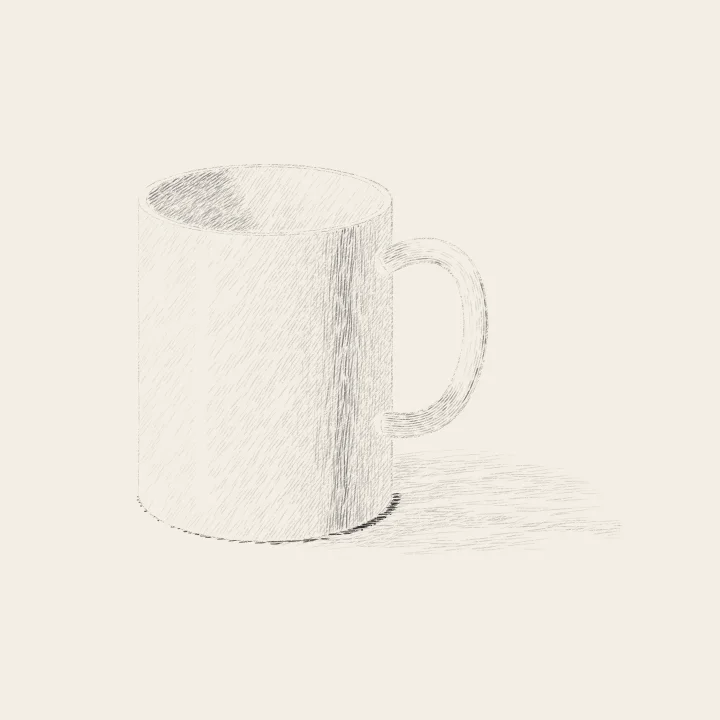 08
08Finishing touches
Occlusion, last darks, the gleam
Press hard where the base meets the table. Deepen the core. Then lift the glaze’s vertical highlight with the kneaded eraser.
Teens and adults