Form & Light, teens and adults
How to draw An Apple
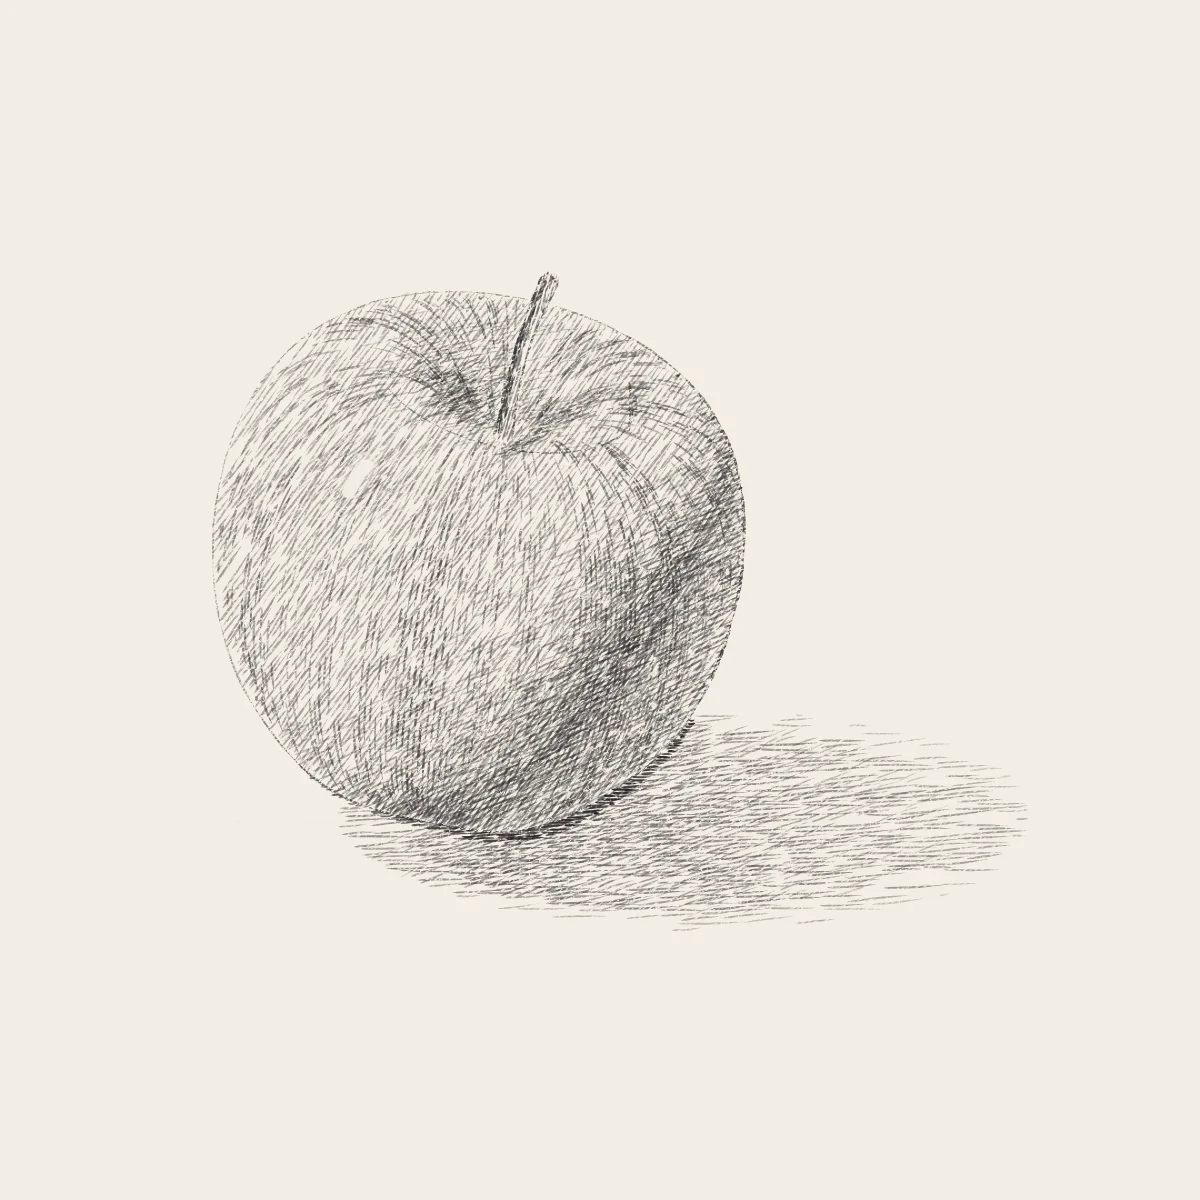
Start from a sphere and make it an apple: wider at the shoulders, a little lopsided, with its stem sitting down in a dip. Shade it like the sphere but a value darker, because an apple is not white, let curved streaks carry the tone from stem to base, and lift one crisp highlight.
- Level
- Intermediate
- Time
- 40 minutes
- Steps
- 8
- Ages
- 13 and up
How to draw An Apple
What you need
- Drawing paper Cartridge or sketch paper with a little tooth.
- Blue pencil A light blue col-erase pencil, or a very light HB.
- Graphite pencils HB and 2B; a 4B or 6B for the darkest darks.
- Kneaded eraser Press and lift; pinch it to a point for highlights.
- Sharpener A sharp point makes cleaner hatching.
Step by step
-
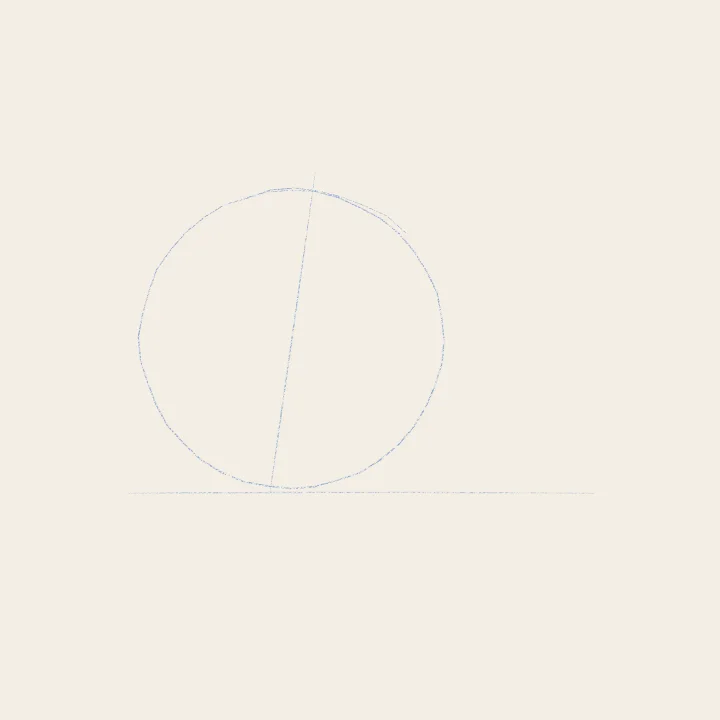 01
01Placement
A sphere and its axis
A circle for the sphere inside the apple, and an axis through it from stem to base: this apple leans a little right.
-
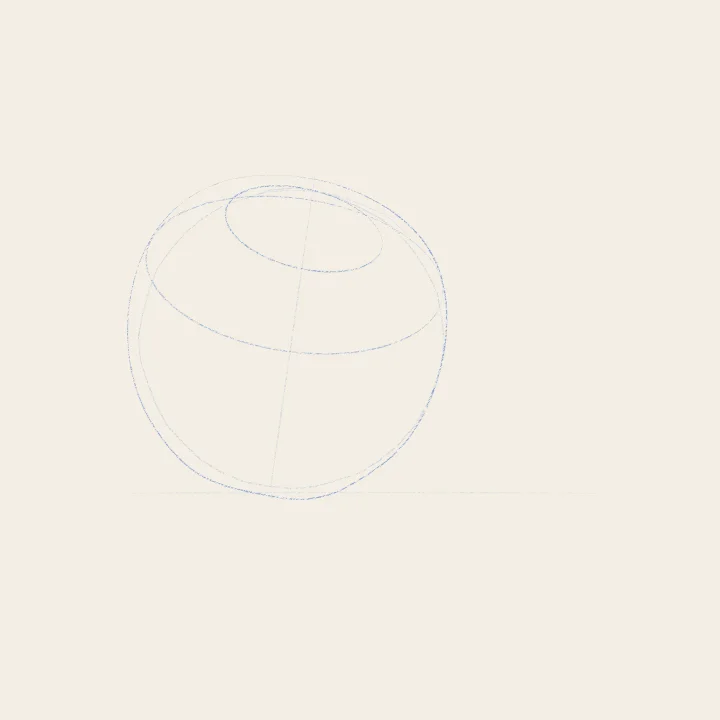 02
02Construction
Shoulders and the stem dip
Push the sphere into an apple: fuller at the shoulders, narrower toward the base, and an ellipse for the stem dip.
-
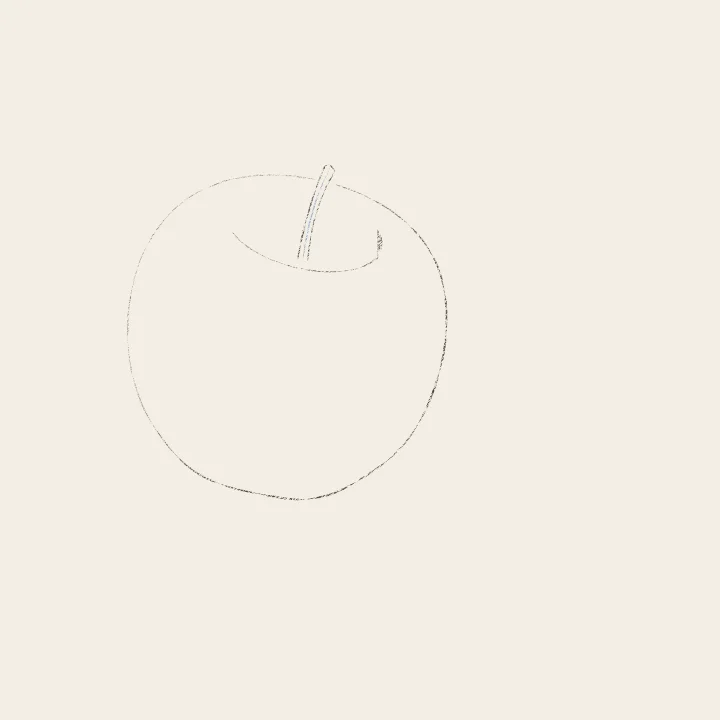 03
03Construction
Stem, contour, lift the blue
Draw the stem rising from the floor of the dip. Commit the contour: soft in the light, firm in shadow. Lift the blue.
-
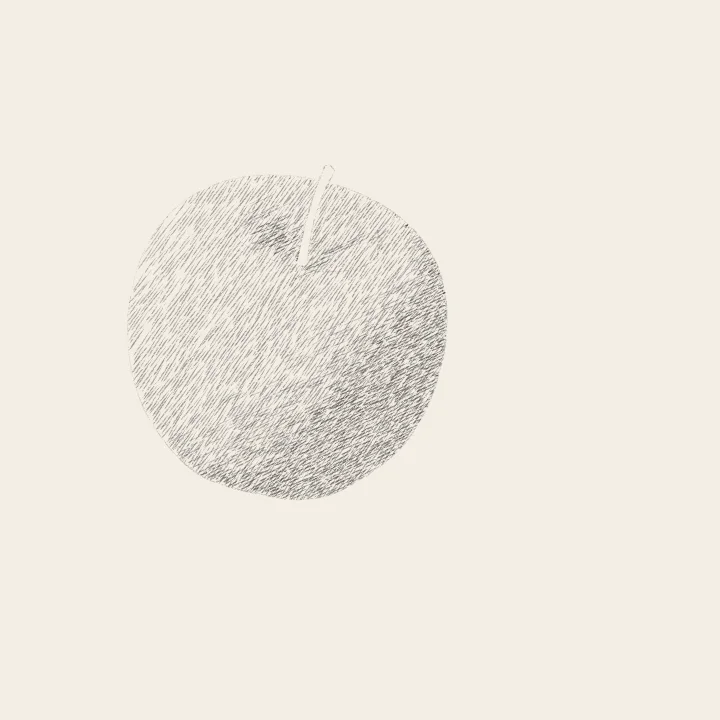 04
04Light and shadow
Local value, then the core
An apple is not white. Tone all of it but the highlight, then build the core shadow just in from the lower right edge.
-
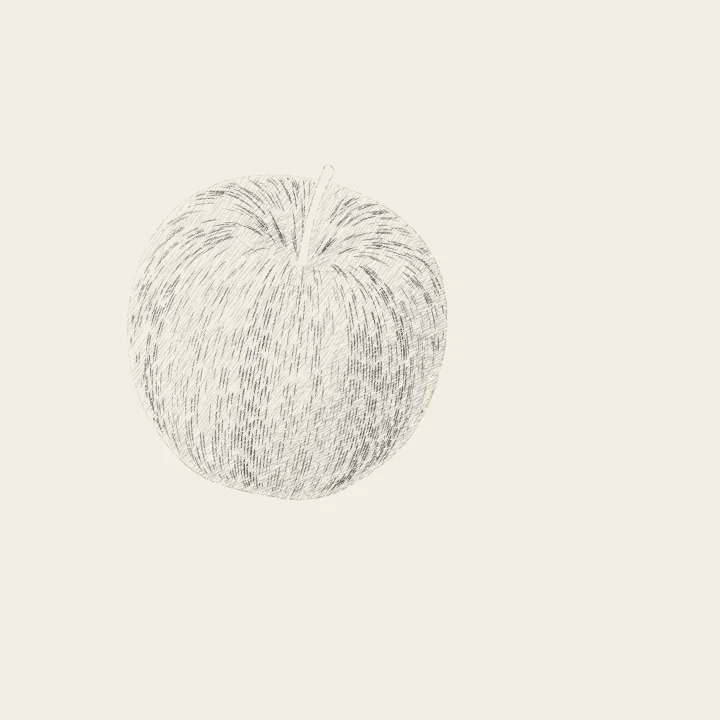 05
05Light and shadow
Streaks that follow the form
Now curved streaks, running from the stem down round the form to the base: closer and darker in the shadow.
-
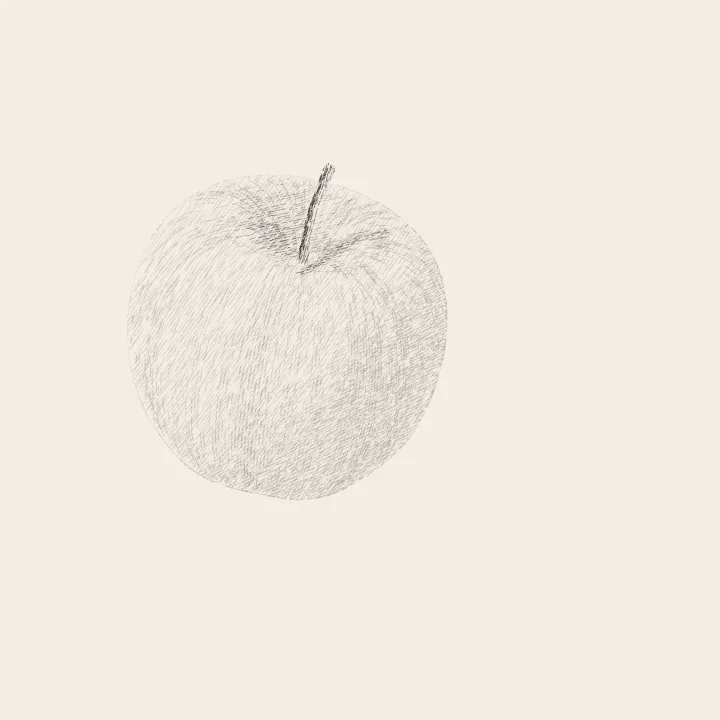 06
06Light and shadow
The dip and the stem
Shade the dip darker on its left wall, which faces away from the window. Tone the stem and its soft shadow.
-
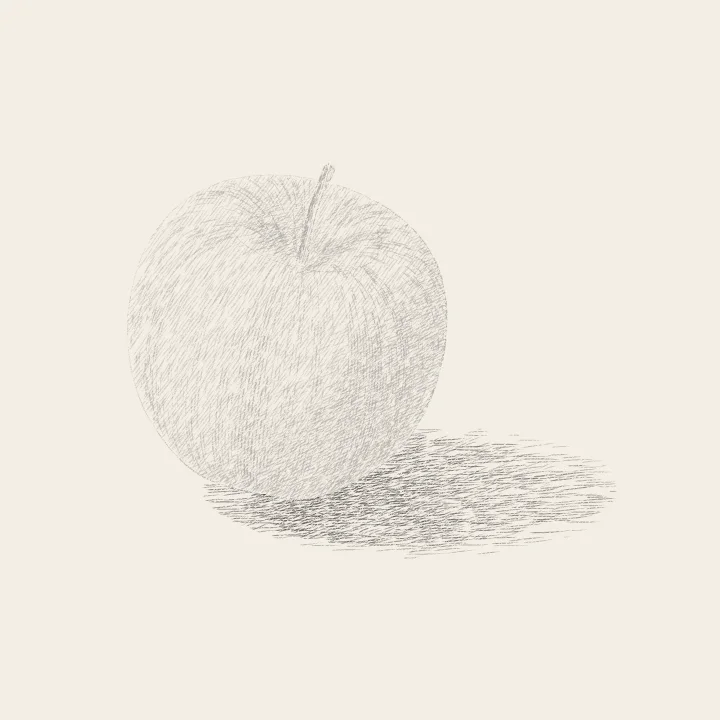 07
07Light and shadow
The cast shadow
Hatch the cast shadow to the right on the table. It is darkest where the apple sits and softens as it goes.
-
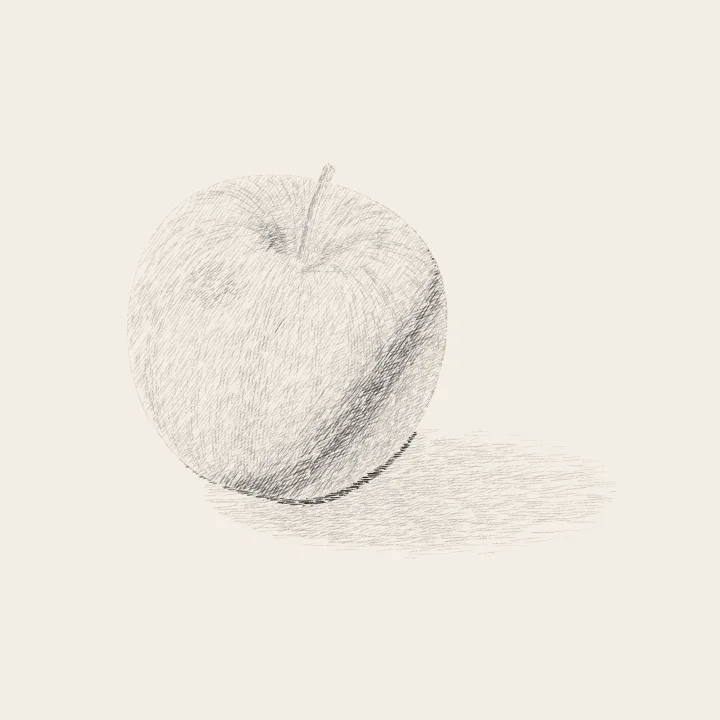 08
08Finishing touches
Last darks and the highlight
Deepen the core and the occlusion with a soft pencil. Then pinch the eraser and lift one crisp highlight in the upper left.
Teens and adults