Animals from Life, teens and adults
How to draw The Rest of the Owl
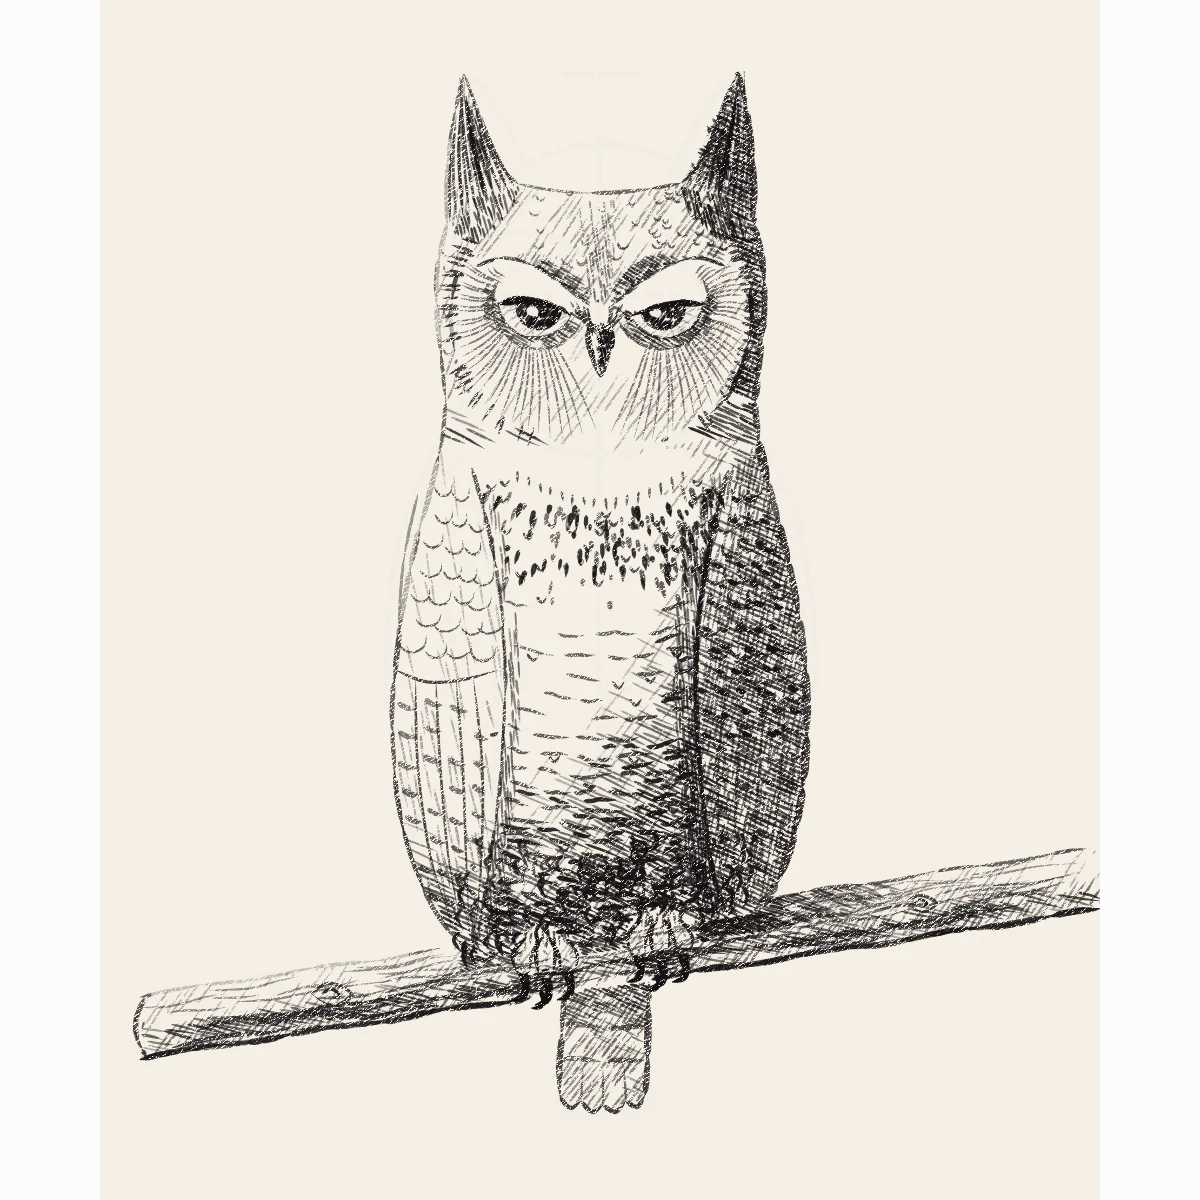
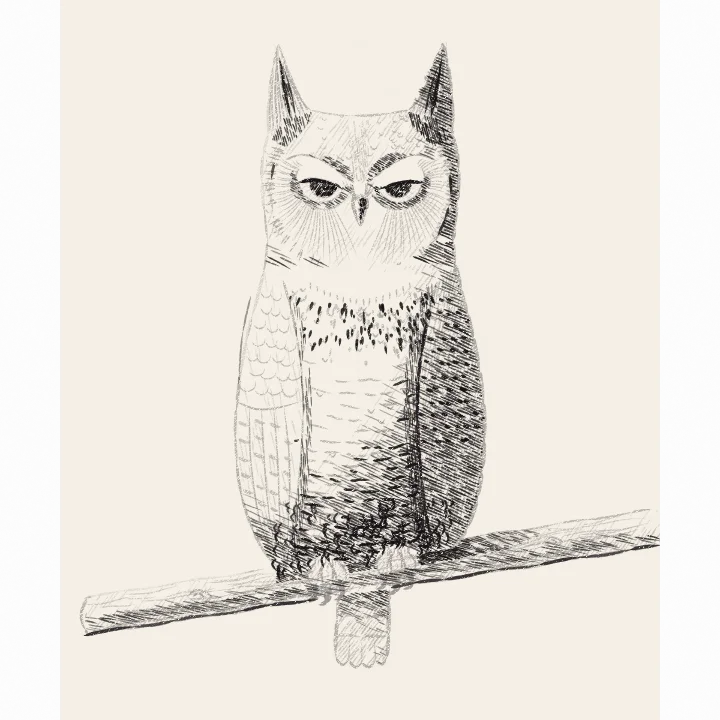
The famous two-step meme, with the seven steps it skips put back. A great horned owl on a branch: construction, facial disc and ear tufts, scalloped wing coverts, barred breast feathers that follow the form, and the darkest darks last.
- Level
- Advanced
- Time
- 75 minutes
- Steps
- 9
- Ages
- 13 and up
How to draw The Rest of the Owl
What you need
- Drawing paper Cartridge or sketch paper with a little tooth.
- Blue pencil A light blue col-erase pencil, or a very light HB.
- Graphite pencils HB and 2B; a 4B or 6B for the darkest darks.
- Kneaded eraser Press and lift; pinch it to a point for highlights.
- Sharpener A sharp point makes cleaner hatching.
Step by step
-
 01
01Big shapes
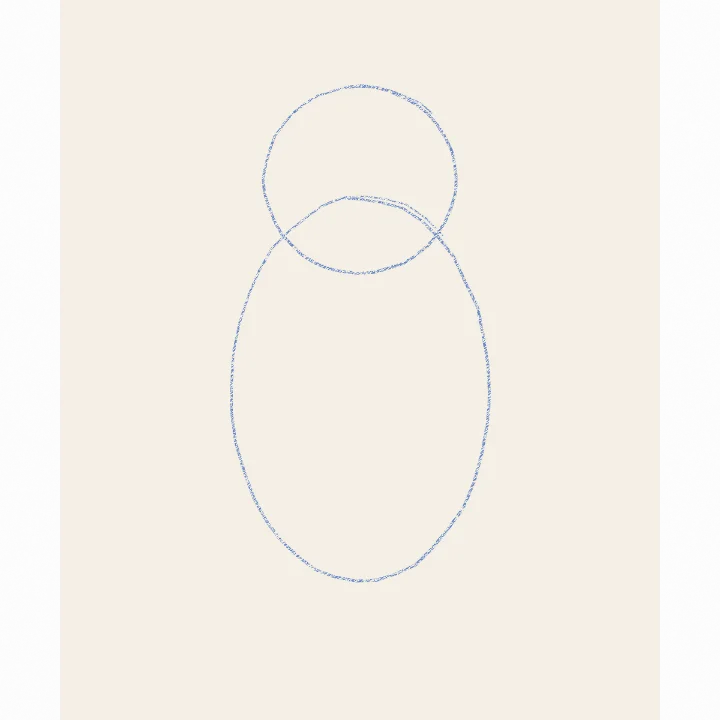
Draw some circles
A circle for the head, a tall oval for the body. Overlap them: no neck.
-
 02
02Big shapes
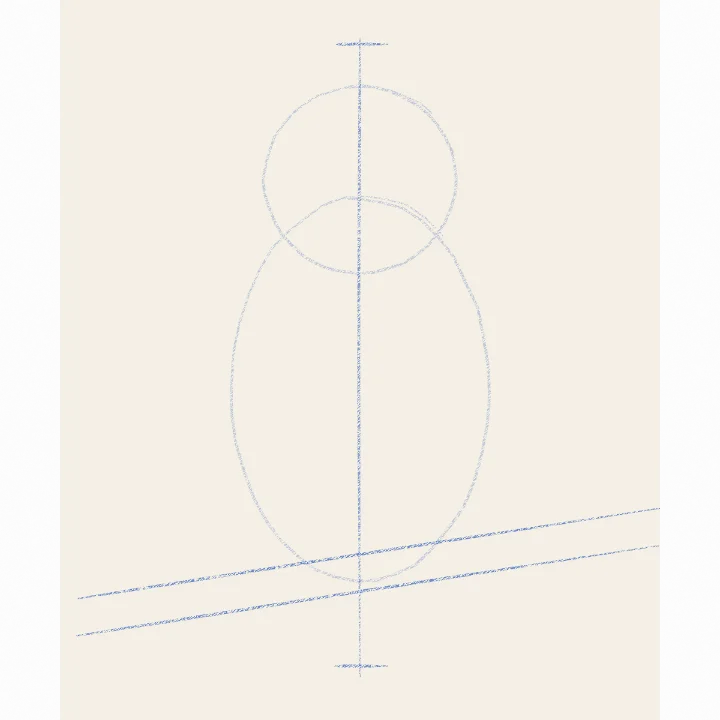
Add the branch
Tilt a branch under the oval. Drop a centre line; tick tuft tips and tail.
-
 03
03Construction
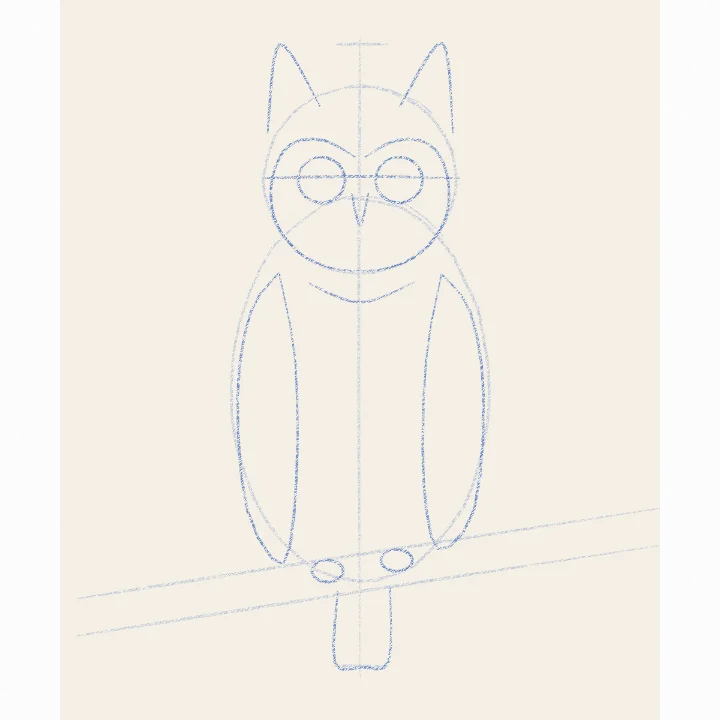
Build the parts
Eye line and eyes, a heart-shaped face, tufts, wings at the sides, feet, tail.
-
 04
04Construction
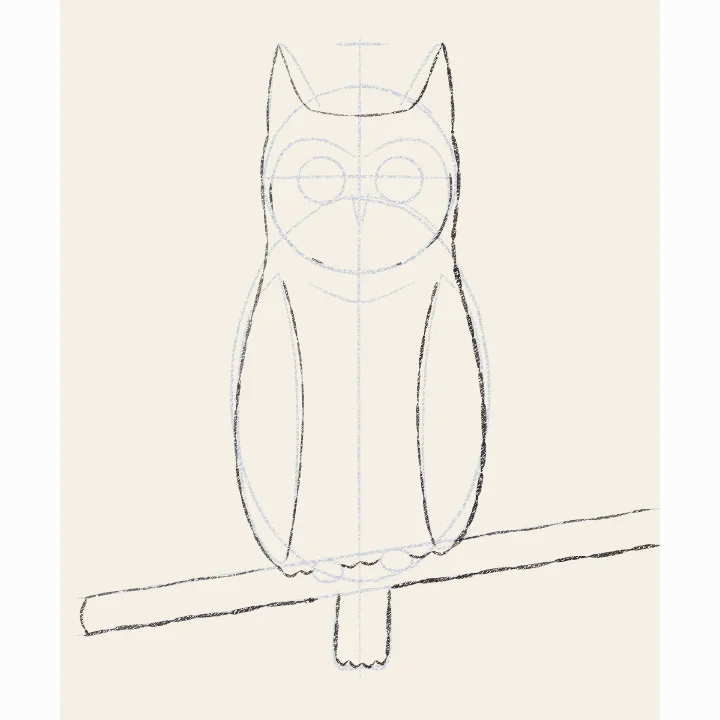
Find the outline
Graphite now. Short strokes over the blue, heavier on the shadow side.
-
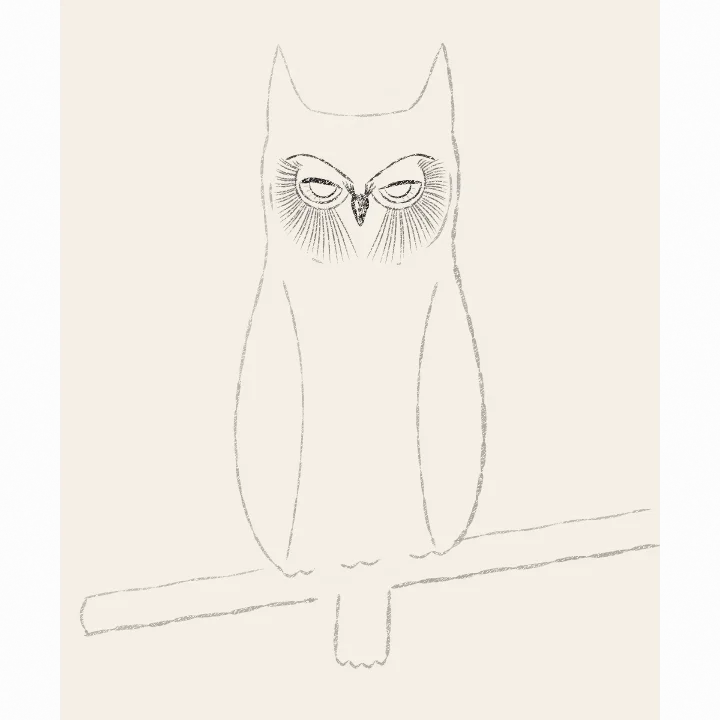 05
05Construction
Eyes, brow and beak
Half-close the eyes under a lid that slants to the beak. Pale brows make the V.
-
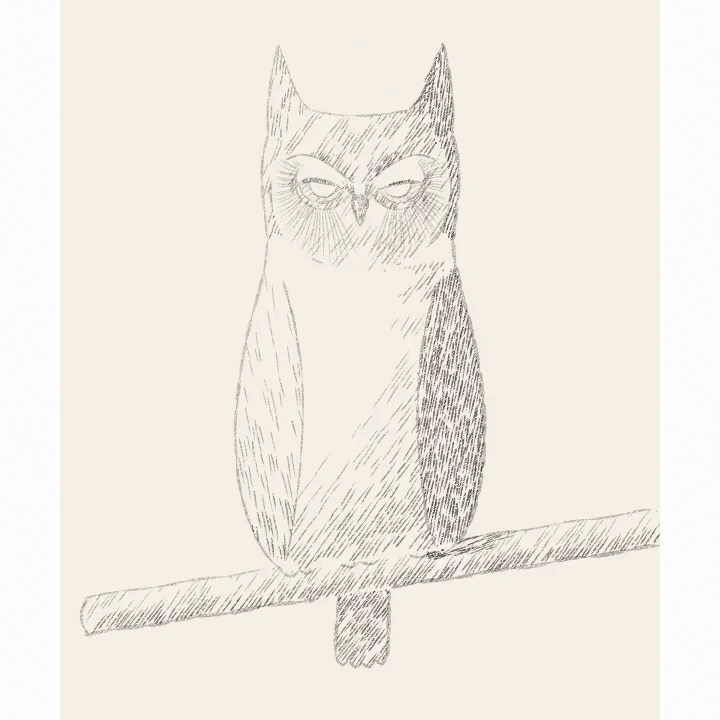 06
06Light and shadow
Block in the shadows
Light from upper left. Hatch whole shadow shapes: right side, sockets, branch.
-
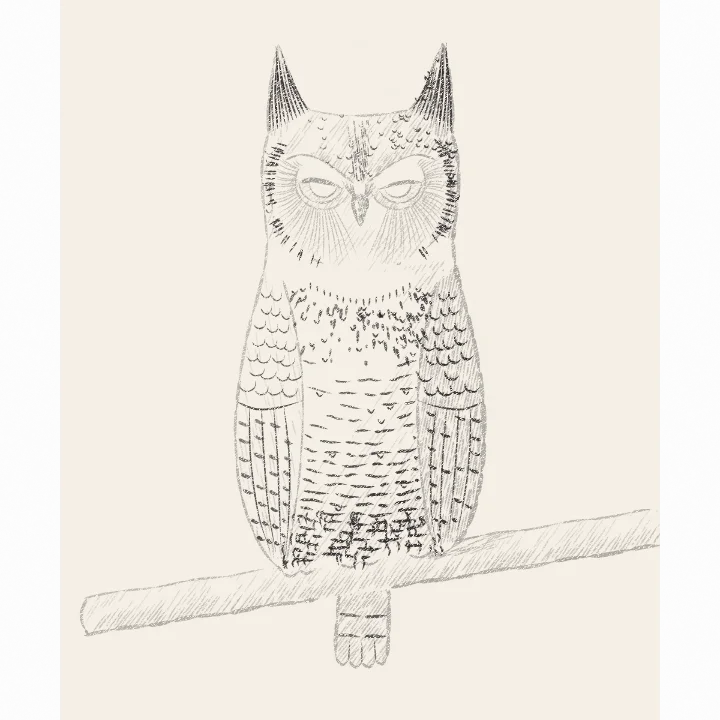 07
07Details
Feathers follow the form
Chest bars curve like smiles; scallops on the wings; fluff at the flanks.
-
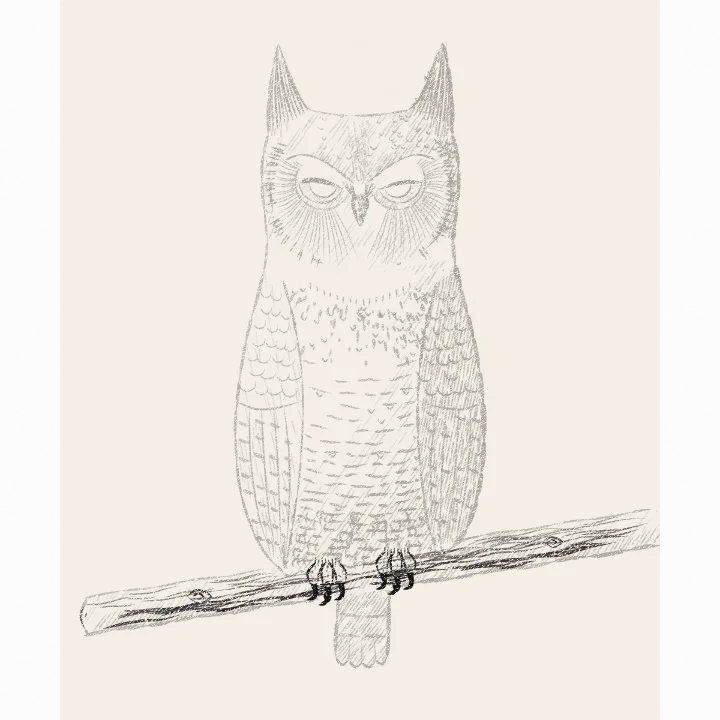 08
08Details
Talons and bark
Toes wrap over the branch, one behind. Black hooked talons. Bark runs along it.
-
 09
09Finishing touches
Draw the rest of the owl
6B in every shadow, a second pass of feathers, cast shadow, catchlights.
Teens and adults