Animals from Life, teens and adults
How to draw A Cat, Sitting
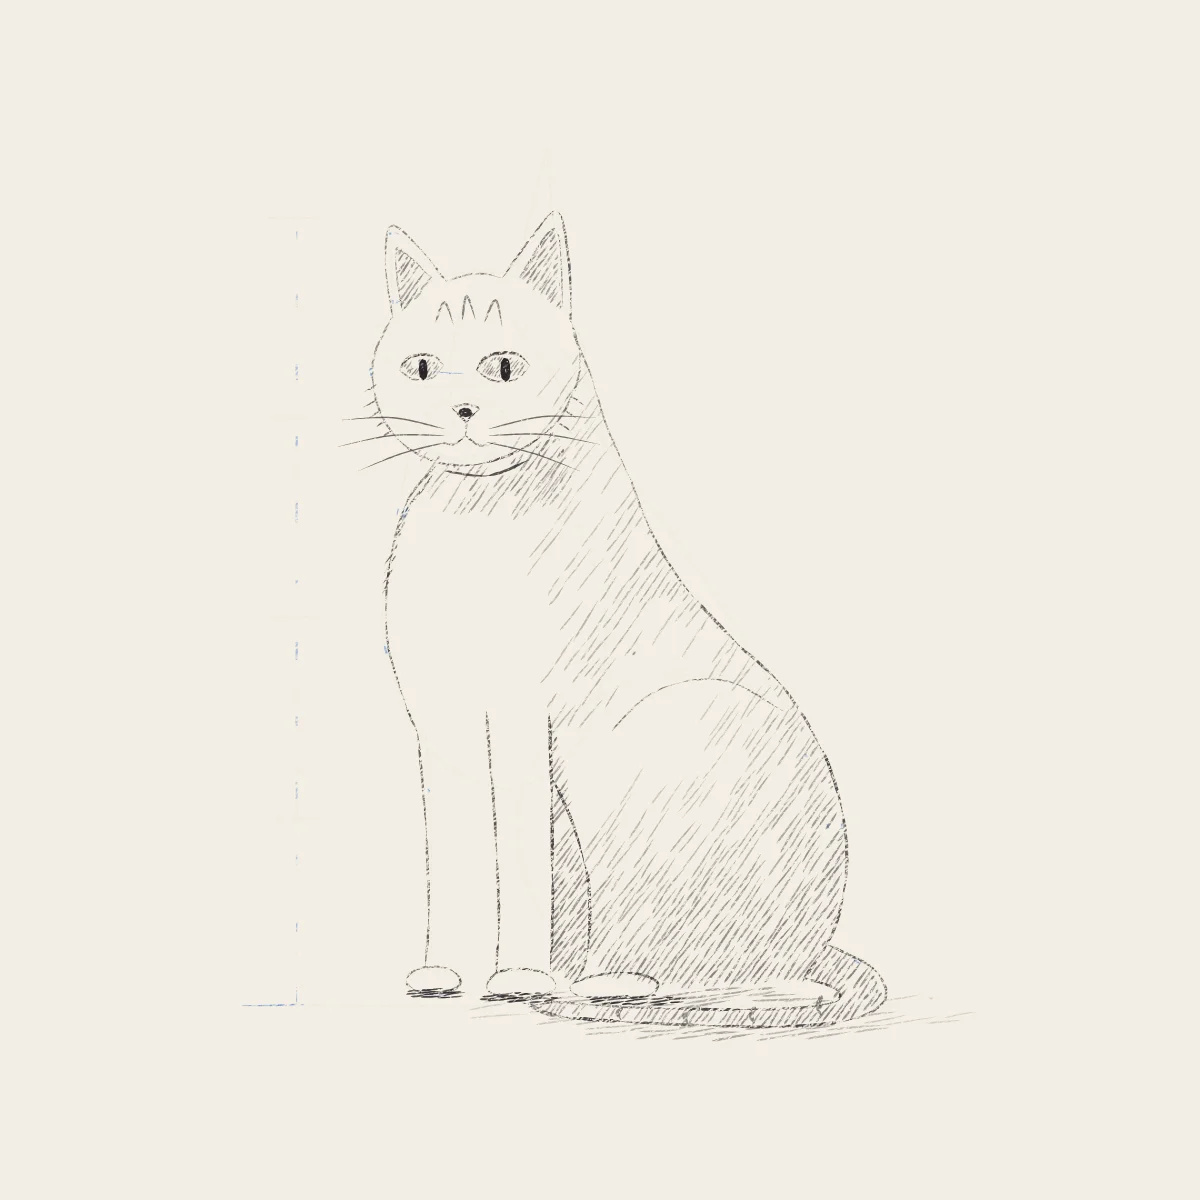
Build a sitting cat from three masses, measure it in head heights, catch and correct a too-tall ear before it is inked, then shade it in one diagonal with the light from the upper left. The method works for every four-legged animal.
No account needed to try it.
- Level
- Intermediate
- Time
- 45 minutes
- Steps
- 8
- Ages
- 13 and up
How to draw A Cat, Sitting
What you need
- Drawing paper Cartridge or sketch paper with a little tooth.
- Blue pencil A light blue col-erase pencil, or a very light HB.
- Graphite pencils HB and 2B; a 4B or 6B for the darkest darks.
- Kneaded eraser Press and lift; pinch it to a point for highlights.
- Sharpener A sharp point makes cleaner hatching.
Step by step
-
 01
01Placement
Place it and measure
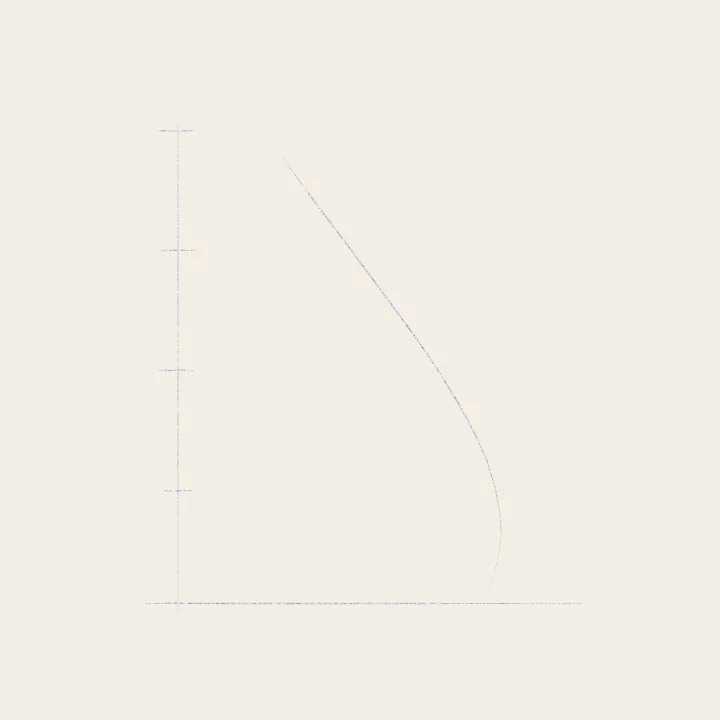
One curve for the lean of the back, a floor line, and ticks for the height: this cat is about four heads tall.
-
 02
02Big shapes
Three masses
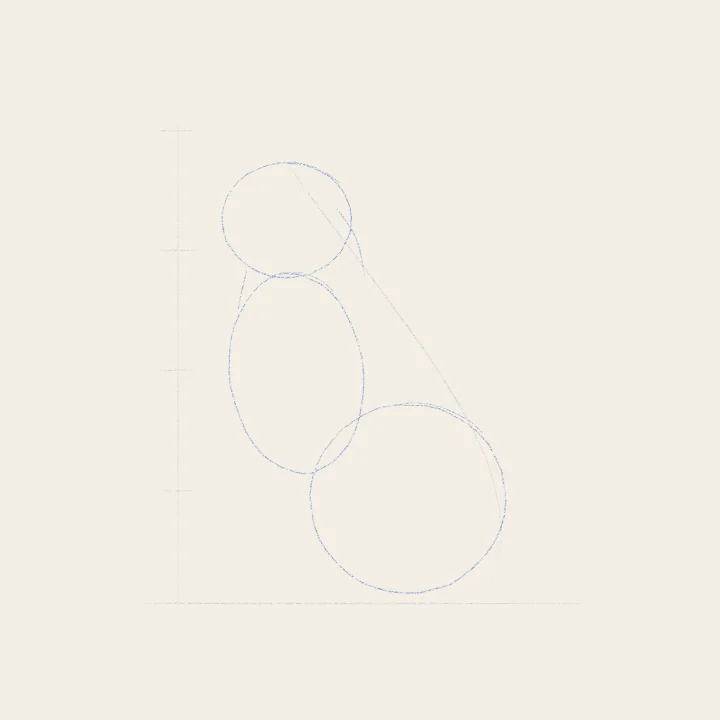
A ball for the head, an egg tipped back for the chest, and a big circle for the haunch, the largest shape of all.
-
 03
03Construction
Build the parts
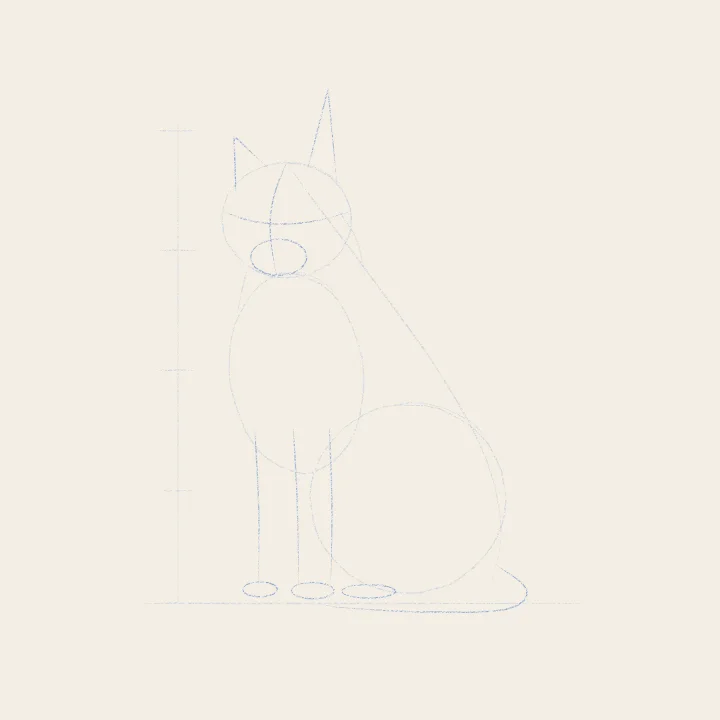
Cross lines on the head ball, triangles for ears, a small oval muzzle, straight tubes for the front legs, and the tail's path.
-
 04
04Construction
Check, then correct
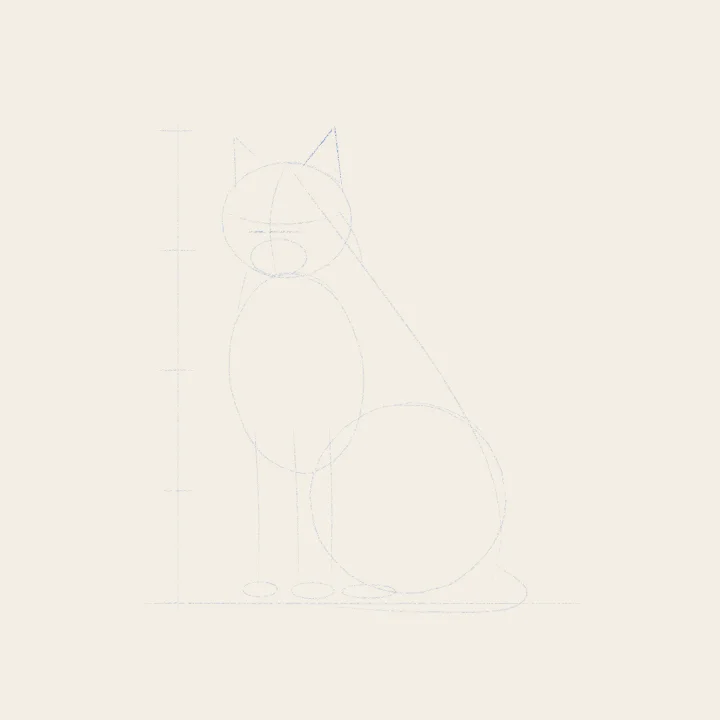
Measure before you commit. The ear is too tall: it should be about as tall as the eyes are apart. Lift it and redraw.
-
 05
05Construction
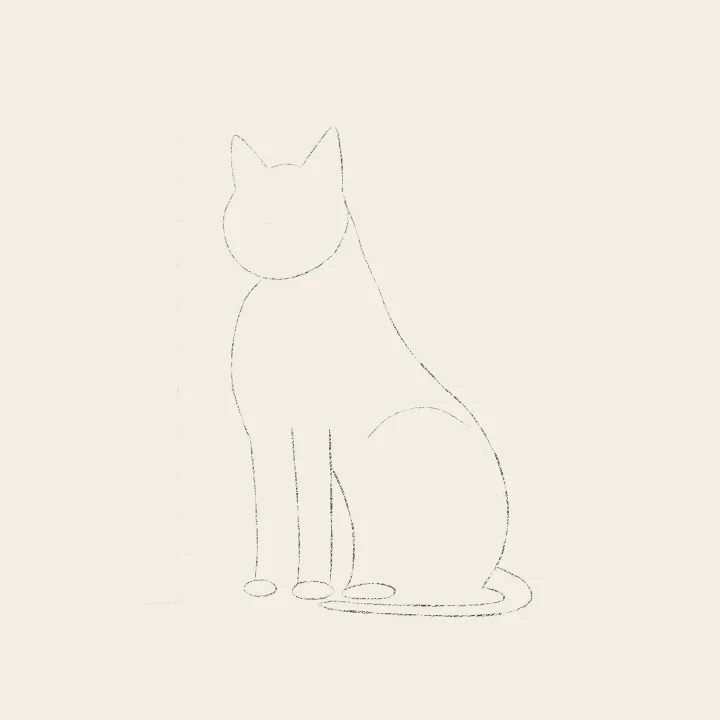
Commit to the outline
Now the graphite line, following the blue. Press harder on the shadow side, go light where the light hits, then lift the blue.
-
 06
06Light and shadow
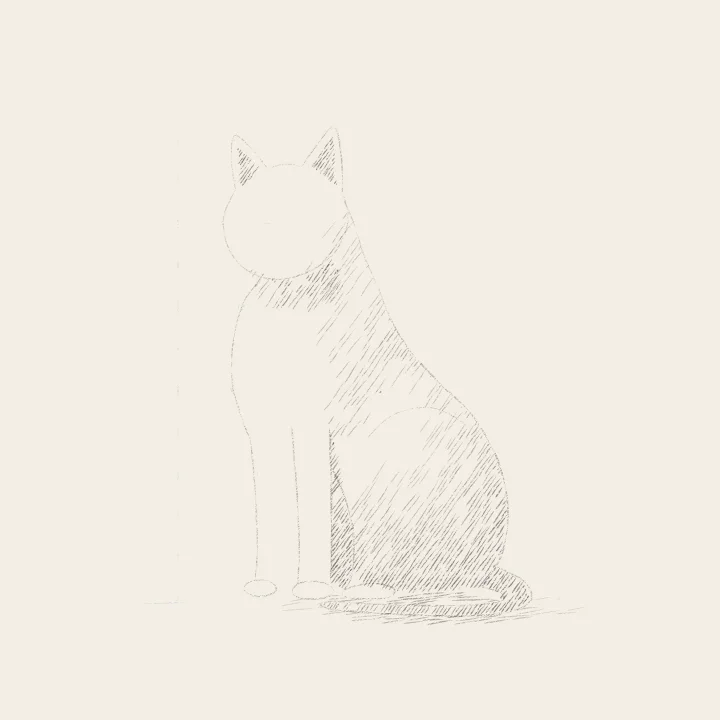
Shadow masses
Light comes from the upper left. Hatch the shade side as whole shapes: under the chin, right of the chest, the haunch, the floor.
-
 07
07Details
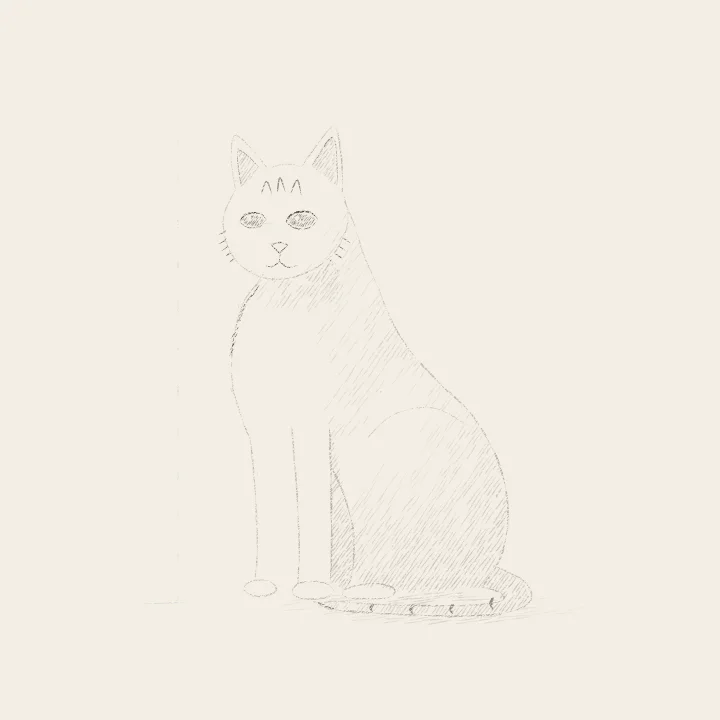
Face and fur
Almond eyes on the eye line, a small nose where the centre line ends, a short Y for the mouth. Flick fur at the chest.
-
 08
08Finishing touches
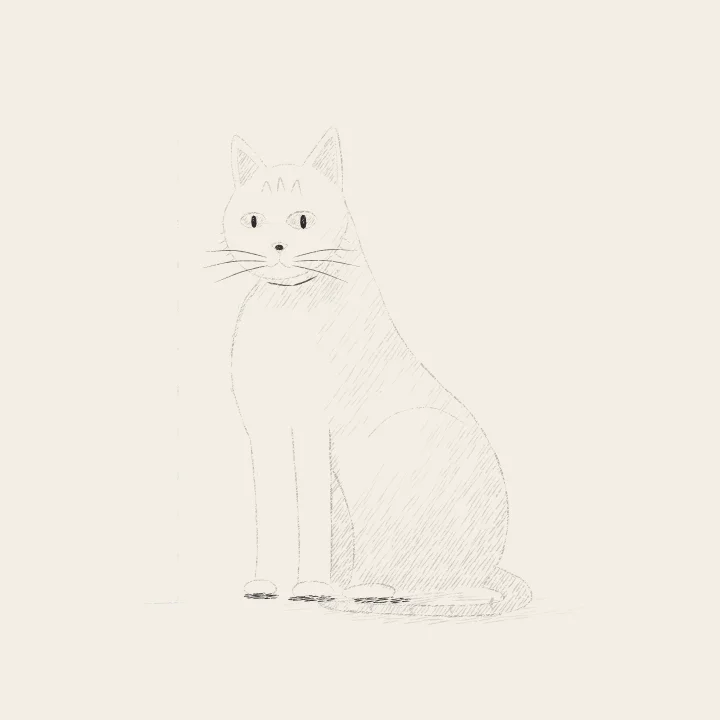
Darkest darks last
Pupils, nostrils, the corner of the mouth and the line where the paws touch the floor. Then whiskers: light, fast, curved.
Teens and adults