Seeing and Measuring, teens and adults
How to draw The Block-In
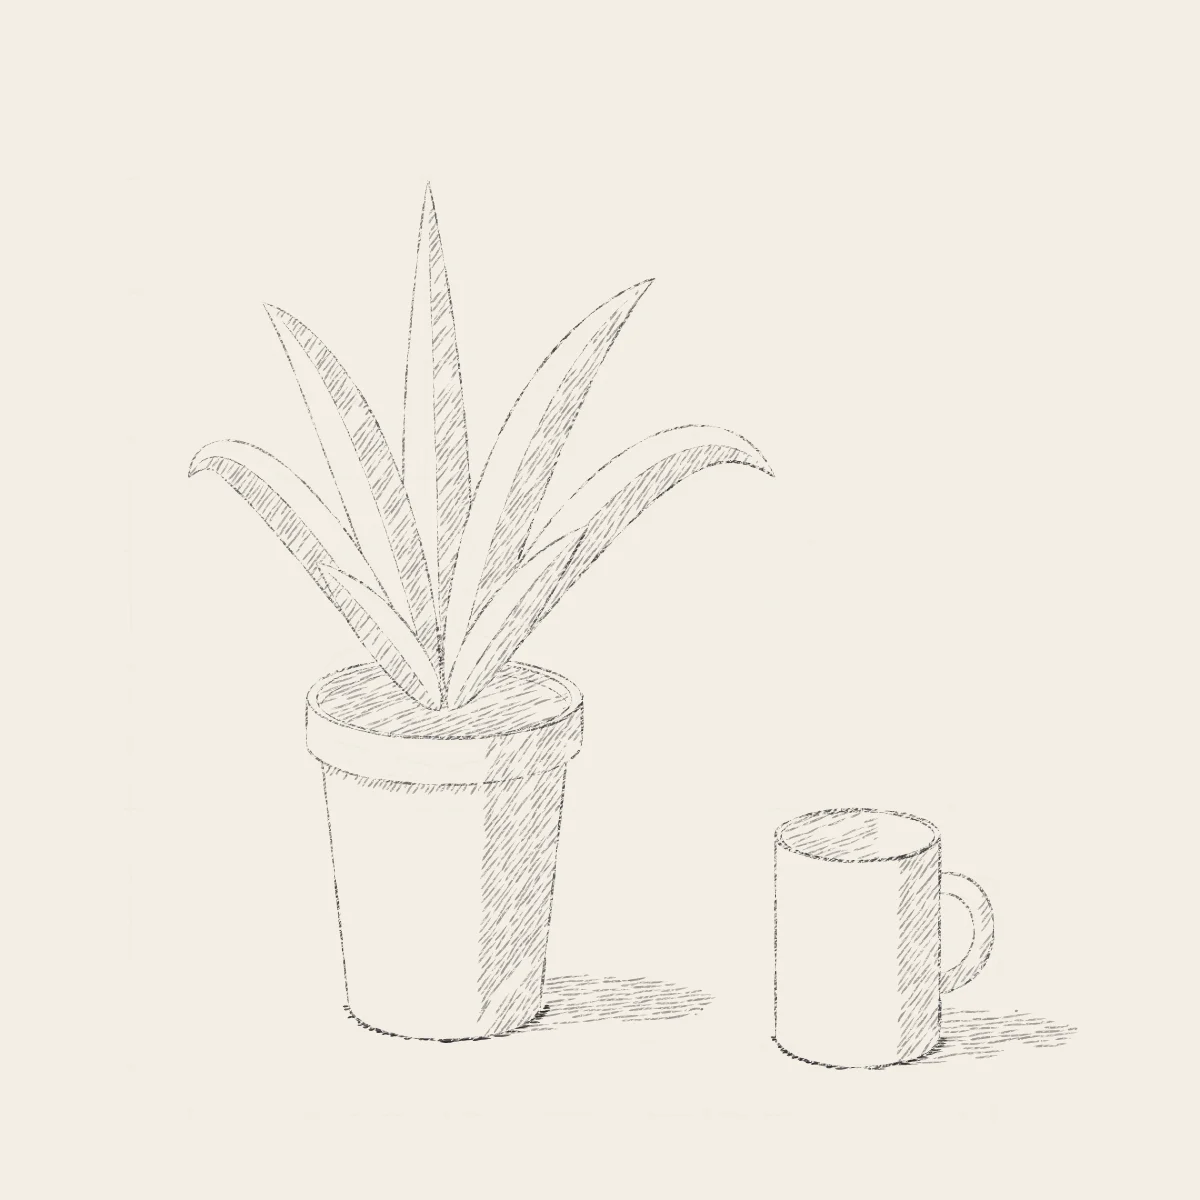
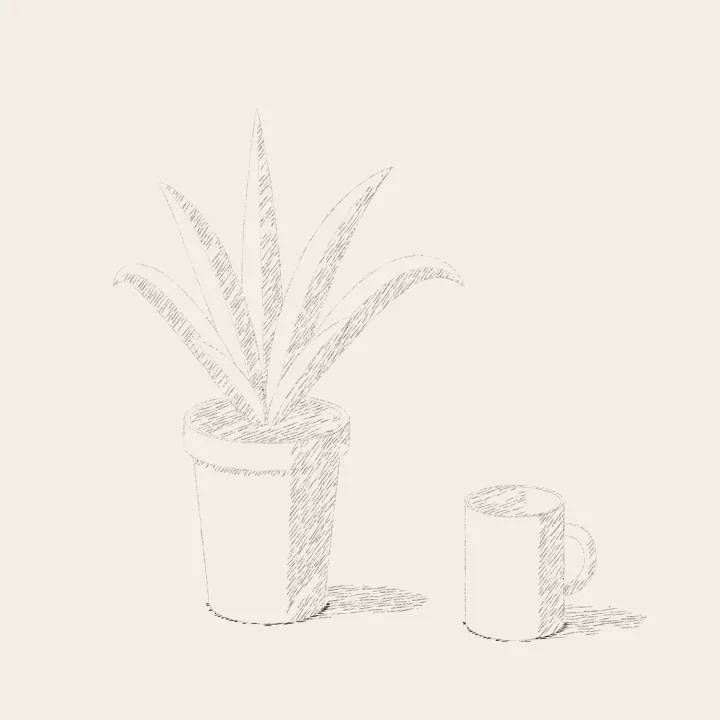
Draw a potted plant and a mug the way a trained eye works: the limits of the group, its envelope in long straight lines, every size measured against the mug by sighting, plumb and level lines, the shapes of air between the leaves. A measurement catches a rim drawn too round; only then does the straight-line block-in become a refined drawing.
- Level
- Easy
- Time
- 45 minutes
- Steps
- 8
- Ages
- 13 and up
How to draw The Block-In
What you need
- Drawing paper Cartridge or sketch paper with a little tooth.
- Blue pencil A light blue col-erase pencil, or a very light HB.
- Graphite pencils HB and 2B; a 4B or 6B for the darkest darks.
- Kneaded eraser Press and lift; pinch it to a point for highlights.
- Sharpener A sharp point makes cleaner hatching.
Step by step
-
 01
01Placement
The limits of the whole
Mark the top, bottom and sides of the whole group first. Everything else has to fit inside these four ticks.
-
 02
02Big shapes
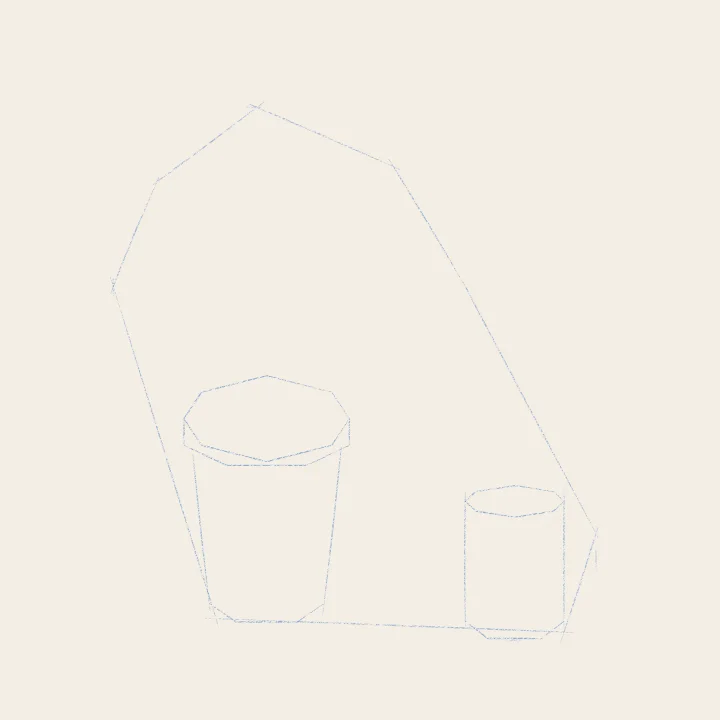
The envelope and the big shapes
Enclose the group in a few long straight lines. Then block the pot and the mug inside it as simple straight-sided shapes.
-
 03
03Construction
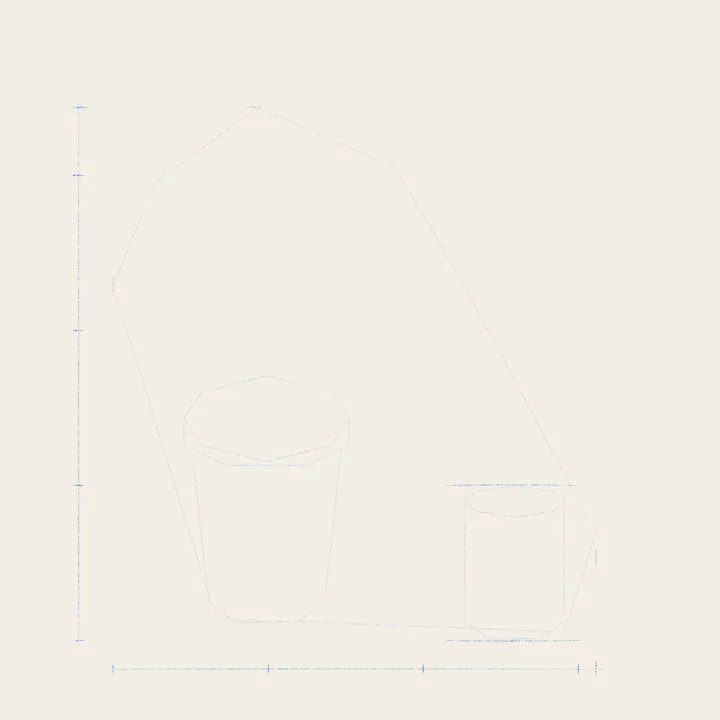
Measure with your pencil
Hold your pencil at arm’s length and take the mug’s height as the unit. Then count: the group is 3.4 units tall, 3.1 wide.
-
 04
04Construction
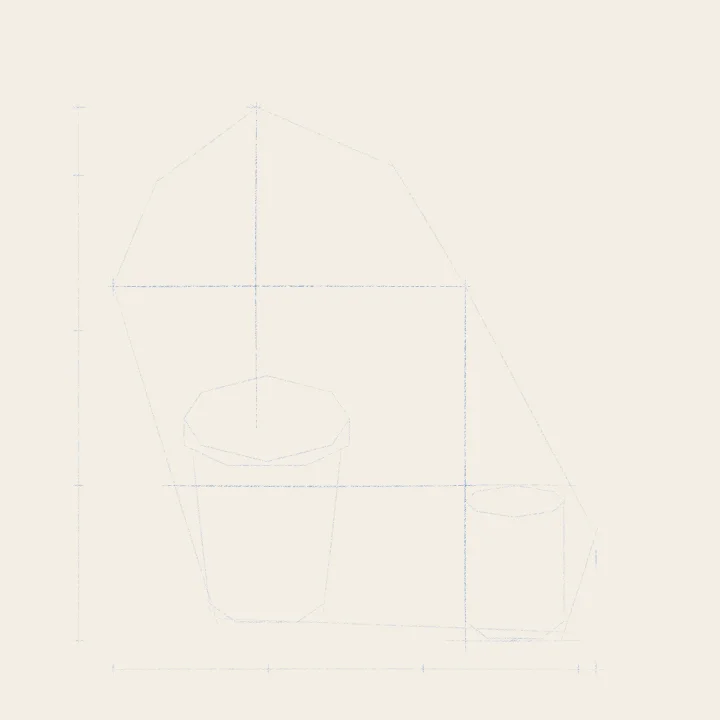
Plumb and level lines
Drop plumb lines and run level lines through key points to see what lines up. The drooping leaf hangs straight over the mug’s edge.
-
 05
05Construction
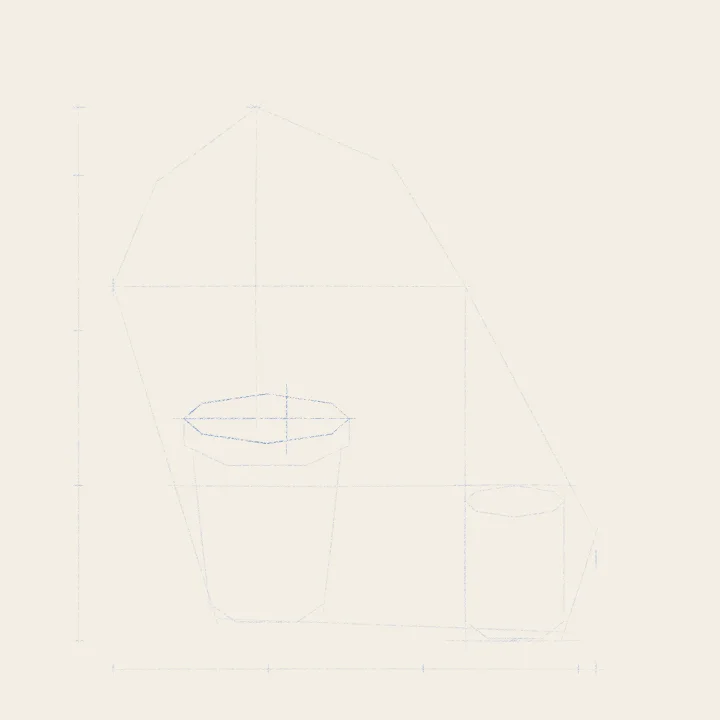
Check, then correct
The pot’s rim came out too round. Measured, its depth is under a third of its width: lift it and draw what you see.
-
 06
06Construction
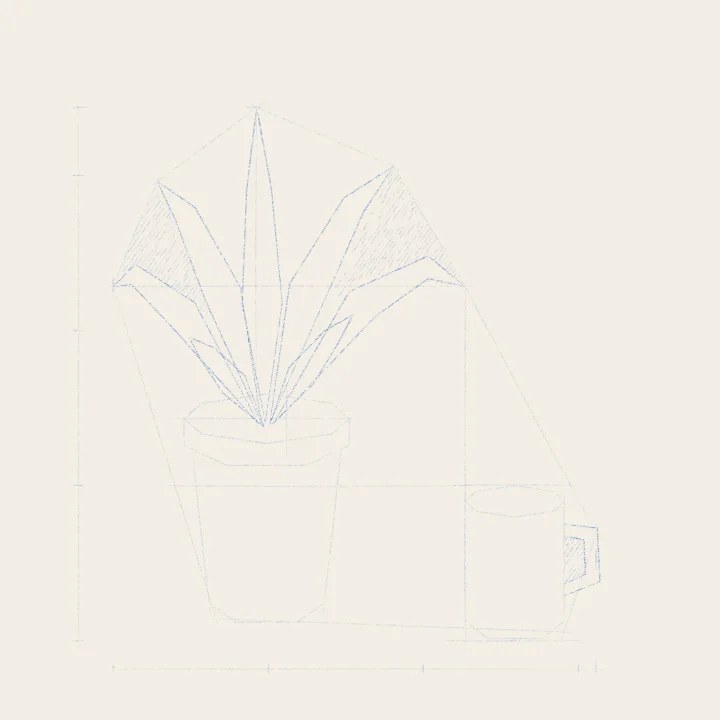
Leaves, and the spaces between
Block each leaf in straight lines, stalk to tip. Then check the shapes of air between them: easier to see than leaves.
-
 07
07Construction
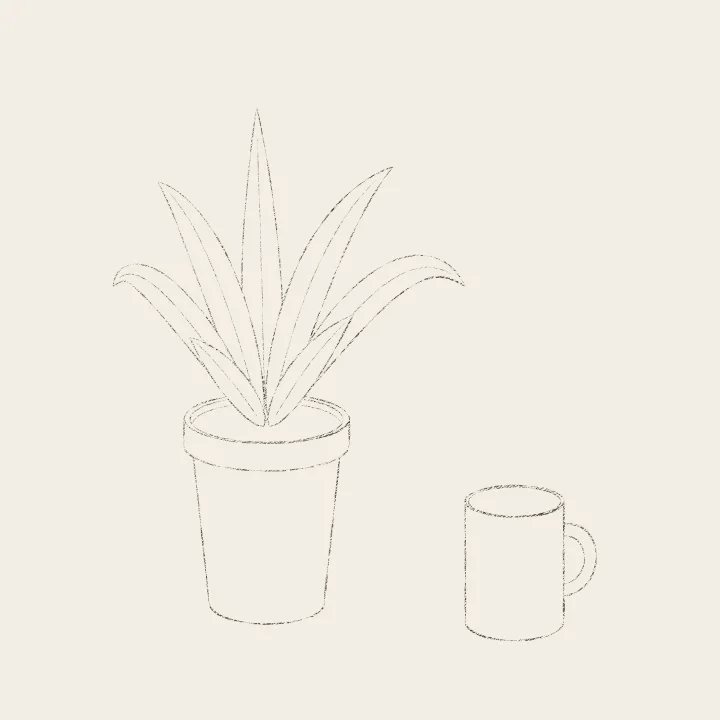
Refine the contour
Now graphite: bend the straight lines into curves, cutting inside them or swelling past them as you look. Then lift the blue.
-
 08
08Light and shadow
The shadow shapes
Light comes from the upper left. Block in every shadow as one flat value: the right of each form, the soil, the cast shadows.
Teens and adults