Seeing and Measuring, teens and adults
How to draw Light Logic
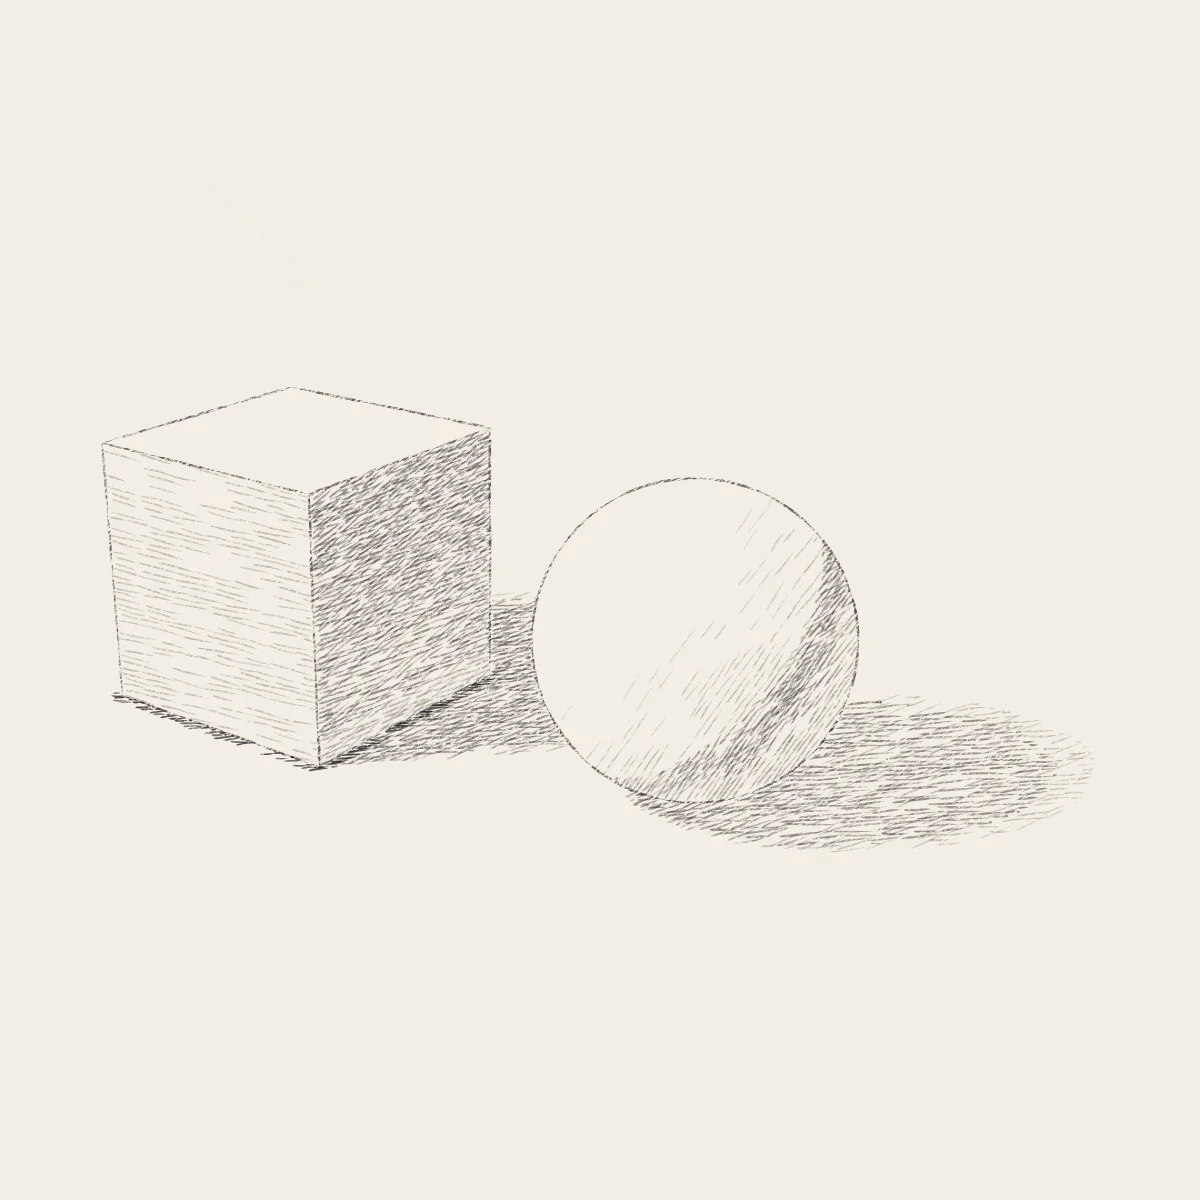
A ball and a box under one lamp. Squint the still life down to two families, light and shadow, split by the terminator; then build each family: halftones, the core shadow, reflected light lifted with the eraser, cast shadows that soften as they leave the object, and the occlusion shadow where each one touches the table.
- Level
- Intermediate
- Time
- 40 minutes
- Steps
- 8
- Ages
- 13 and up
How to draw Light Logic
What you need
- Drawing paper Cartridge or sketch paper with a little tooth.
- Blue pencil A light blue col-erase pencil, or a very light HB.
- Graphite pencils HB and 2B; a 4B or 6B for the darkest darks.
- Kneaded eraser Press and lift; pinch it to a point for highlights.
- Sharpener A sharp point makes cleaner hatching.
Step by step
-
 01
01Placement
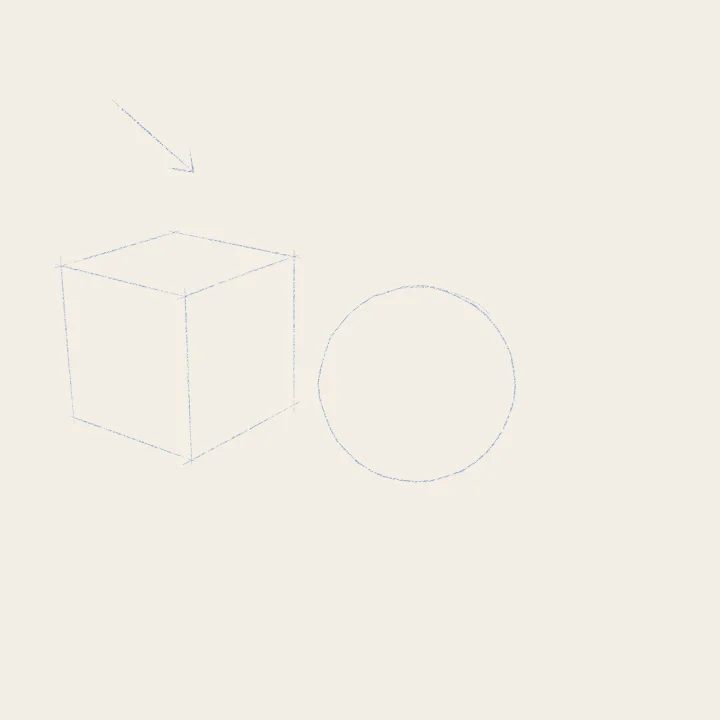
One lamp, two objects
A ball and a box, lit by one lamp at the upper left. Block them in lightly and draw an arrow for the light.
-
 02
02Construction
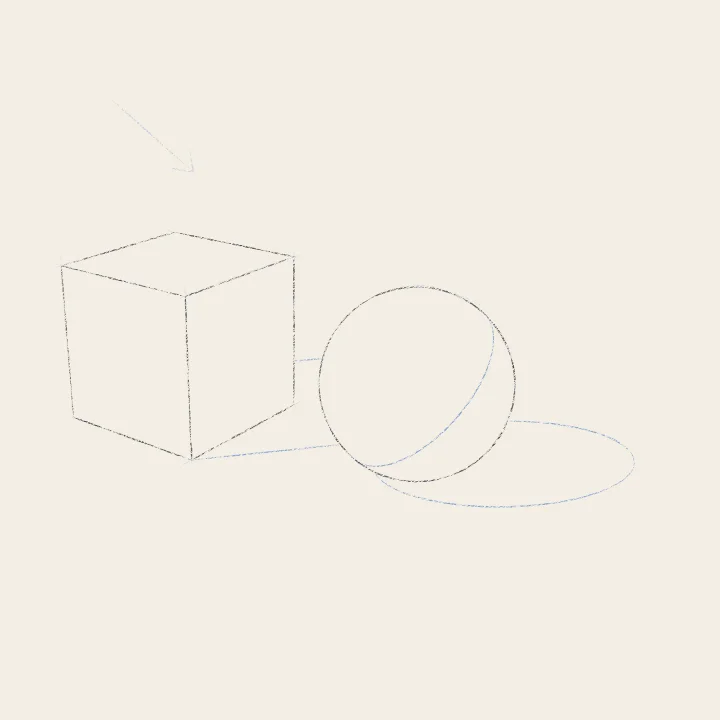
The terminator and the shadow shapes
Commit the outlines. Then find the terminator, where the form turns away from the light, and the shapes of the cast shadows.
-
 03
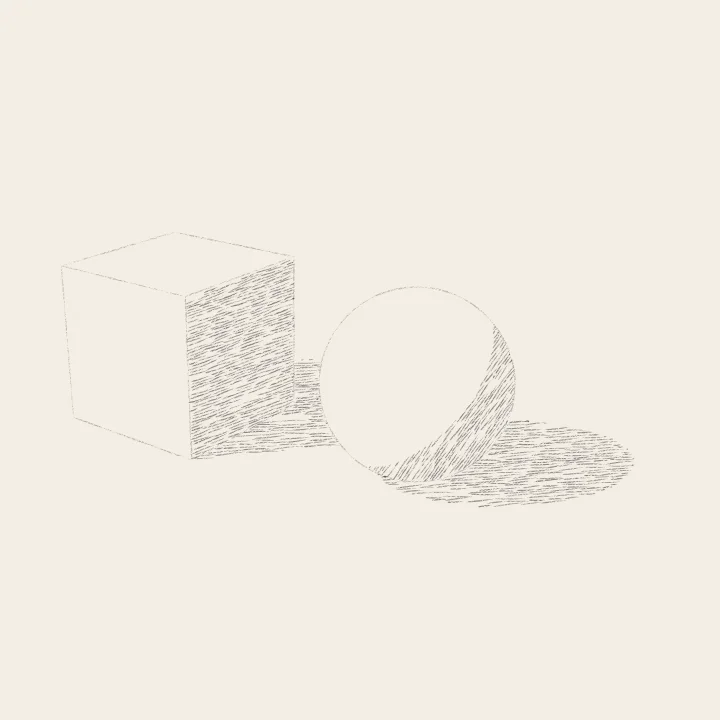
03Light and shadow
Two values
Squint until only two values are left. Hatch everything in shadow, form and cast shadows alike, one flat grey. Leave the light as paper.
-
 04
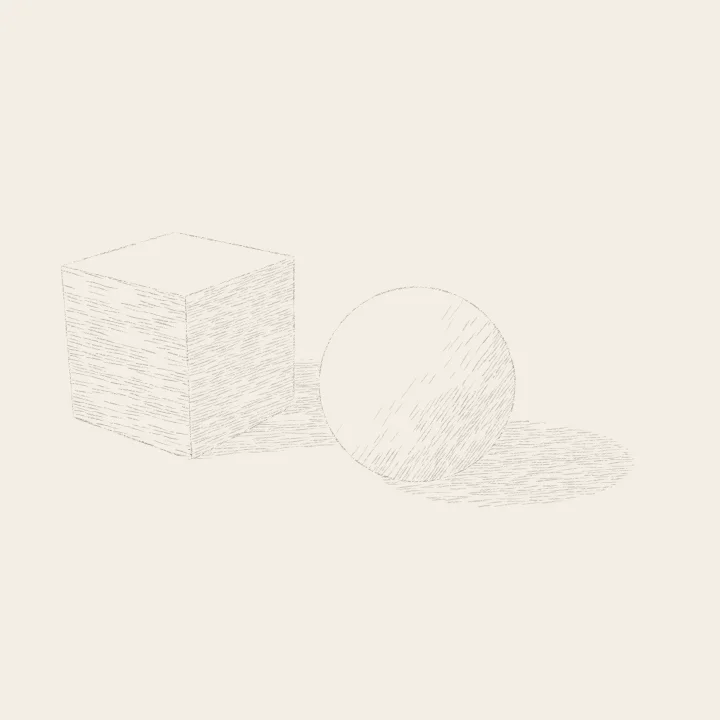
04Light and shadow
Halftones in the light
Now the light family: a halftone that darkens as the form turns from the lamp. Leave what faces the lamp bare.
-
 05
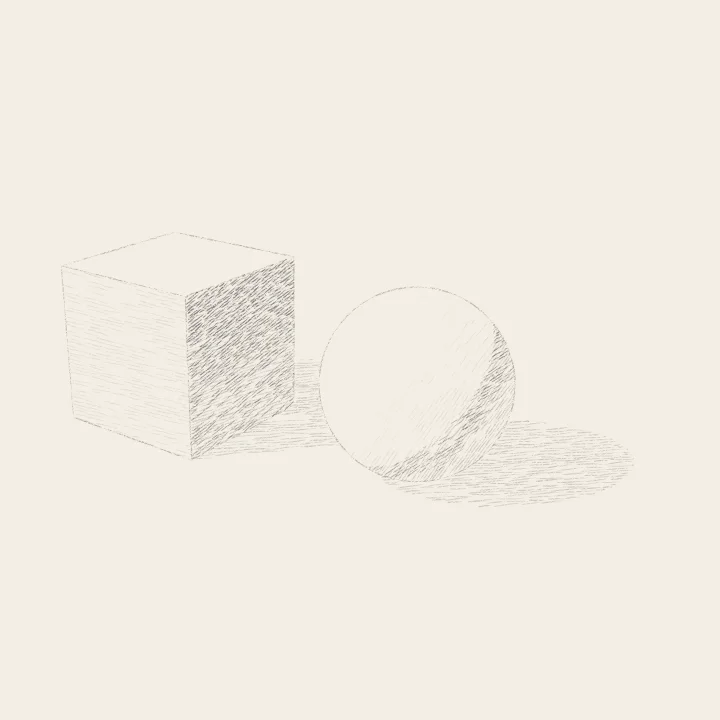
05Light and shadow
The core shadow
Just past the terminator the shadow is darkest: the core shadow. A band on the ball; the upper part of the box’s dark face.
-
 06
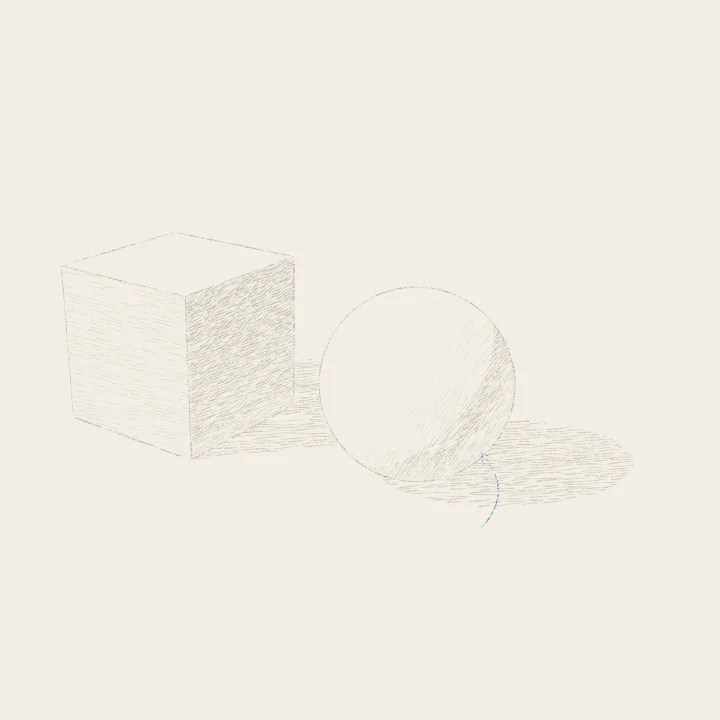
06Light and shadow
Reflected light
Light bounced up from the table lifts the shadow along the ball’s lower edge. Lift it with the eraser, but only a little.
-
 07
07Light and shadow
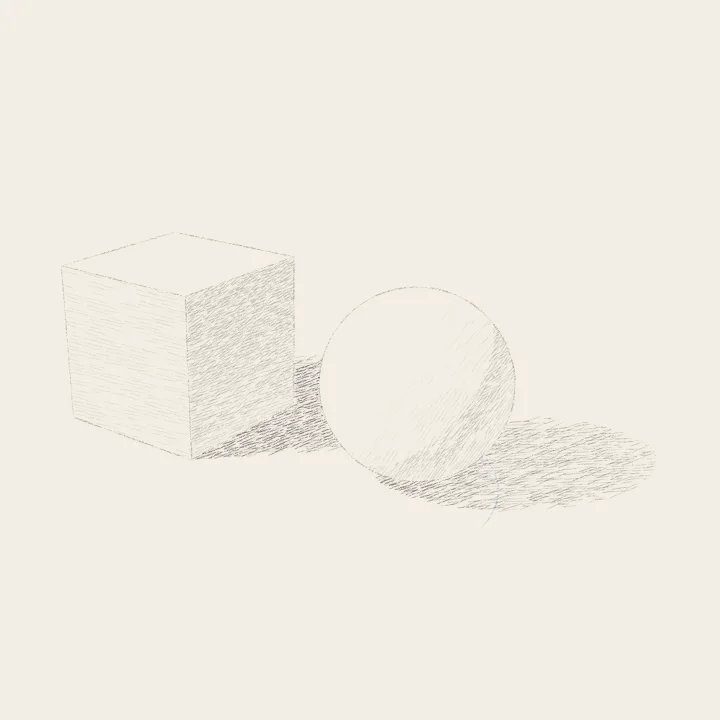
Cast shadows
Darken each cast shadow where it leaves its object. It is sharp and dark near the object, softer and lighter as it runs away.
-
 08
08Finishing touches
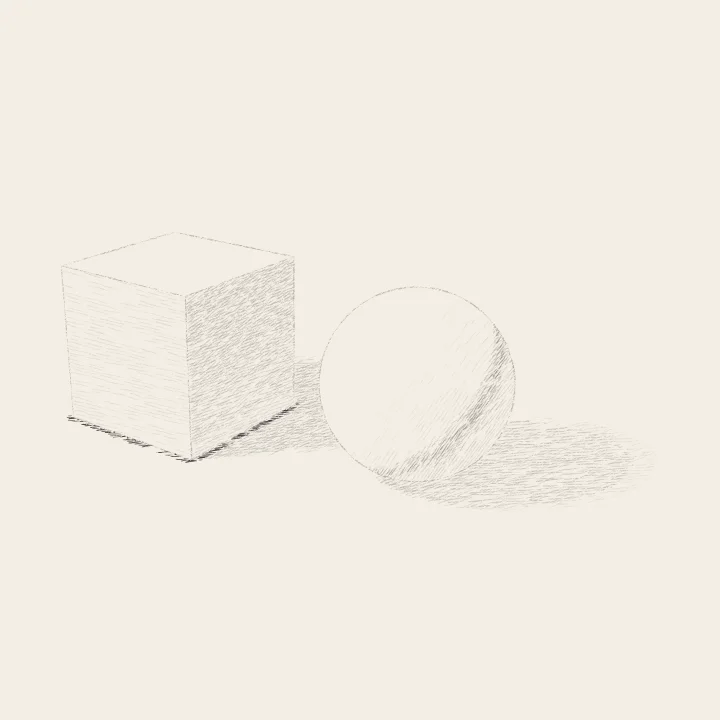
The occlusion shadow
Press darkest where each object meets the table: the occlusion shadow. Then touch up the core where it turns, and stop.
Teens and adults