3D Tricks, ages 8 to 12
How to draw The Floating Cube
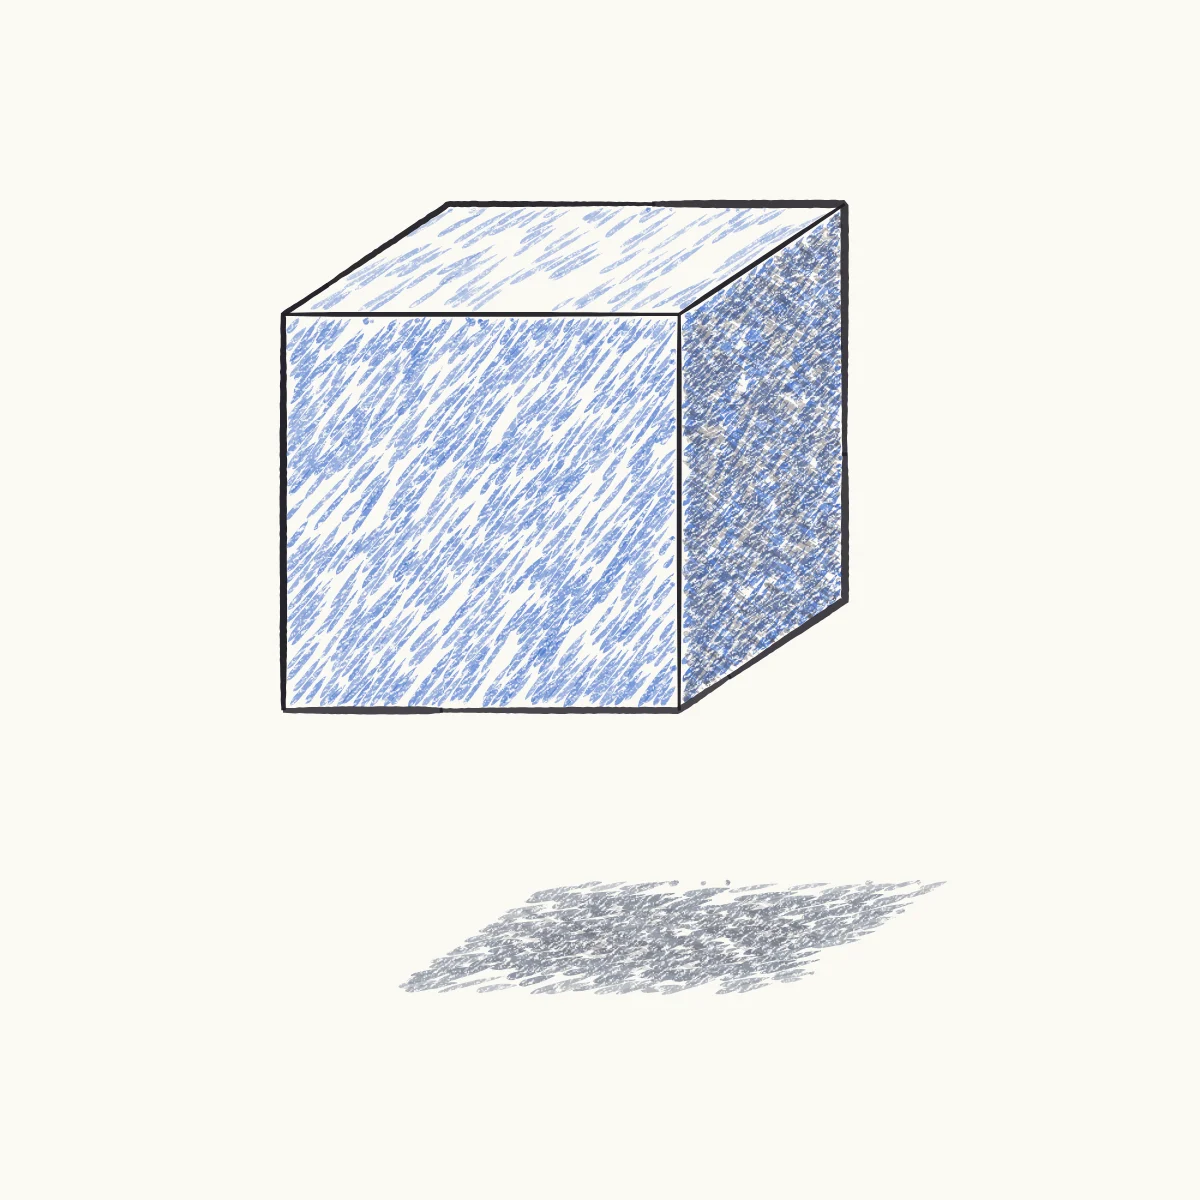
Turn a square into a solid cube with three slanted lines, all parallel, then shade its top, front and side. Last comes the trick: a shadow on the ground, far below, and your cube floats in the air.
- Level
- Easy
- Time
- 20 minutes
- Steps
- 7
- Ages
- 8 to 12
How to draw The Floating Cube
What you need
- Paper Plain printer paper is perfect.
- Pencil (HB) For light first shapes you can erase.
- Black fineliner 0.5 mm, or any black pen.
- Eraser A soft white eraser.
- Coloured pencils Any set; sharpen them first.
Step by step
-
 01
01Big shapes
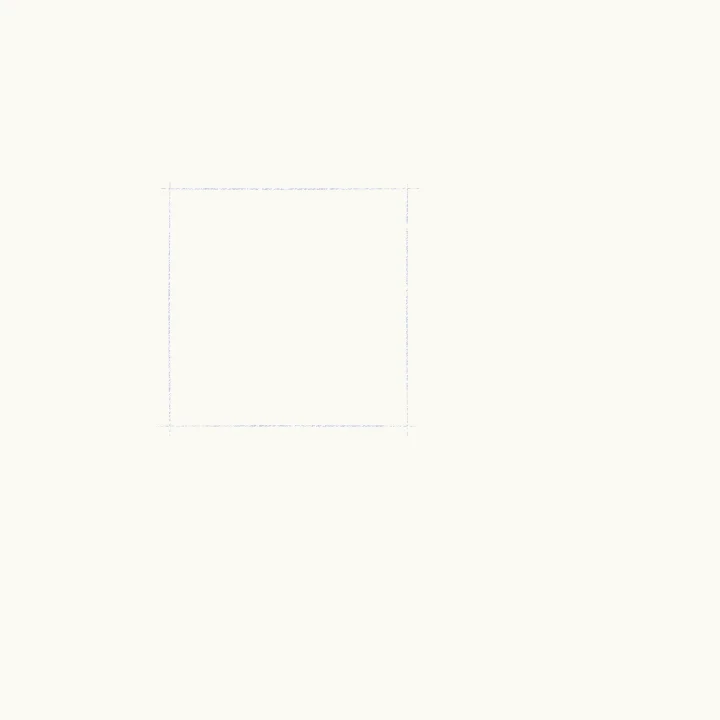
A square face
Lightly draw a square in the upper half of the page. This is the front of your cube.
-
 02
02Construction
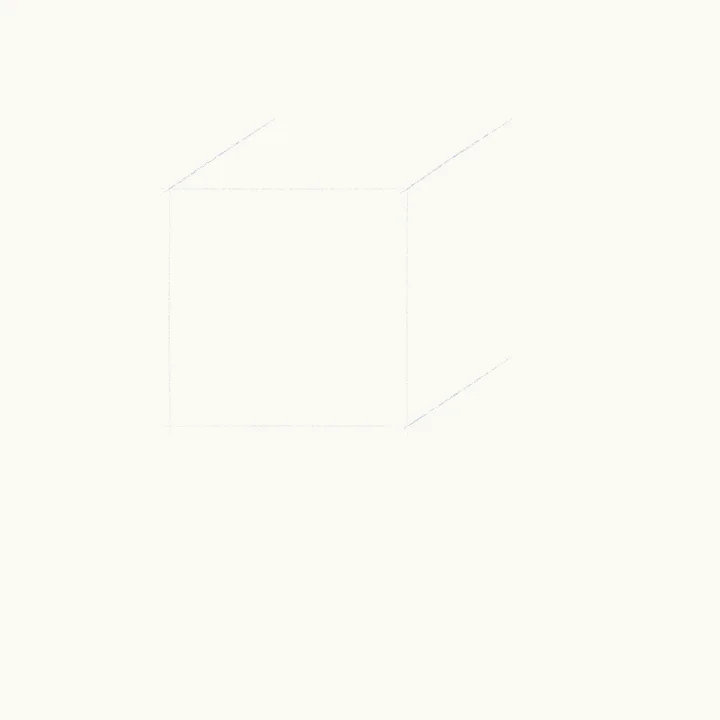
Three slants back
From three corners, draw short slanted lines going back, all pointing the same way and all the same length.
-
 03
03Construction
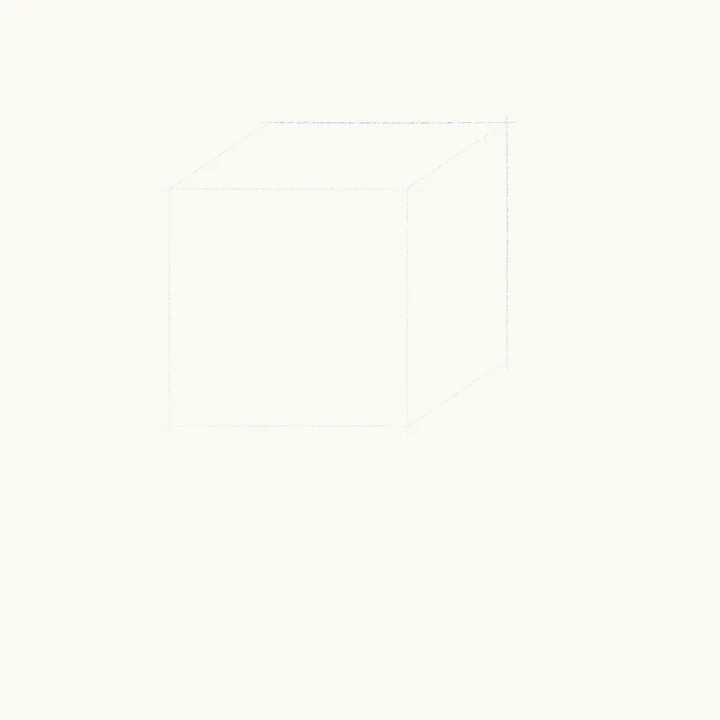
The far edges
Join the ends with a level line and an upright line. The back of the cube is the same square, just further away.
-
 04
04Details
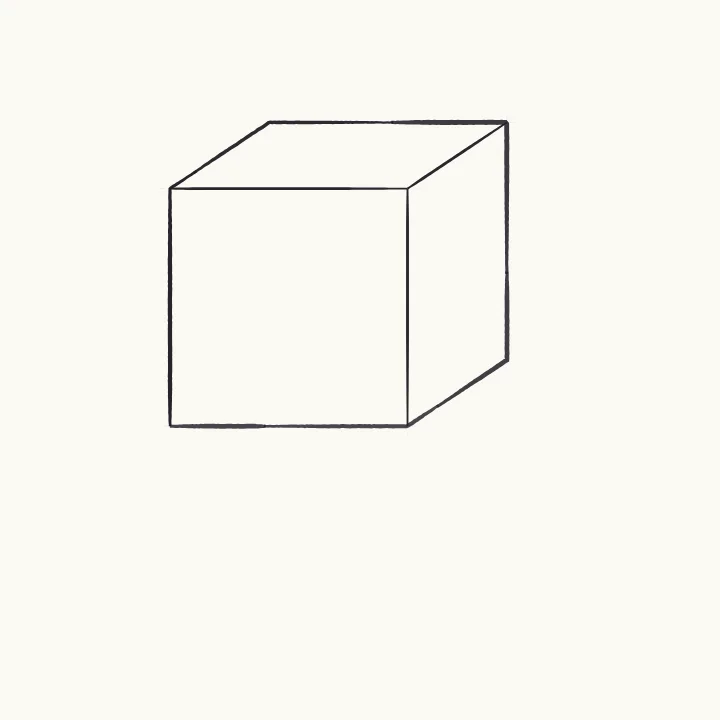
Ink the cube
Ink the outside edge of the cube with a firm line, then the three inside lines that meet at the square’s top-right corner.
-
 05
05Details
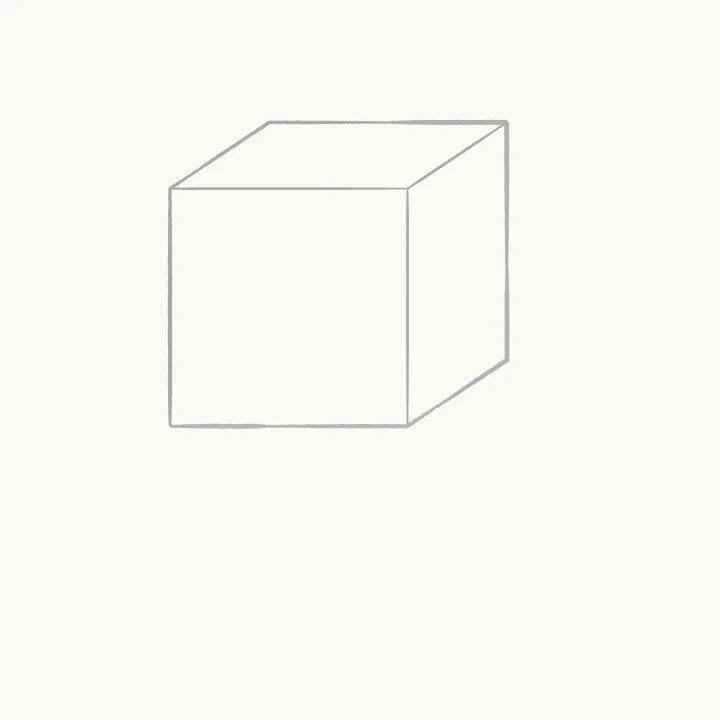
Erase the pencil
Wait for the ink to dry, then gently erase every pencil line, including any ends that stick out past the corners.
-
 06
06Colour
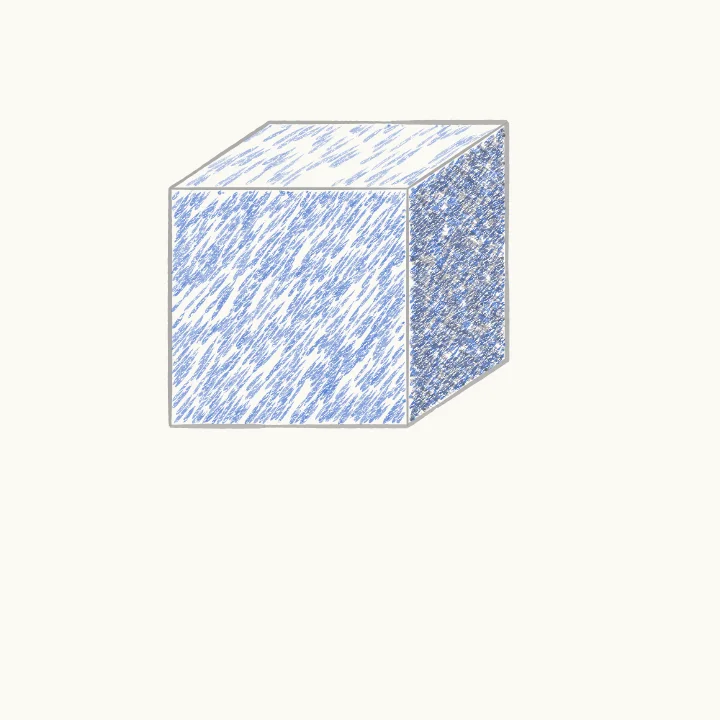
Three faces, three pressures
Colour the top lightly, the front a bit harder and the side hardest, because the light comes from the top left.
-
 07
07Finishing touches
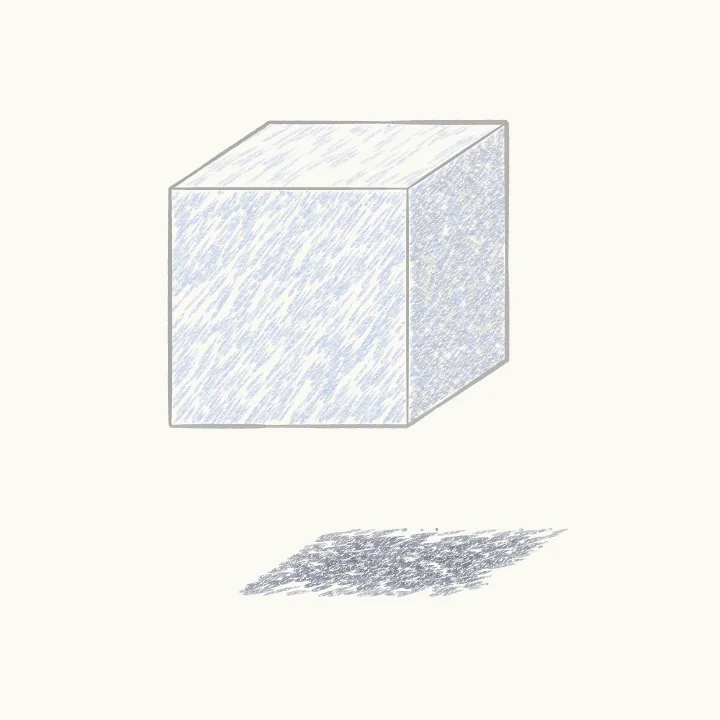
Make it float
Well below the cube, shade its shadow: the same slanted shape as its bottom, slid to the right, away from the light.
Ages 8 to 12